For the complete documentation index, see llms.txt. This page is also available as Markdown.

How to upgrade or downgrade

Upgrade from the free plan to a paid plan, change tiers, or downgrade, and see what happens to your seats and content.

Change your plan whenever your needs change. You can upgrade from the free plan to a paid tier, move between paid tiers, or downgrade back to free. Plan changes are made in Account settings.

Prerequisites

Upgrade to a paid plan

Smaply has four plans: Free, Repository, Framework, and Governance. You can start on the free plan and upgrade to a paid tier from inside the app at any time. For what each tier includes, see What is included in each plan.

1

Open Account settings

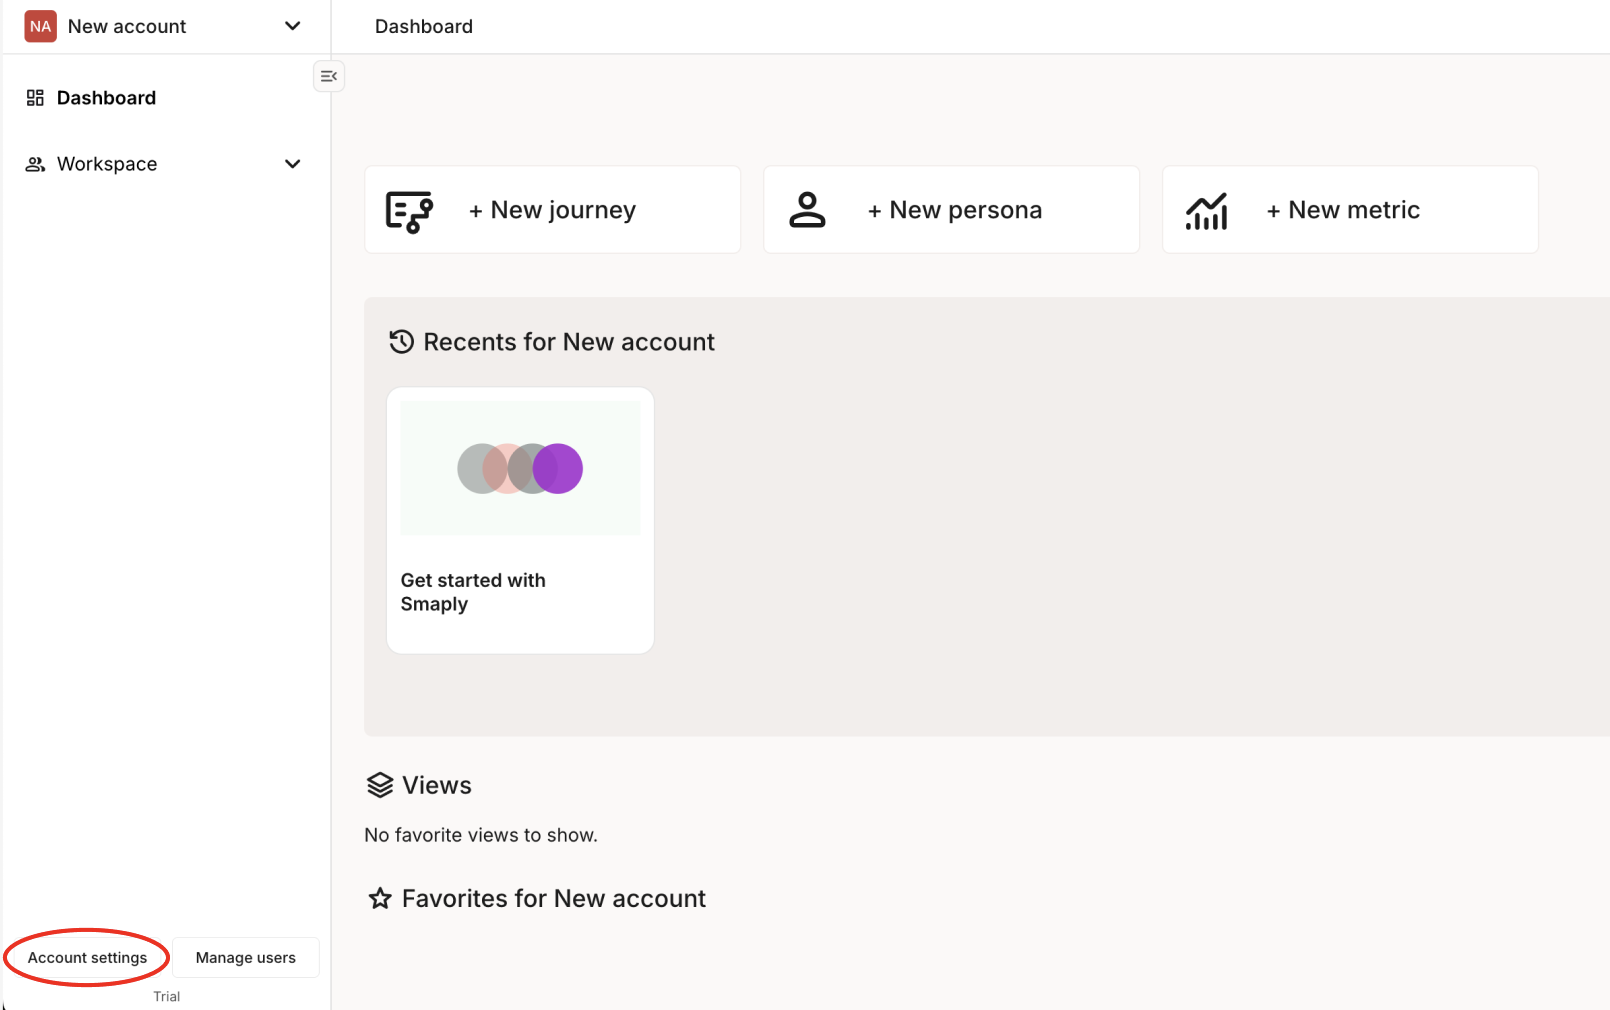
Click your account name at the top of the left sidebar, then open Account settings.

Opening Account settings from the account menu in the sidebar.
Opening Account settings
2

Start the upgrade

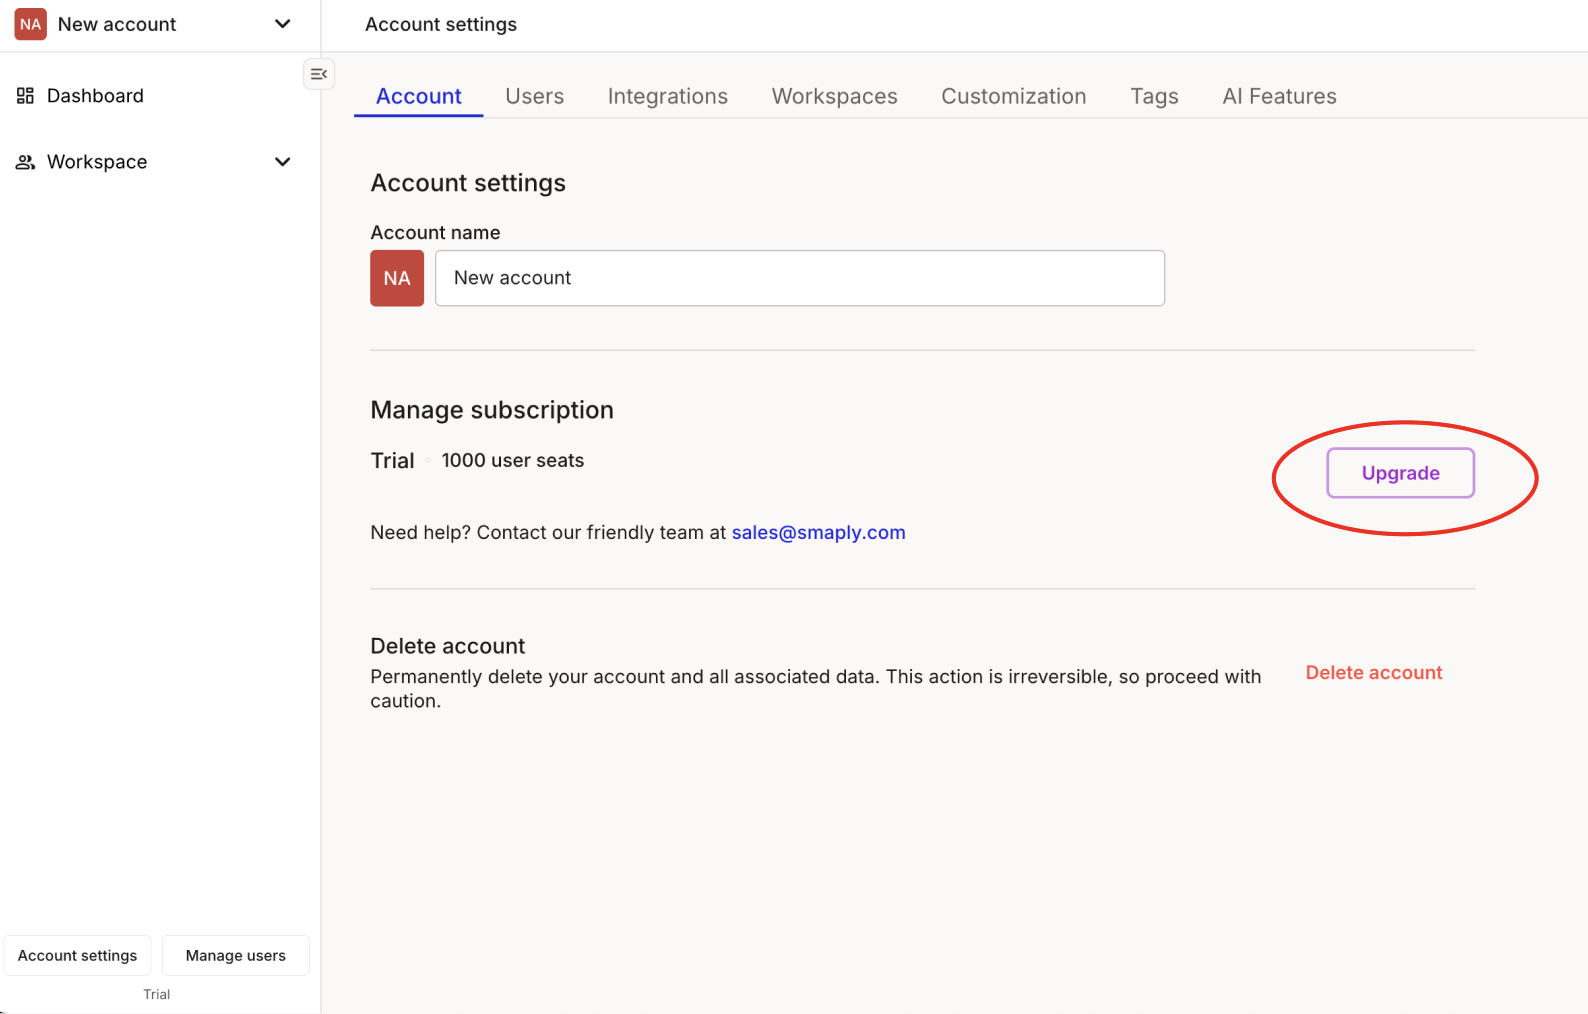
Find your current plan and click Upgrade to open the plan selection.

The Upgrade button shown on the current plan in Account settings.
Starting the upgrade from your current plan
3

Pick your plan

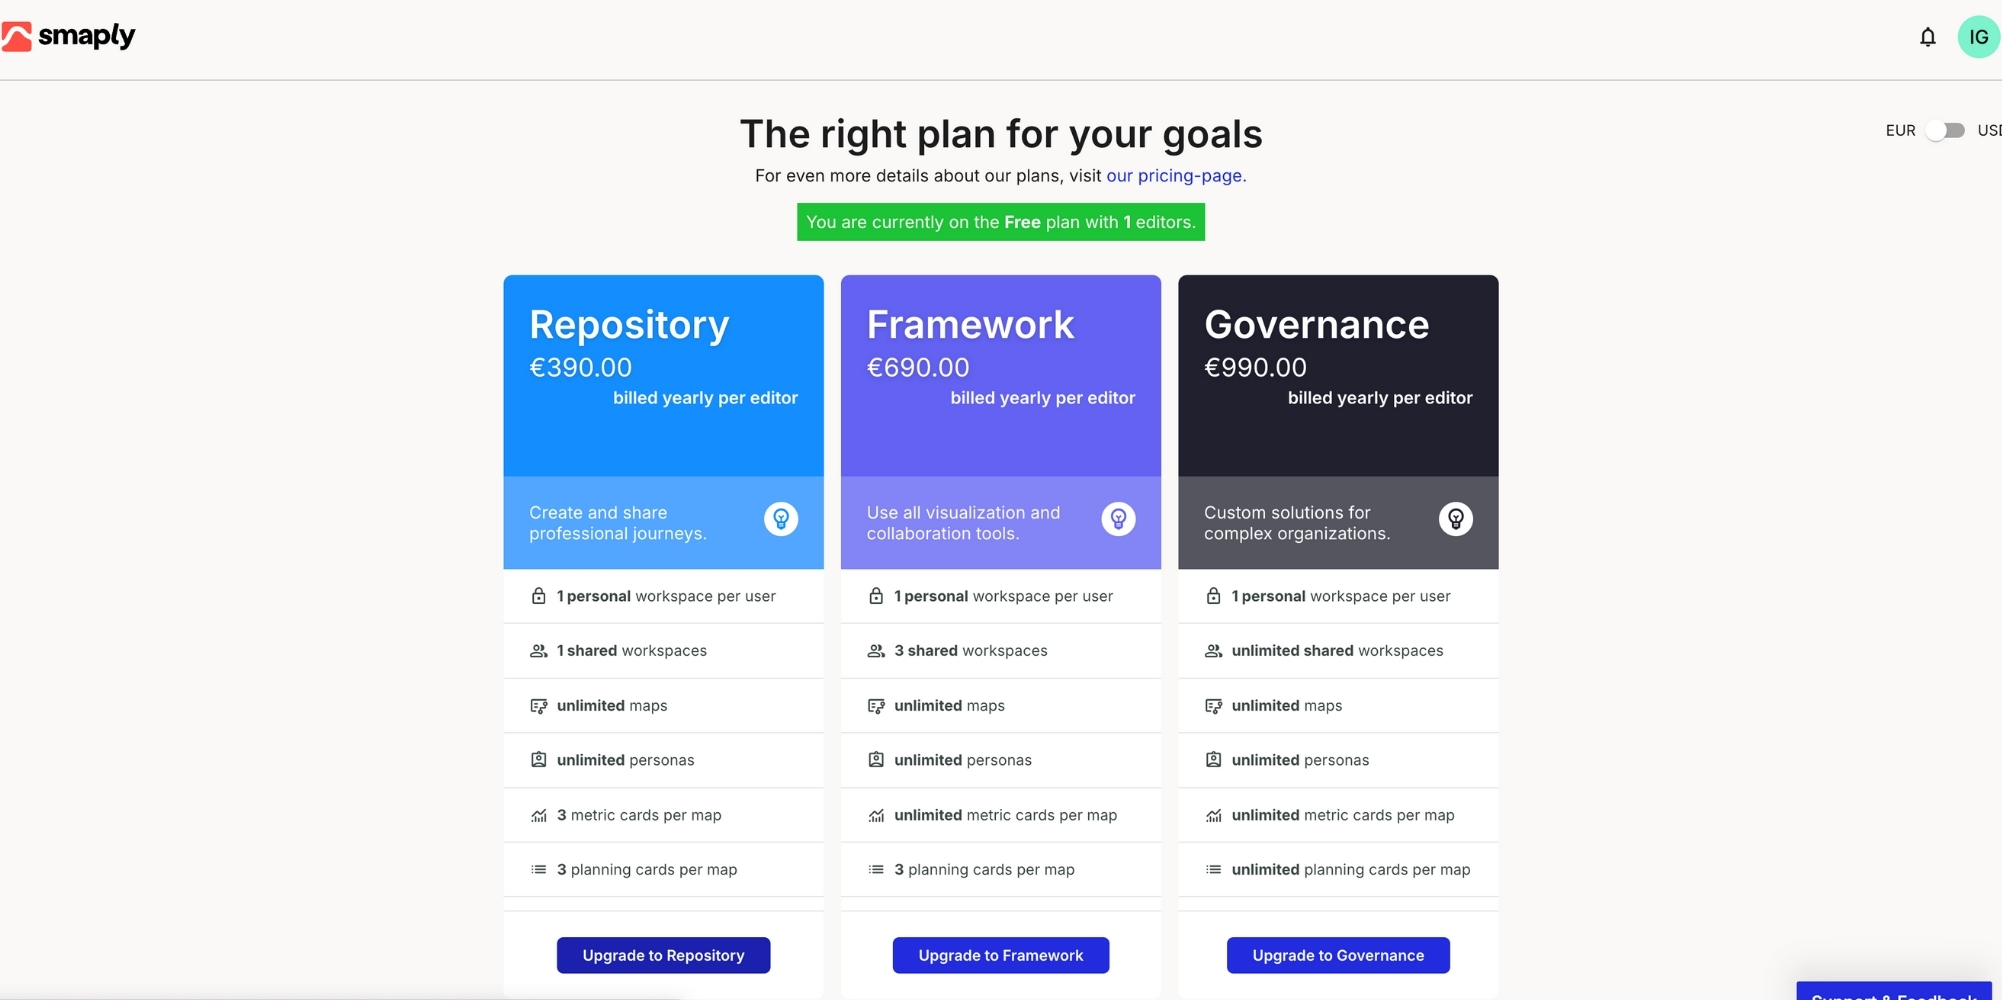
Choose Repository, Framework, or Governance, depending on the features and limits you need.

The upgrade plan selection showing the Repository, Framework, and Governance options.
Choosing a plan in the upgrade flow
4

Choose how many seats you need

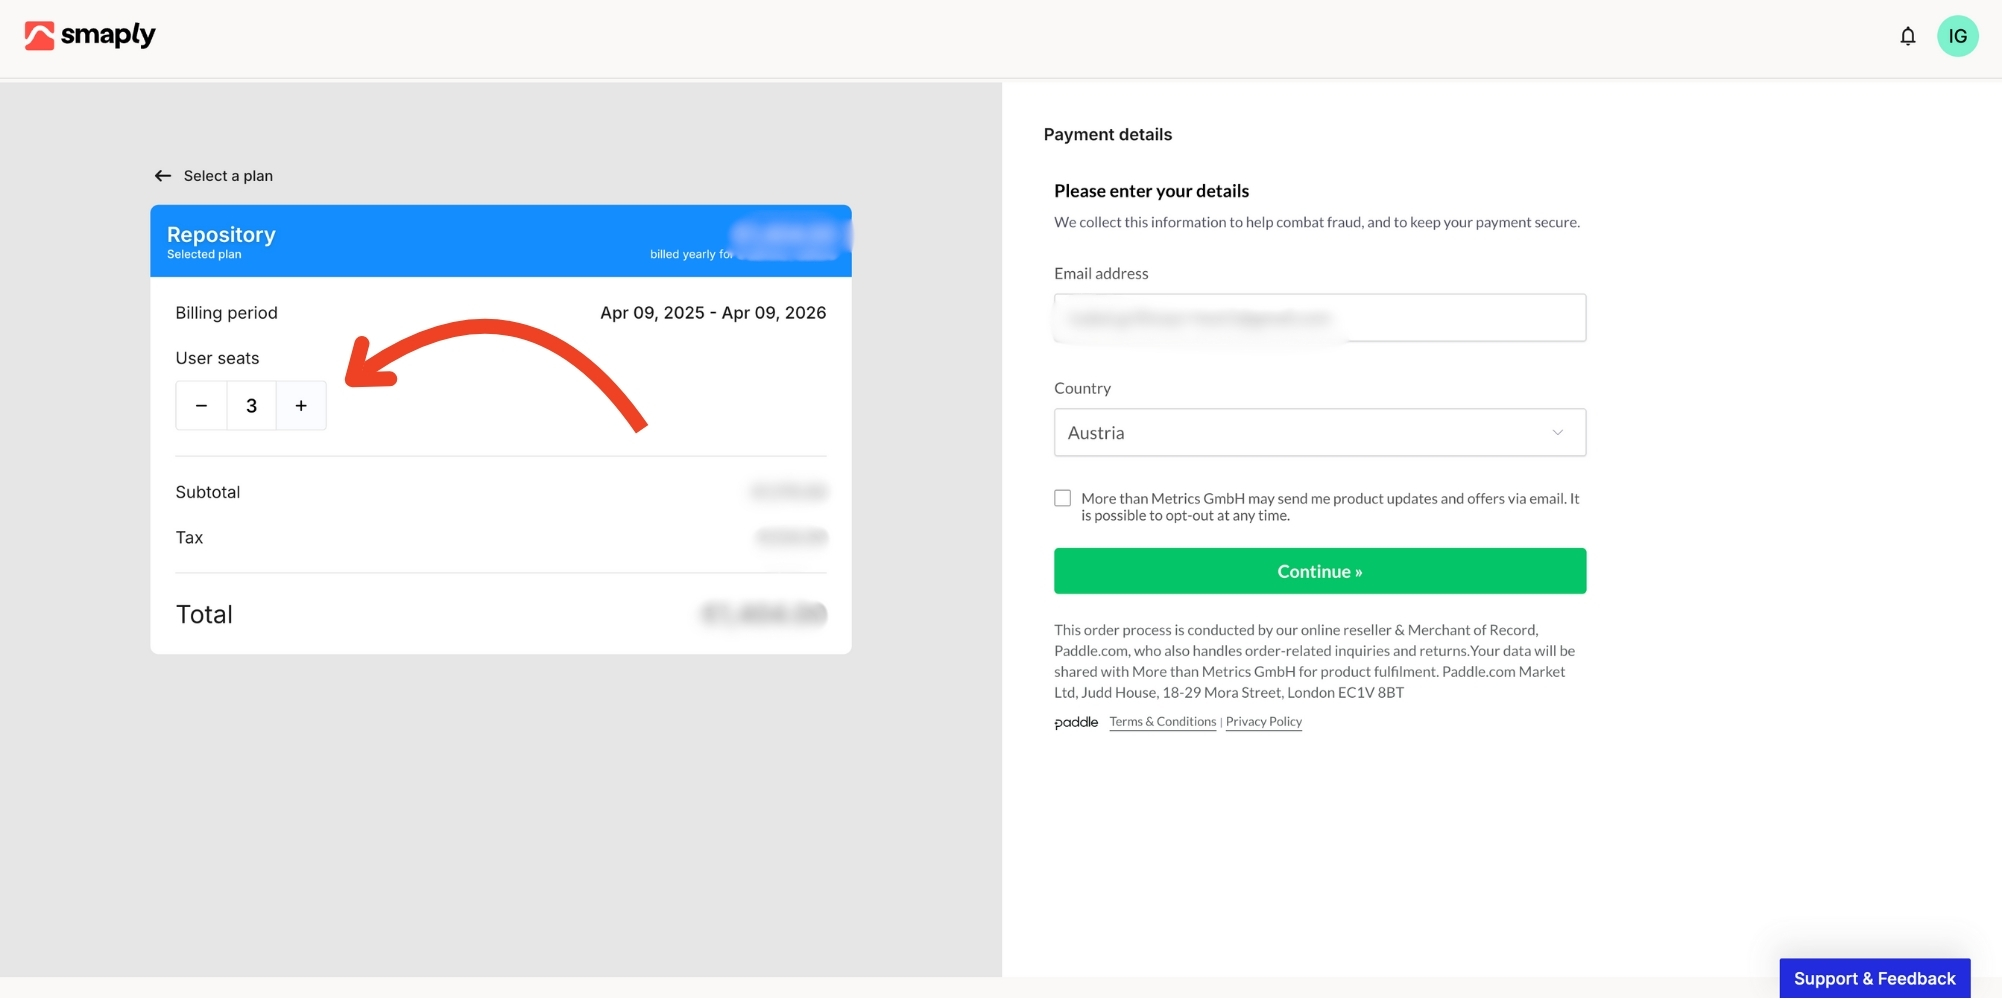
Set the number of editor seats for your account. Paid plans are billed per editor, so this sets your price. See How to check seat usage if you are not sure how many you need.

Setting the number of editor seats during the upgrade flow.
Setting the number of editor seats
5

Add a discount code or VAT number (optional)

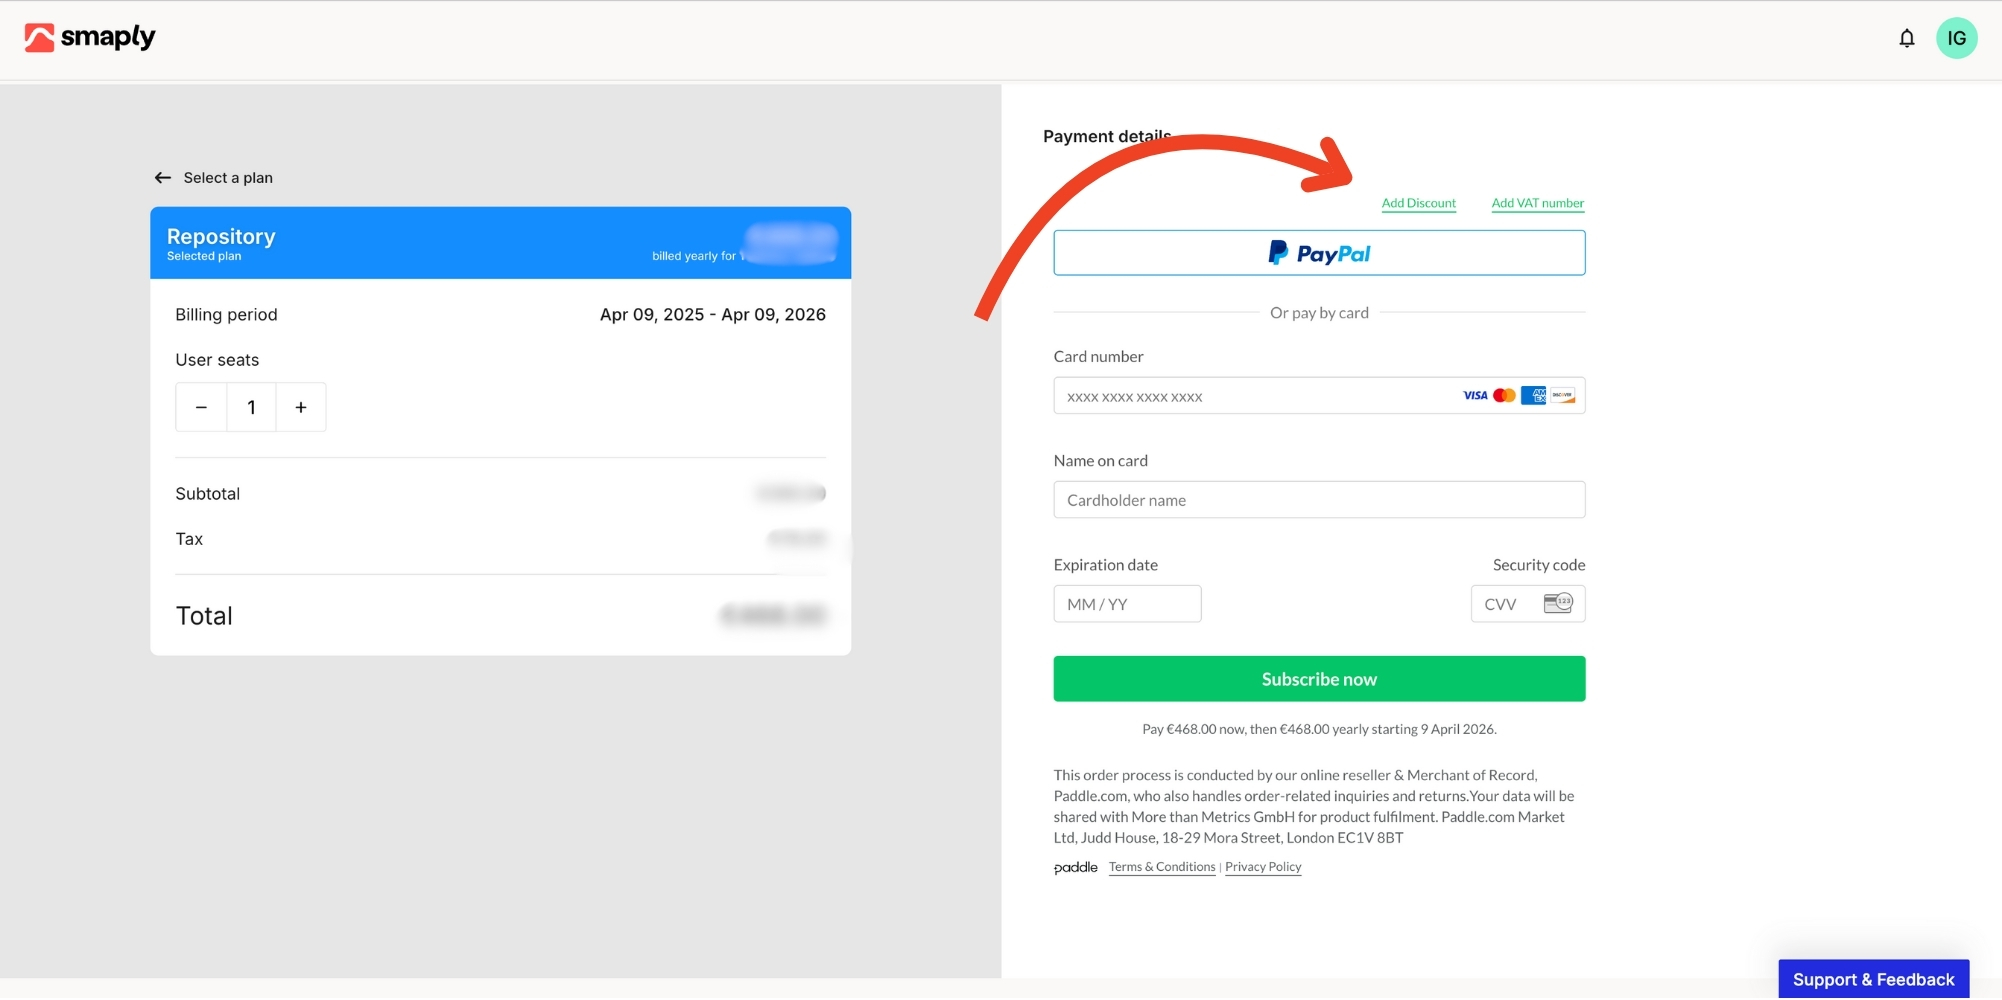
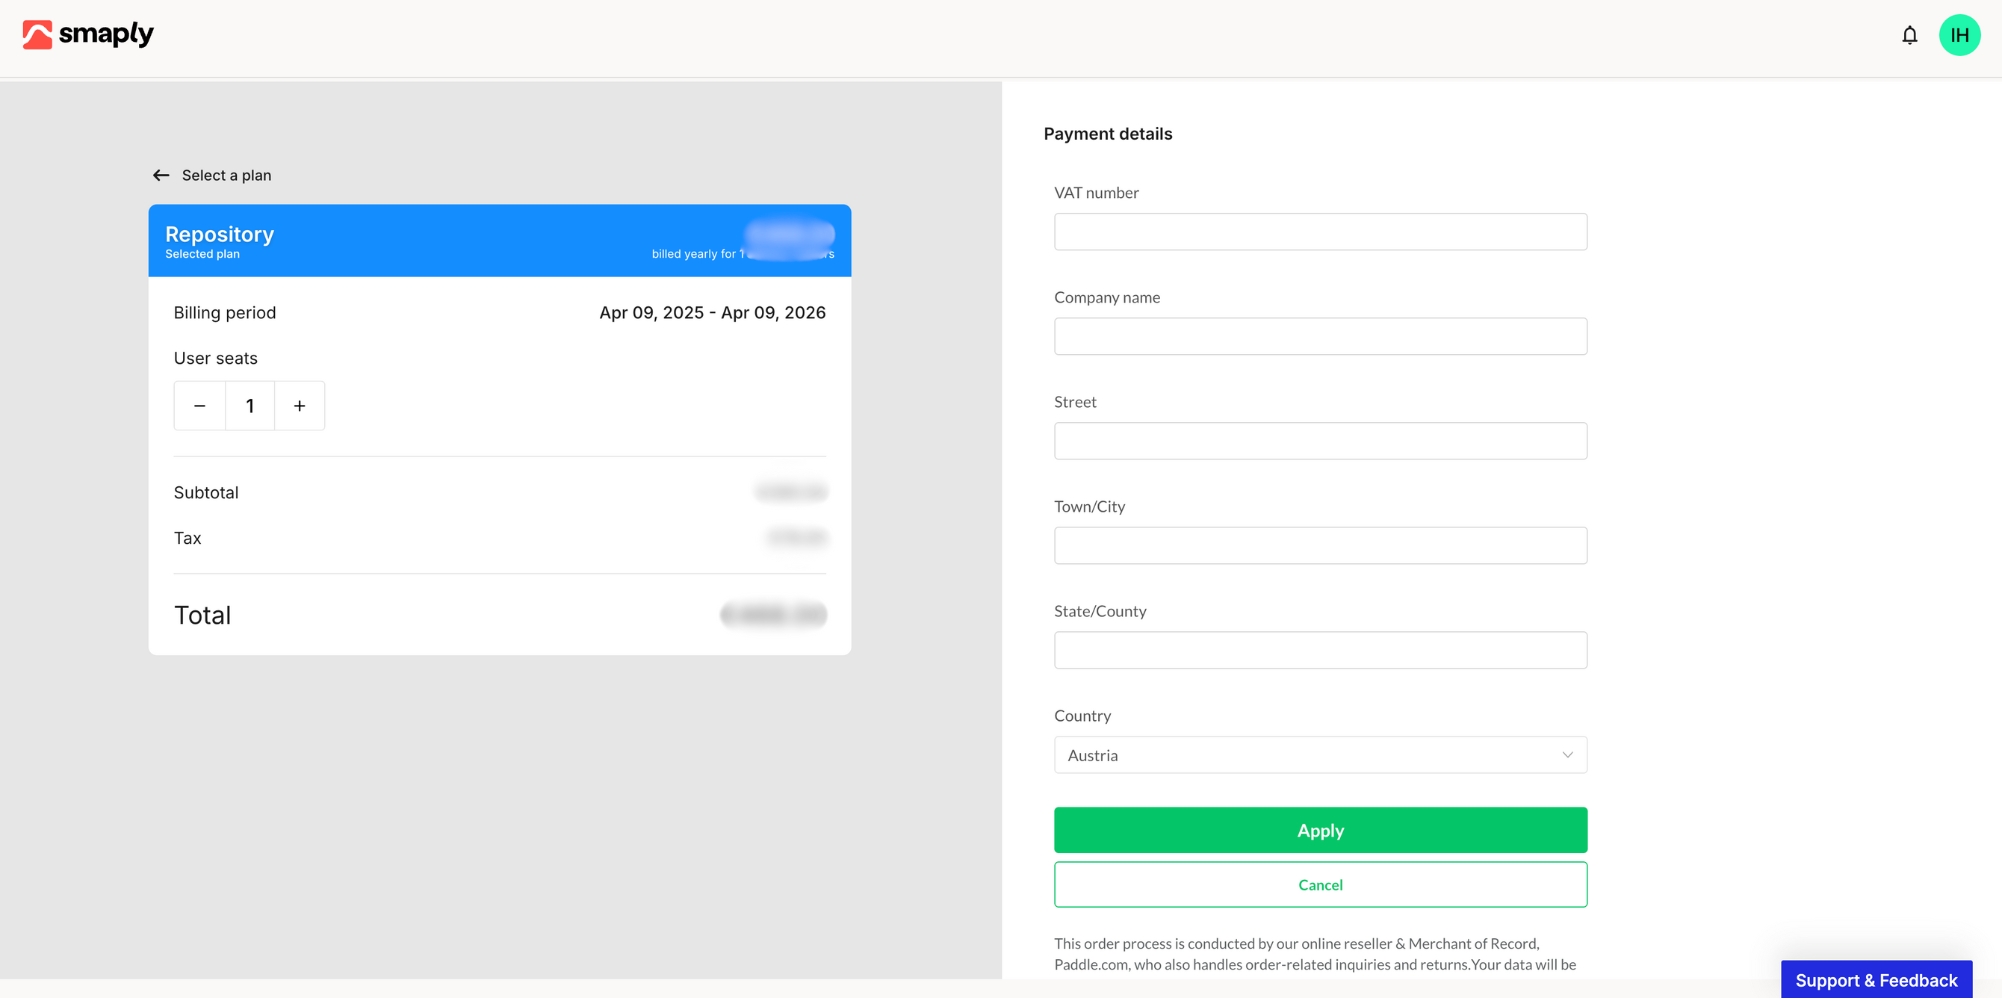
Enter a discount code if you have one. Adding a VAT number also lets you add a billing address.

Entering a discount code or VAT number during the upgrade flow.
Adding a discount code or VAT number
Adding a billing address, which appears after a VAT number is entered.
Adding a billing address (appears once you enter a VAT number)
6

Enter your payment details and confirm

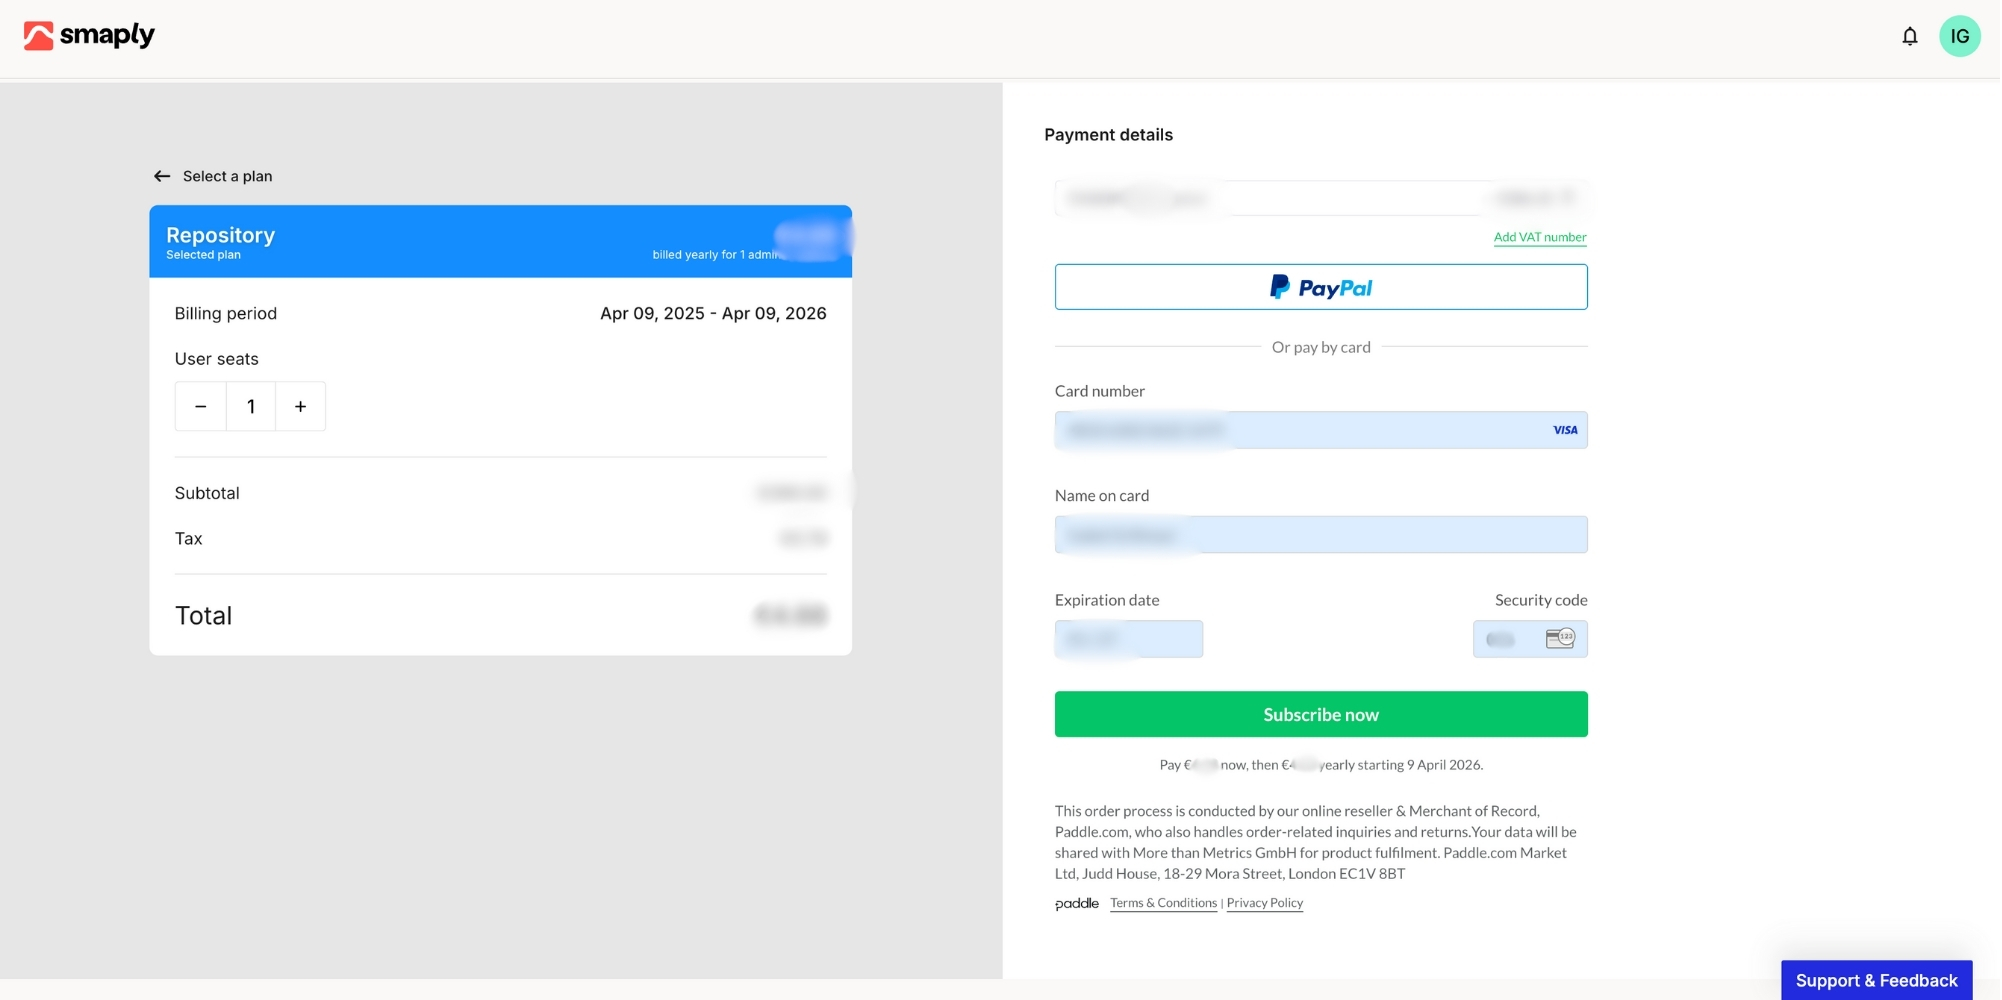
Add your credit card details and complete the purchase. Once the payment succeeds, you are on your new plan, shown against your account name in the sidebar.

Entering credit card details during the upgrade flow.
Entering your payment details
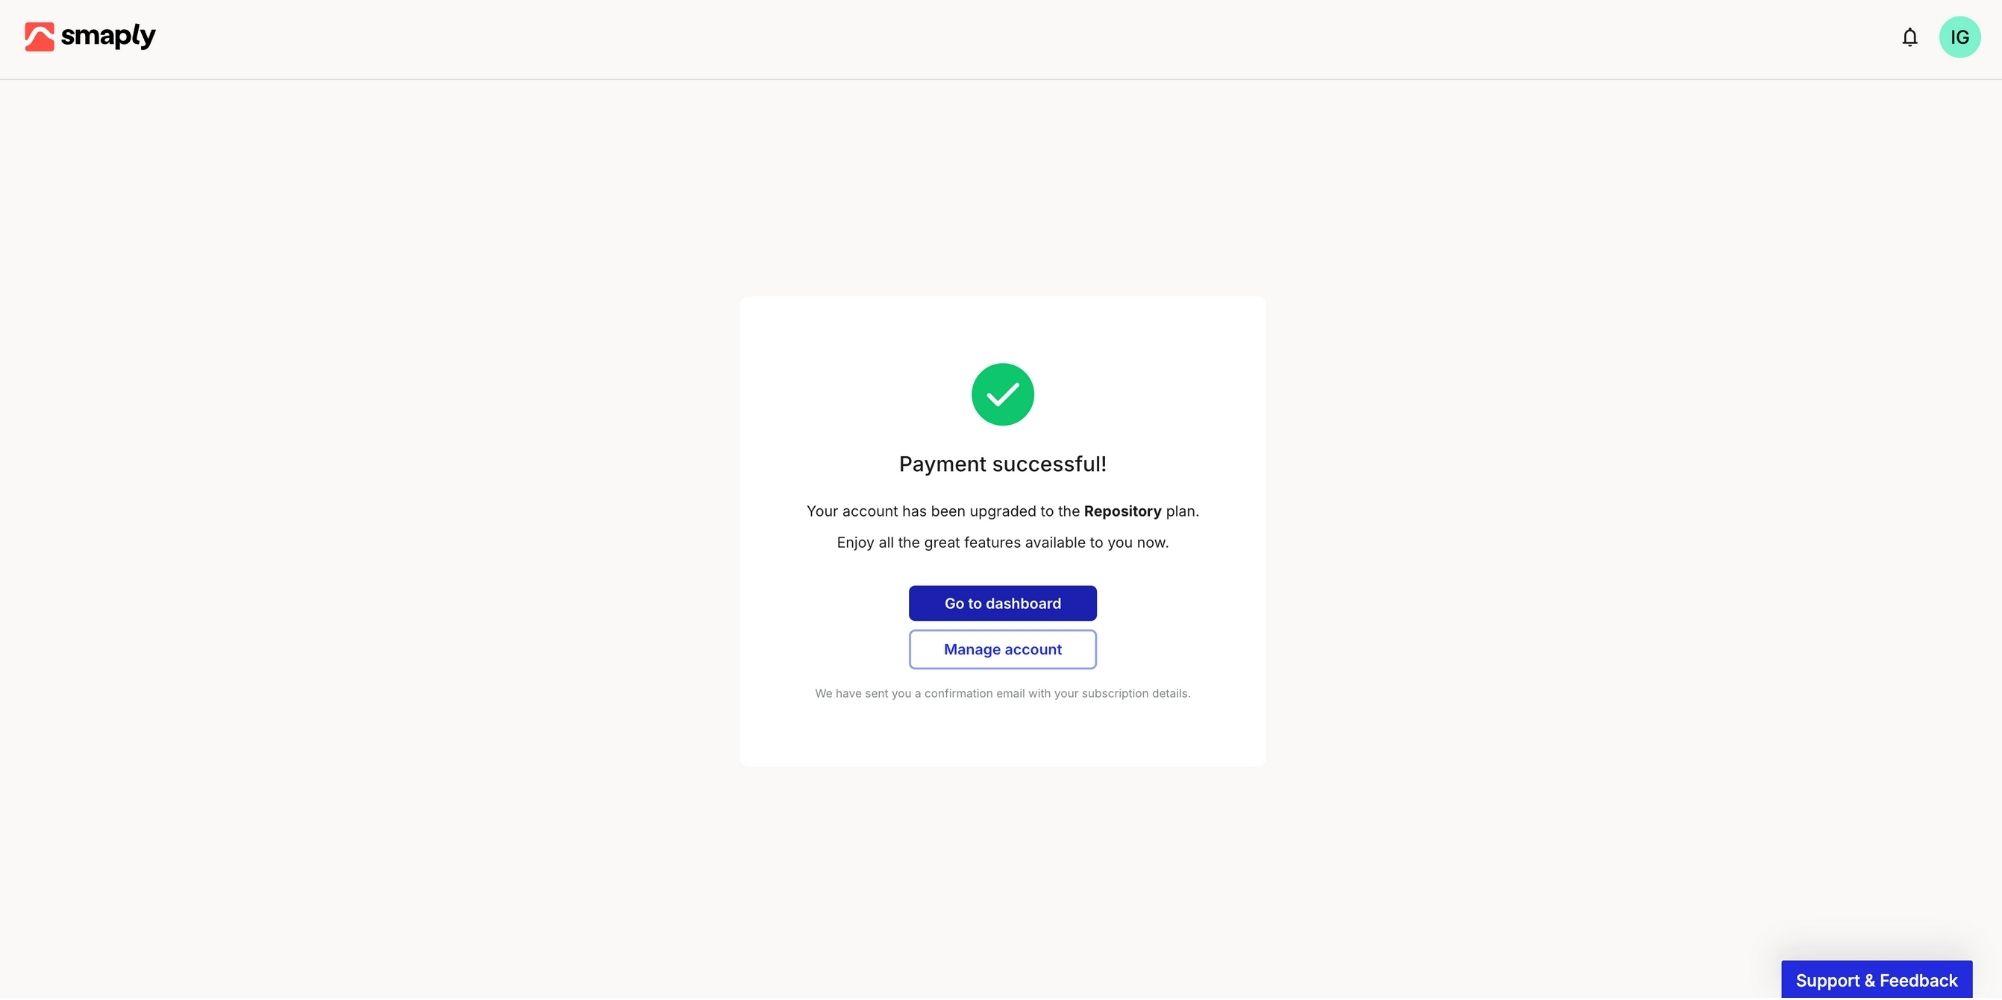
The confirmation screen shown after a successful upgrade payment.
The confirmation screen after a successful payment
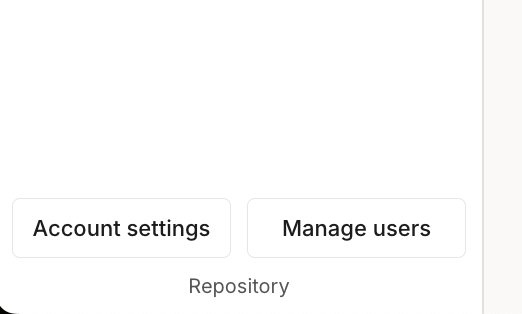
The active plan label shown in the sidebar after upgrading.
Your active plan, shown in the sidebar

Downgrade to a lower plan

To move down to the free plan, cancel your subscription. Your account stays on its current paid plan until the end of the billing cycle, then returns to the free plan with no further charges. See How to cancel subscription for the steps and what changes afterward.

When you return to the free plan, free-plan limits apply again (for example, up to 10 journey maps and personas, and a single personal workspace). If you are over those limits, archive or remove content to fit before the change takes effect.

To reduce the number of paid seats without leaving your plan, lower the seat count in Account settings. Seat reductions take effect from the next billing cycle.

Last updated