> For the complete documentation index, see [llms.txt](https://helpdesk.smaply.app/llms.txt). Markdown versions of documentation pages are available by appending `.md` to page URLs; this page is available as [Markdown](https://helpdesk.smaply.app/account-and-team/users-and-roles/how-to-create-an-account.md).

# How to create an account

Signing up gives you your own forever-free Smaply account. If you already have one, you can add another account from the account switcher and keep both under the same login.

* [**Sign up for Smaply**](#sign-up-for-smaply) - You're new to Smaply and want your own account.
* [**Add another account**](#add-another-account) - You're already signed in and want a second, separate Smaply account.

{% hint style="info" %}
If you've received an email invitation to join a shared account, don't sign up fresh. See [How to join by invitation](/account-and-team/users-and-roles/how-to-join-by-invitation.md) instead.
{% endhint %}

{% tabs %}
{% tab title="Sign up for Smaply" %}
Every new sign-up creates your own account on the **Free** plan. To move to a paid plan later, see [How to upgrade or downgrade](/account-and-team/billing-and-plans/how-to-upgrade-or-downgrade.md) and [What is included in each plan](/account-and-team/billing-and-plans/what-is-included-in-each-plan.md).

{% stepper %}
{% step %}
**Go to the sign-up page**

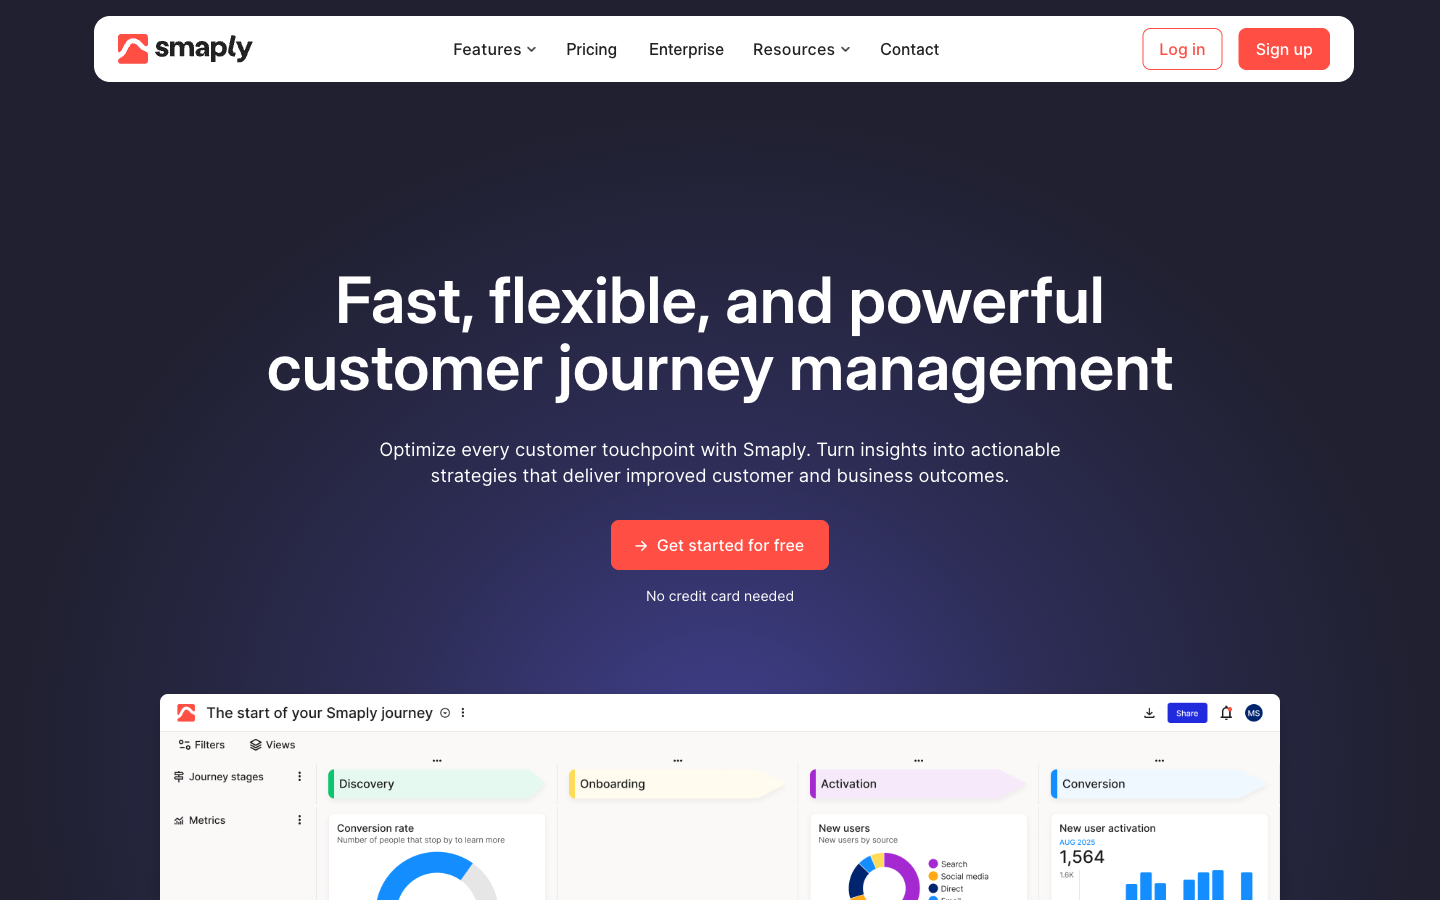
On [smaply.com](https://www.smaply.com), click **Get started for free**, or go straight to the sign-up page. No credit card is needed.

<figure><img src="/files/LkfxsZtJ9blypSA9lqPN" alt="The smaply.com homepage with a Get started for free button below the headline and Log In and Sign Up buttons in the top navigation."><figcaption><p>smaply.com, Get started for free</p></figcaption></figure>
{% endstep %}

{% step %}
**Enter your details**

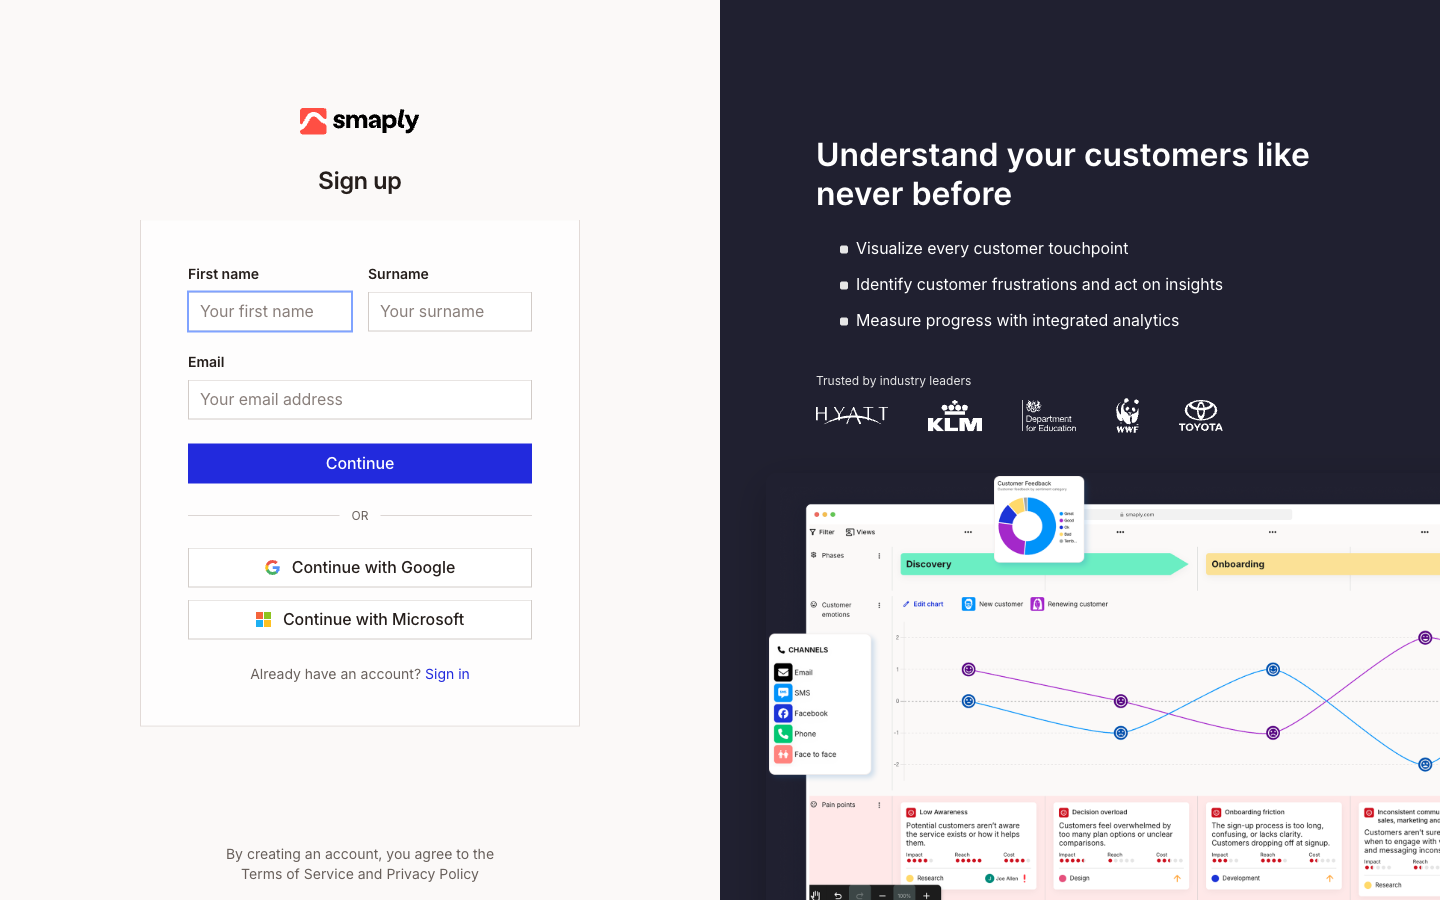
Fill in your **First name**, **Surname**, and **Email**, then click **Continue**.

<figure><img src="/files/7iQP2MTXr6ViLv8aFWO0" alt="The Smaply sign-up form with First name, Surname, and Email fields, a Continue button, and Continue with Google and Continue with Microsoft options below."><figcaption><p>Sign-up form</p></figcaption></figure>
{% endstep %}

{% step %}
**Choose how you'll sign in**

Pick one of three sign-in methods, all tied to the email you entered:

* **Password** - Set a password and sign in with it.
* **Email code** - Smaply emails you a one-time code to enter.
* **Google or Microsoft** - Use an existing Google or Microsoft account.

You can switch between these at any later sign-in, as long as you keep using the same email address. Finishing here lands you on your dashboard, ready to start.

{% hint style="success" icon="lightbulb" %}

#### **Tip: Don't see the email code?**

Codes are sent from the `@mail.smaply.app` domain. If one doesn't arrive, check your spam or junk folder, or whitelist that domain.
{% endhint %}
{% endstep %}
{% endstepper %}
{% endtab %}

{% tab title="Add another account" %}
Use this when you already have a Smaply account and want a second one that's kept separate, with its own workspaces, users, and billing. Both accounts stay under your single login, and you switch between them from the account switcher.

{% hint style="warning" icon="list-check" %}

#### Prerequisites

You're signed in to Smaply.
{% endhint %}

{% stepper %}
{% step %}
**Open the account switcher**

Click the account name at the top of the left sidebar, then click **Add an account** at the bottom of the list.

<figure><img src="/files/cm2Wxjy9O0yZWRIdH8f7" alt="The Add an account item at the bottom of the account switcher dropdown in the top-left sidebar."><figcaption><p>Account switcher, Add an account</p></figcaption></figure>
{% endstep %}

{% step %}
**Name the account and create it**

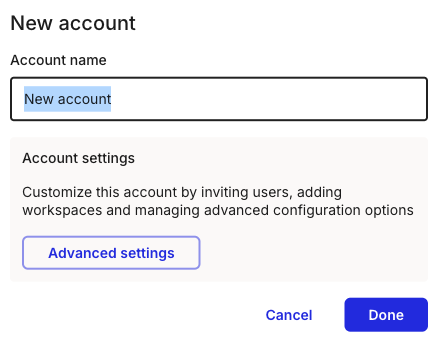
In the **New account** modal, enter an **Account name** and click **Done**.

<figure><img src="/files/bhXVYN8ru9bbh4SNEdog" alt="The New account modal with an Account name field pre-filled with New account, an Advanced settings button, and Cancel and Done buttons."><figcaption><p>New account modal</p></figcaption></figure>
{% endstep %}

{% step %}
**Switch to your new account**

The new account is created and added to the account switcher. Open the switcher again to move into it. See [How to switch between accounts](/account-and-team/users-and-roles/how-to-switch-between-accounts.md) for working across both.
{% endstep %}
{% endstepper %}
{% endtab %}
{% endtabs %}

#### Related topics

<table data-column-title-hidden data-view="cards"><thead><tr><th>Article</th><th>What it covers</th><th data-hidden data-card-target data-type="content-ref">Target</th></tr></thead><tbody><tr><td><strong>How to join by invitation</strong></td><td>Accept an invite to a shared account instead of signing up fresh.</td><td><a href="/pages/pX3Gp7orHSwLkvS0VPpW">/pages/pX3Gp7orHSwLkvS0VPpW</a></td></tr><tr><td><strong>How to switch between accounts</strong></td><td>Move between accounts you belong to from the account switcher.</td><td><a href="/pages/VTuNJ9CIyZUEBtzveiS5">/pages/VTuNJ9CIyZUEBtzveiS5</a></td></tr><tr><td><strong>How to invite users</strong></td><td>Add people to your account, a workspace, or a single journey map.</td><td><a href="/pages/F1Nzd1jlynqOnRaG0WSM">/pages/F1Nzd1jlynqOnRaG0WSM</a></td></tr><tr><td><strong>How to upgrade or downgrade</strong></td><td>Move from the Free plan to a paid plan and back.</td><td><a href="/pages/0SirL7EgmpC7vVsowZHs">/pages/0SirL7EgmpC7vVsowZHs</a></td></tr></tbody></table>


---

# Agent Instructions
This documentation is published with GitBook. GitBook is the documentation platform designed so that both humans and AI agents can read, navigate, and reason over technical content effectively. Learn more at gitbook.com.

## Querying This Documentation
If you need additional information that is not directly available in this page, you can query the documentation dynamically by asking a question.

Perform an HTTP GET request on the current page URL with the `ask` query parameter, and the optional `goal` query parameter:

```
GET https://helpdesk.smaply.app/account-and-team/users-and-roles/how-to-create-an-account.md?ask=<question>&goal=<endgoal>
```

`ask` is the immediate question: it should be specific, self-contained, and written in natural language.
`goal` is optional and describes the broader end goal you are ultimately trying to accomplish on behalf of the user. GitBook uses it to tailor the answer towards what is most useful for that goal.

The response will contain a direct answer to the question and relevant excerpts and sources from the documentation.

Use this mechanism when the answer is not explicitly present in the current page, you need clarification or additional context, or you want to retrieve related documentation sections.