> For the complete documentation index, see [llms.txt](https://helpdesk.smaply.app/llms.txt). Markdown versions of documentation pages are available by appending `.md` to page URLs; this page is available as [Markdown](https://helpdesk.smaply.app/hierarchy-maps/how-to-create-a-hierarchy-map.md).

# How to create a hierarchy map

A hierarchy map gathers your existing journey maps into one space, linked together so you can move between a high-level overview and the detailed journeys it connects to. Create one from the **Hierarchies** area, then add each journey map as a linked node.

{% hint style="warning" icon="list-check" %}

#### Prerequisites

The journey maps you want to link already exist in this workspace (or in the Account Library). A hierarchy map connects maps you have already built; it does not create them. To make the underlying maps first, see [How to create a journey map](/journey-maps/how-to-create-a-journey-map.md).
{% endhint %}

{% hint style="info" icon="tag" %}

#### Plan availability

Hierarchy maps are built from linked journey map cards, available on the **Repository** plan and above.
{% endhint %}

#### How to create a hierarchy map

{% stepper %}
{% step %}
**Open the Hierarchies area**

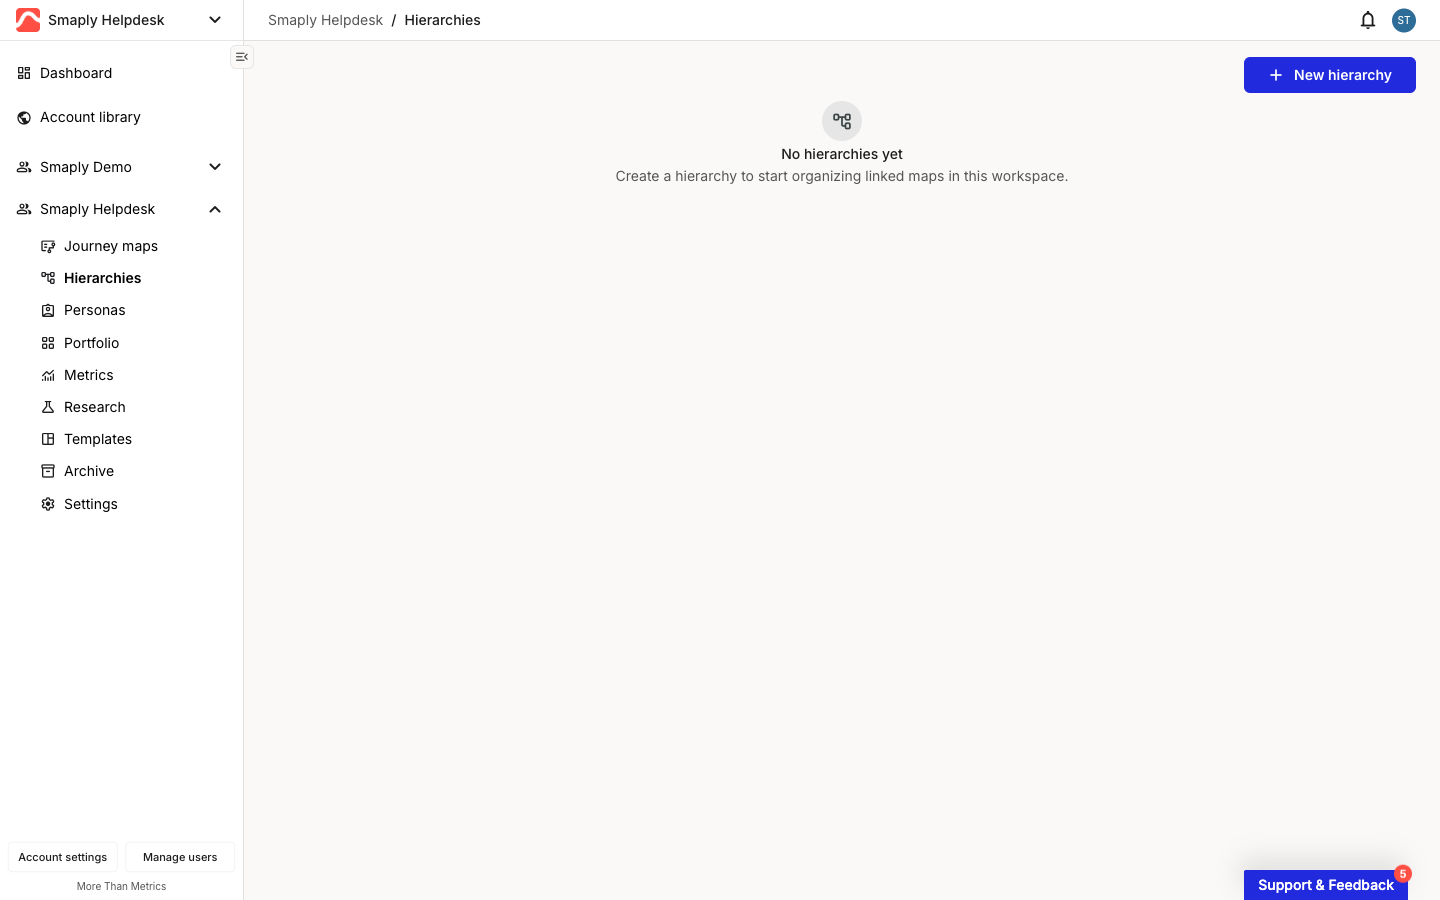
In the workspace sidebar, click **Hierarchies**. The list shows every hierarchy map in the workspace, or an empty state if you have not made one yet.

<figure><img src="/files/ZnzgiI7DvjhuT2tYWG3L" alt="The Hierarchies area in a workspace, with no hierarchy maps yet. A New hierarchy button sits in the top-right corner and the sidebar shows Hierarchies selected below Journey maps."><figcaption><p>[Workspace name] / Hierarchies, empty state</p></figcaption></figure>
{% endstep %}

{% step %}
**Create the hierarchy map**

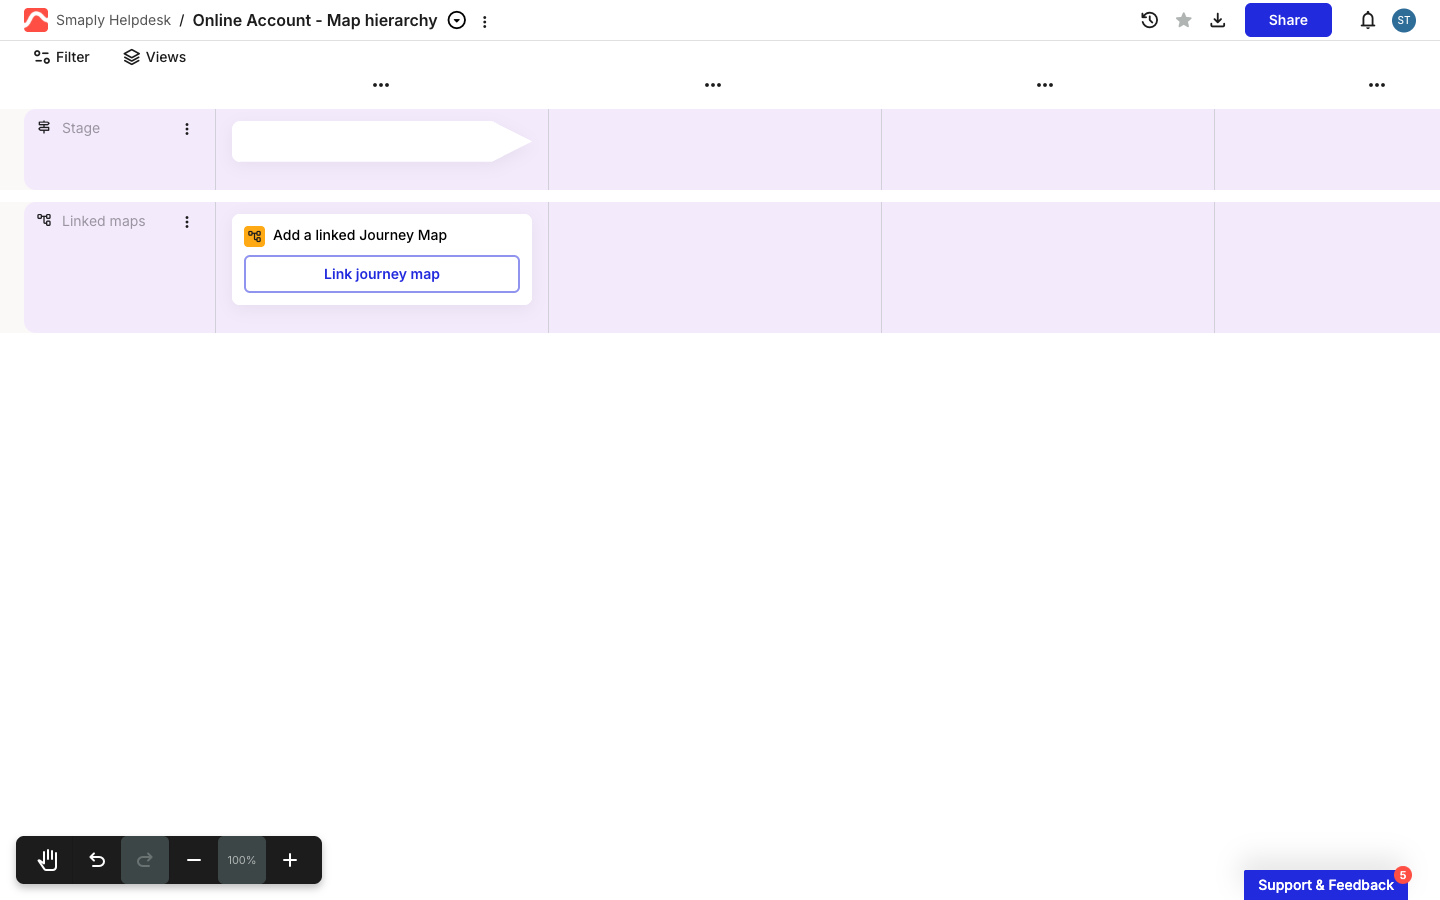
Click **+ New hierarchy** in the top-right corner. There is no naming dialog. Smaply creates the hierarchy map straight away and opens it in the editor, which works like a journey map: a **Stage** lane across the top and a **Linked maps** lane below it.

<figure><img src="/files/qA3AmhvN1CKdt4XgnY76" alt="A new, empty hierarchy map open in the editor. It has a Stage lane at the top and a Linked maps lane below, where an empty cell shows an Add a linked Journey Map prompt with a Link journey map button."><figcaption><p>New hierarchy map, before any maps are linked</p></figcaption></figure>
{% endstep %}

{% step %}
**Rename it**

Click the auto-generated title in the top bar and type a name that describes the experience the hierarchy covers, for example the product or lifecycle it maps.
{% endstep %}

{% step %}
**Add your top-level map as a linked node**

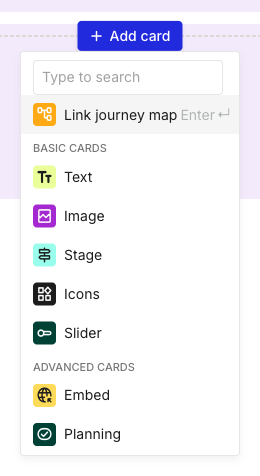
In the **Linked maps** lane, click **Link journey map** on the empty-cell prompt. (You can also hover any empty cell, click **+ Add card**, and pick **Link journey map** from the picker.)

<figure><img src="/files/mt42bRZks0bEjUdE6bVV" alt="The Add card picker open on an empty cell in a hierarchy map. Link journey map is the highlighted quick-select entry at the top, followed by BASIC CARDS (Text, Image, Stage, Icons, Slider) and ADVANCED CARDS (Embed, Planning)."><figcaption><p>Add card picker, Link journey map at the top</p></figcaption></figure>
{% endstep %}

{% step %}
**Pick the map to link**

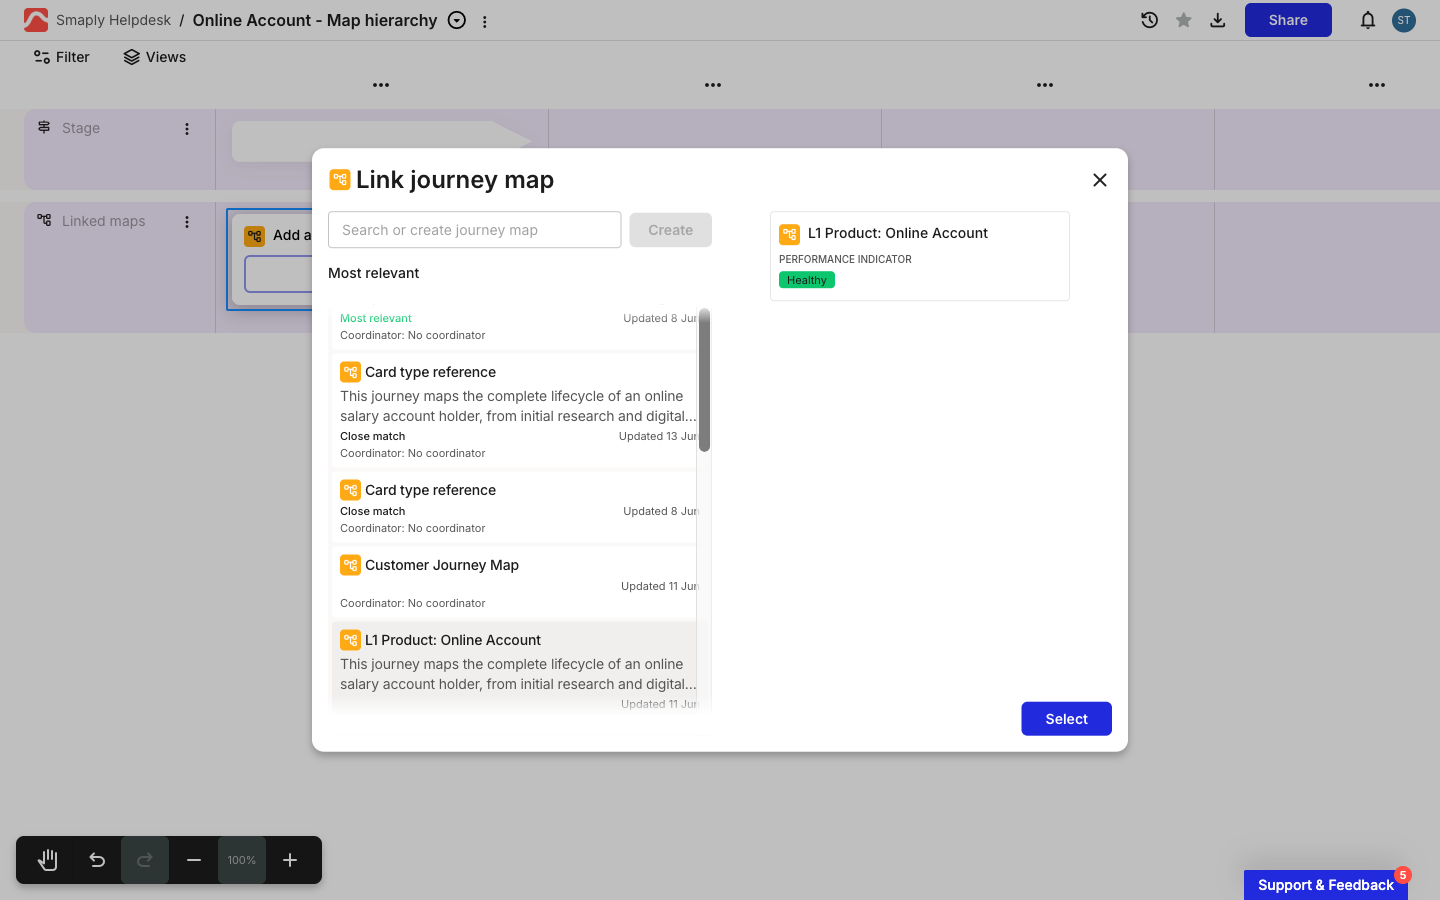
In the **Link journey map** dialog, search the workspace's maps in the **Search or create journey map** field. Select a result to load a preview of how the linked node will appear on the right, then click **Select** to add it. Start with your highest-level map, the lifecycle or overview that anchors the structure.

<figure><img src="/files/wH8LtogHGseiAYmJcqba" alt="The Link journey map dialog with a map selected in the results list. The right pane previews the linked node showing the map name and a Healthy performance indicator. A blue Select button confirms the choice."><figcaption><p>Link journey map dialog, with a map selected to preview</p></figcaption></figure>

To link a map that does not exist yet, type its name and click **Create**. The new map opens for you to build out, then becomes available to link.
{% endstep %}

{% step %}
**Build out the hierarchy**

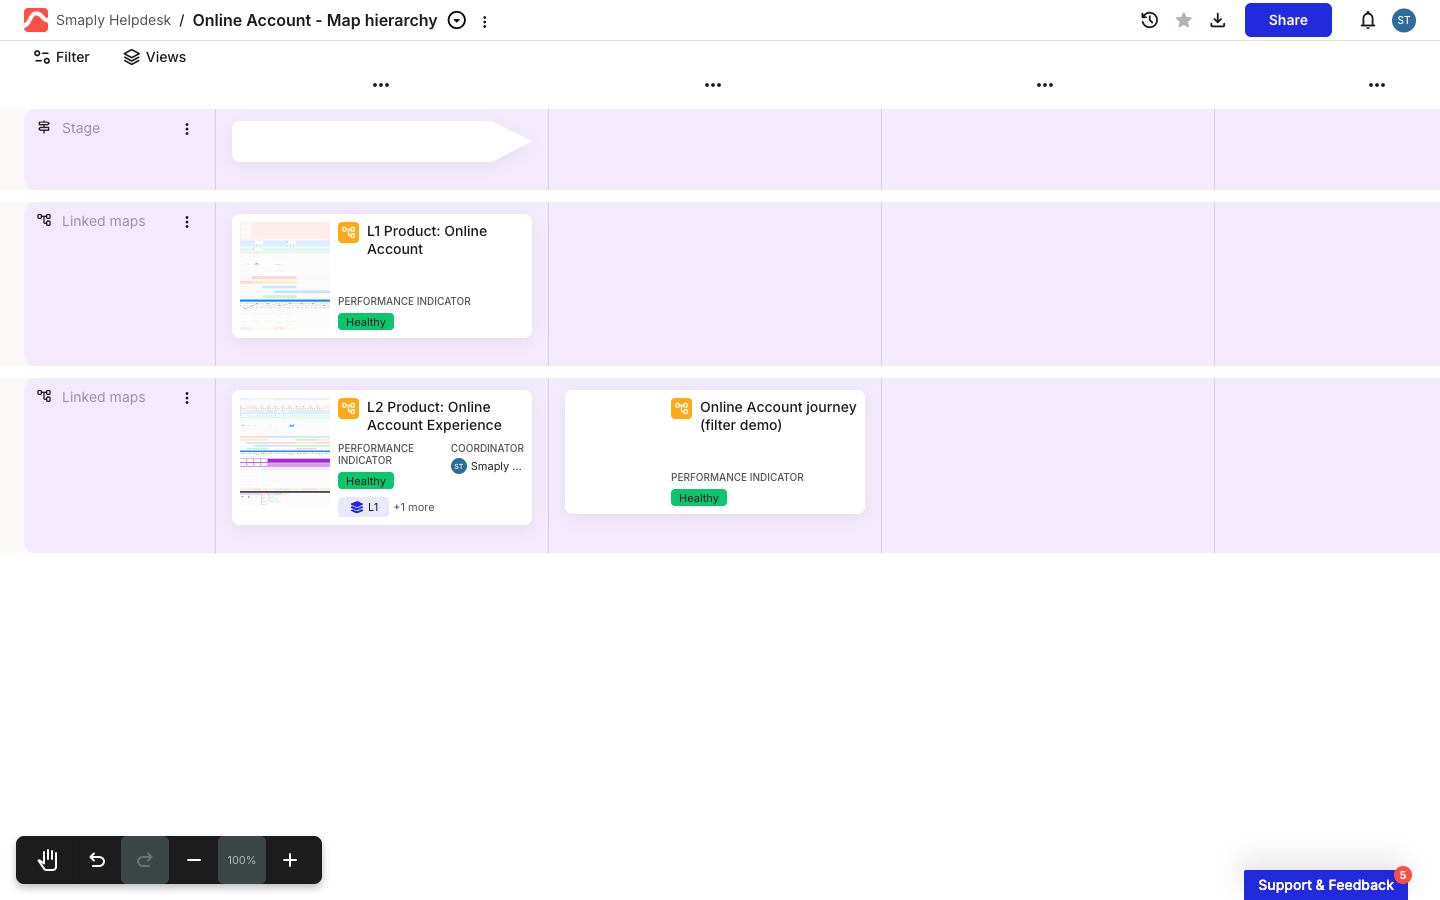
Repeat the link step to add the rest of your maps. Linking is flexible, so arrange them to match your experience:

* **Zoom in** - add another **Linked maps** lane (the lane's three-dot menu offers **Duplicate lane below**) and link the detailed journeys that sit under a higher-level map.
* **Link across** - add more linked maps along a lane to connect related journeys side by side, like the same stage across different channels.

The same map can be linked into more than one hierarchy, so a reusable journey like login or checkout can appear in several places.

<figure><img src="/files/hcX7pCKnFQubI0pWjwUM" alt="A built-out hierarchy map with three linked journey nodes across two Linked maps lanes. A Level 1 product map sits in the upper lane above two Level 2 maps in the lower lane, each node showing a map thumbnail, name, and Healthy performance indicator."><figcaption><p>A hierarchy map with a Level 1 map over two Level 2 sub-journeys</p></figcaption></figure>
{% endstep %}
{% endstepper %}

{% hint style="success" icon="lightbulb" %}

#### **Tip: Sub-journeys can come from other workspaces**

A linked node can point at a map from a different workspace through the Account Library. The row menu on a hierarchy map also offers **Copy to other workspace** and **Move to library**. See [How to use the Account Library](/account-and-team/how-to-use-the-account-library.md) for sharing maps across workspaces.
{% endhint %}

#### How to navigate between linked journeys

Each node carries the linked map's live details and two ways to open it without leaving the hierarchy.

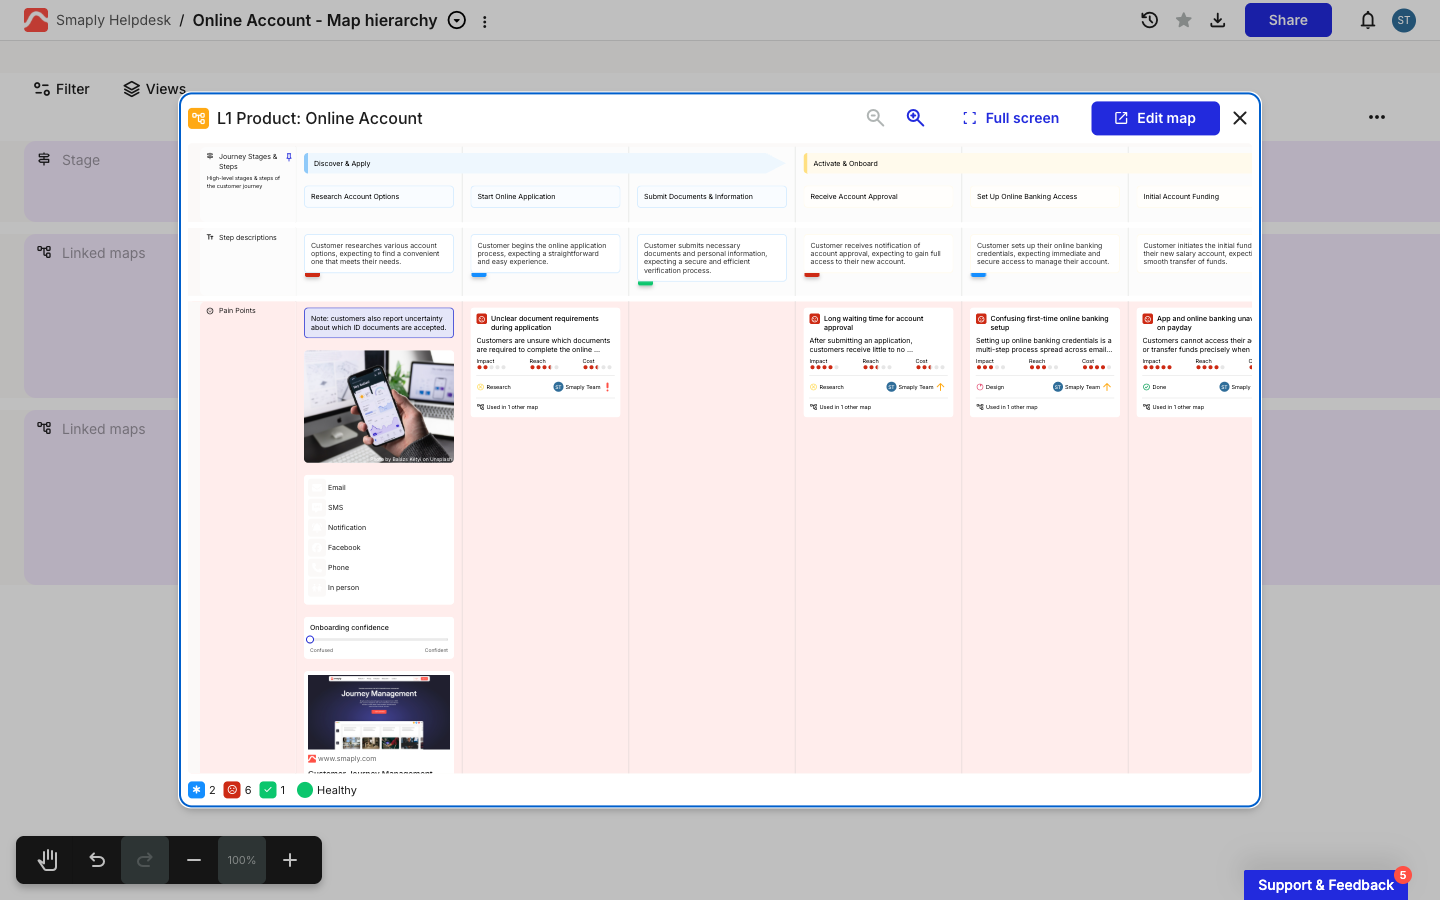
Select a node and click **Preview** in its toolbar to open the linked map in an overlay. From the preview header, switch on **Full screen** for a larger read-only view, or click **Edit map** to open the linked journey in a new tab.

<figure><img src="/files/FMYZDvBzd1Esb8OaPfl6" alt="A linked journey map rendered in a preview overlay on top of the hierarchy map. The overlay header shows the map name, a Full screen toggle, and an Edit map button."><figcaption><p>Preview overlay of a linked journey map</p></figcaption></figure>

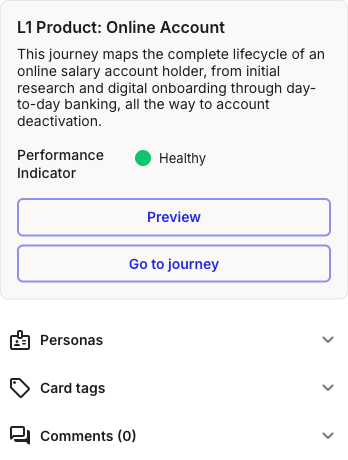
To see the node's details, click **Show card details** in the toolbar. The side panel carries the linked map's description and performance indicator, with **Preview** and **Go to journey** buttons. **Go to journey** opens the underlying map, the same destination as **Edit map** in the preview header.

<figure><img src="/files/S7HPq2gsL1LoDrREkmYk" alt="The details side panel for a linked journey node, showing the linked map&#x27;s name, description, and a Healthy performance indicator, with Preview and Go to journey buttons above the Personas, Card tags, and Comments sections."><figcaption><p>Linked journey node details, with Preview and Go to journey</p></figcaption></figure>

For the full set of fields a linked node can display and how to switch between condensed and custom layouts, see [How to use linked journey map cards](/journey-maps/cards/how-to-use-linked-journey-map-cards.md).

#### Related topics

<table data-column-title-hidden data-view="cards"><thead><tr><th>Article</th><th>What it covers</th><th data-hidden data-card-target data-type="content-ref">Target</th></tr></thead><tbody><tr><td><strong>How to choose between a journey map and a hierarchy map</strong></td><td>When to reach for a hierarchy map instead of a single journey map.</td><td><a href="/pages/ANYZEQ2NKtnOB6djd635">/pages/ANYZEQ2NKtnOB6djd635</a></td></tr><tr><td><strong>How to use linked journey map cards</strong></td><td>Every field a linked node can show, plus condensed and custom display settings.</td><td><a href="/pages/Q15UKTZ5abMpckZ716o9">/pages/Q15UKTZ5abMpckZ716o9</a></td></tr><tr><td><strong>How to create a journey map</strong></td><td>Build the underlying maps you link into a hierarchy.</td><td><a href="/pages/LfyJzQKJ0Sv9rMnQYKEQ">/pages/LfyJzQKJ0Sv9rMnQYKEQ</a></td></tr></tbody></table>


---

# Agent Instructions
This documentation is published with GitBook. GitBook is the documentation platform designed so that both humans and AI agents can read, navigate, and reason over technical content effectively. Learn more at gitbook.com.

## Querying This Documentation
If you need additional information that is not directly available in this page, you can query the documentation dynamically by asking a question.

Perform an HTTP GET request on the current page URL with the `ask` query parameter, and the optional `goal` query parameter:

```
GET https://helpdesk.smaply.app/hierarchy-maps/how-to-create-a-hierarchy-map.md?ask=<question>&goal=<endgoal>
```

`ask` is the immediate question: it should be specific, self-contained, and written in natural language.
`goal` is optional and describes the broader end goal you are ultimately trying to accomplish on behalf of the user. GitBook uses it to tailor the answer towards what is most useful for that goal.

The response will contain a direct answer to the question and relevant excerpts and sources from the documentation.

Use this mechanism when the answer is not explicitly present in the current page, you need clarification or additional context, or you want to retrieve related documentation sections.