> For the complete documentation index, see [llms.txt](https://helpdesk.smaply.app/llms.txt). Markdown versions of documentation pages are available by appending `.md` to page URLs; this page is available as [Markdown](https://helpdesk.smaply.app/journey-maps/cards/how-to-use-slider-cards.md).

# How to use slider cards

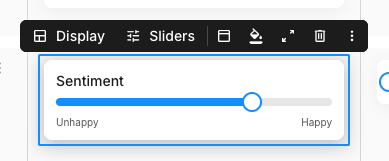
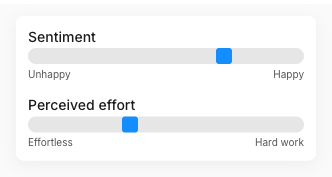
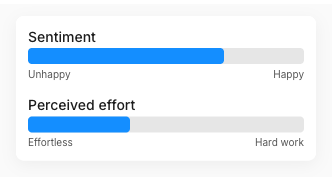
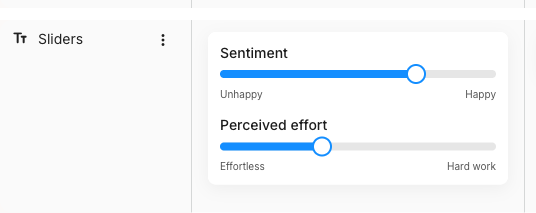
A slider card rates a step on a scale you define. It's a single handle on a track between two end labels, so you can show where a step lands between, say, Unhappy and Happy, or Low effort and High effort.

<figure><img src="/files/t2OtrXdjCzTaVLz65gQP" alt="A journey map lane labelled Sliders holding a slider card titled Sentiment. A single handle sits a little past the middle of a track, with the label Unhappy at the left end and Happy at the right end."><figcaption><p>A slider card scores a step between two end labels</p></figcaption></figure>

To add one, hover an empty cell and click **+ Add card**, then choose **Slider**. **Slider** sits under **BASIC CARDS** in the picker. A new slider card starts with no title, empty labels, and the handle at the left end, ready for you to set its title and labels in the card details panel.

***

#### How to set a slider card's title and labels

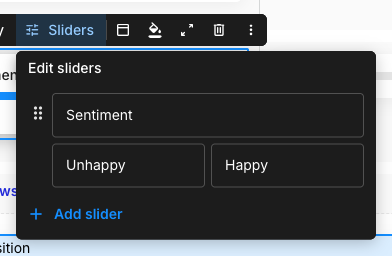
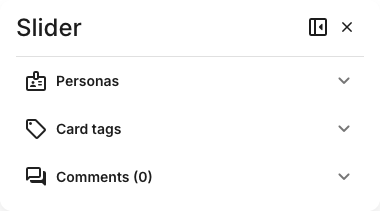
A slider card carries three things you set yourself: a title across the top and a label at each end of the track. All three live in the card details panel.

{% stepper %}
{% step %}
**Open the card details panel**

Select the card and click **Show card details** on the floating toolbar, or double-click the card. The panel opens on the right.
{% endstep %}

{% step %}
**Fill in Title, Start label, and End label**

**Title** names what the slider measures (for example, Sentiment). **Start label** is the text at the left end of the track and **End label** is the text at the right end (for example, Unhappy and Happy).
{% endstep %}

{% step %}
**Click Save**

The title and labels appear on the card. Use **Cancel** to discard your changes instead.
{% endstep %}
{% endstepper %}

<figure><img src="/files/1cNK855K2qAmIIQj9ESl" alt="The slider card details panel with three text fields: Title set to Sentiment, Start label set to Unhappy, and End label set to Happy. A Cancel button and a blue Save button sit below the fields, followed by collapsed Personas, Card tags, and Comments sections."><figcaption><p>Title, Start label, and End label in the card details panel</p></figcaption></figure>

These three fields are the whole of a slider card's setup. There's no numeric scale, no point count, and no before-and-after comparison to configure: the slider is one handle between the two labels you set.

***

#### How to set the value

Drag the handle along the track to the point that represents the step. The handle moves anywhere along the track, so you're placing it relative to the two end labels rather than picking a fixed number. Its position saves as you go.

<figure><img src="/files/LB7hNDxPfAXfo9In62zd" alt="Two slider cards side by side. The left card, titled Sentiment, has its handle a little past the middle between Unhappy and Happy. The right card is a new slider with no title, no labels, and its handle resting at the far left of the track."><figcaption><p>A new slider (right) starts at the left end; drag the handle to set the value</p></figcaption></figure>

***

#### What slider cards share with other cards

The title, end labels, and handle are what's specific to a slider card. Everything else on it is shared with every other card type:

* Accent colour, background style, and card header (the fill control and the buttons after it on the toolbar)
* Card details panel for personas, tags, and comments
* Duplicate, expand, shrink, and delete from the three-dot menu
* Multi-select with Shift+click

See [How to add and edit cards](/journey-maps/cards/how-to-add-and-edit-cards.md) for the canonical walkthrough of these mechanics.

***

#### Related topics

<table data-column-title-hidden data-view="cards"><thead><tr><th>Title</th><th>Description</th><th data-hidden data-card-target data-type="content-ref">Target</th></tr></thead><tbody><tr><td><strong>How to add and edit cards</strong></td><td>Parent how-to for shared card mechanics: toolbar, details panel, colours, and headers.</td><td><a href="/pages/DI00pTOdaJmOwltHKgIa">/pages/DI00pTOdaJmOwltHKgIa</a></td></tr><tr><td><strong>How to use text cards</strong></td><td>Add narrative notes alongside a rating and format the text.</td><td><a href="/pages/icqgg4Jls9Iv7VWRvRls">/pages/icqgg4Jls9Iv7VWRvRls</a></td></tr><tr><td><strong>How to use stage cards</strong></td><td>Mark the phases of a journey that your sliders score against.</td><td><a href="/pages/YeVZqUkvqujOSrFxYHsT">/pages/YeVZqUkvqujOSrFxYHsT</a></td></tr><tr><td><strong>How to add and manage lanes</strong></td><td>Add a lane to hold your slider cards, or any other lane type.</td><td><a href="/pages/cEW7pumNPGKdJ65EEAz7">/pages/cEW7pumNPGKdJ65EEAz7</a></td></tr><tr><td><strong>How to bulk edit cards</strong></td><td>Select multiple cards and apply tags, personas, or colours in one go.</td><td><a href="/pages/D239Y2x0Gzcz0VuWHA1p">/pages/D239Y2x0Gzcz0VuWHA1p</a></td></tr></tbody></table>


---

# Agent Instructions
This documentation is published with GitBook. GitBook is the documentation platform designed so that both humans and AI agents can read, navigate, and reason over technical content effectively. Learn more at gitbook.com.

## Querying This Documentation
If you need additional information that is not directly available in this page, you can query the documentation dynamically by asking a question.

Perform an HTTP GET request on the current page URL with the `ask` query parameter, and the optional `goal` query parameter:

```
GET https://helpdesk.smaply.app/journey-maps/cards/how-to-use-slider-cards.md?ask=<question>&goal=<endgoal>
```

`ask` is the immediate question: it should be specific, self-contained, and written in natural language.
`goal` is optional and describes the broader end goal you are ultimately trying to accomplish on behalf of the user. GitBook uses it to tailor the answer towards what is most useful for that goal.

The response will contain a direct answer to the question and relevant excerpts and sources from the documentation.

Use this mechanism when the answer is not explicitly present in the current page, you need clarification or additional context, or you want to retrieve related documentation sections.