How to use divider lanes
Split a journey map into clear sections with a full-width labelled line, useful for service-blueprint lines like Line of Visibility.
Last updated
Split a journey map into clear sections with a full-width labelled line, useful for service-blueprint lines like Line of Visibility.
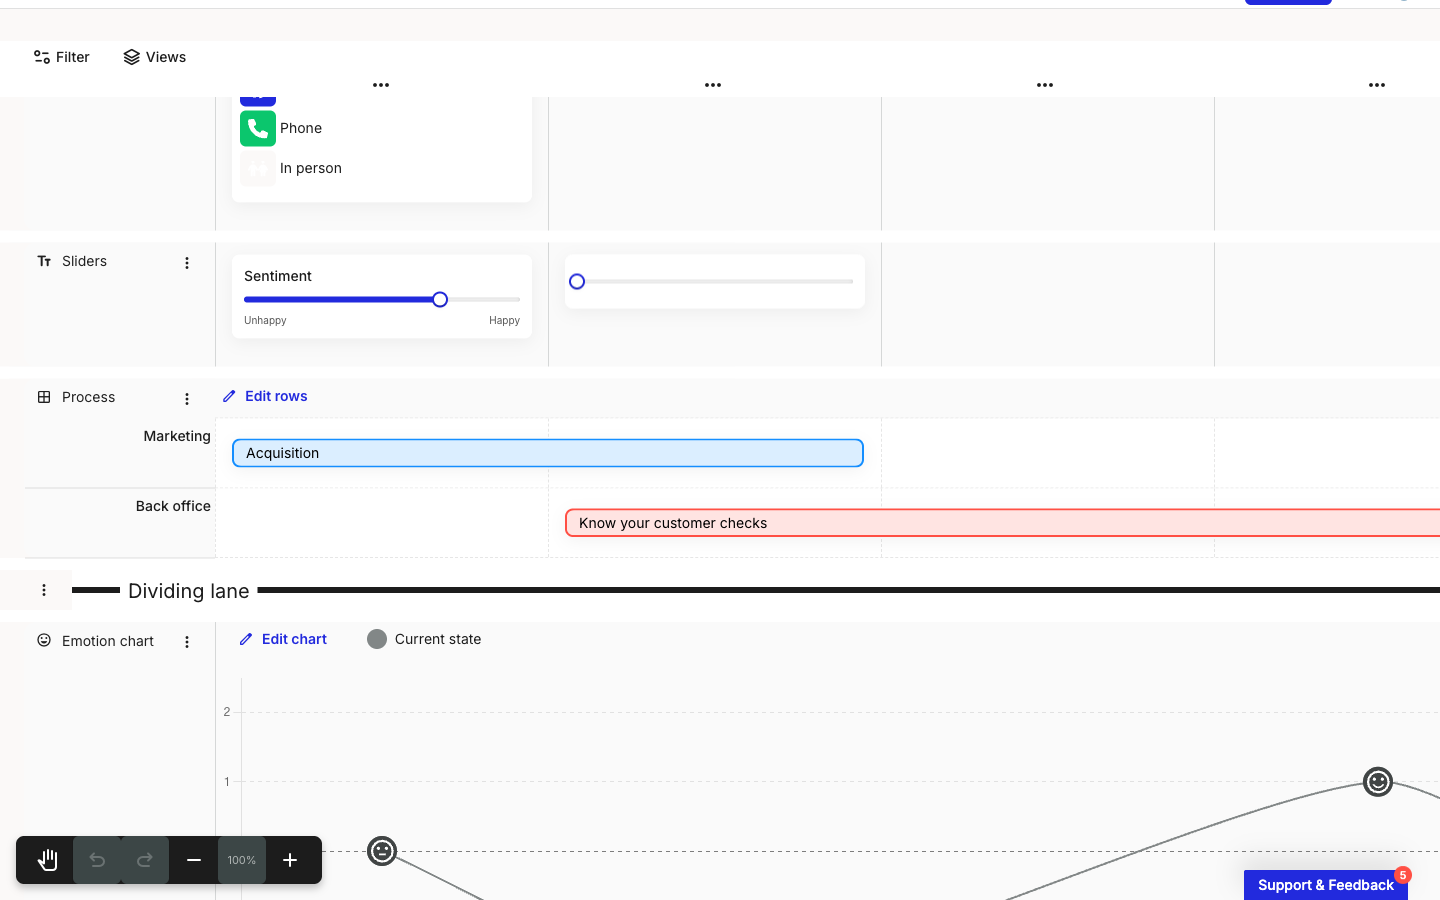
A divider lane draws a labelled horizontal line across the full width of a journey map, so you can visually separate one section from the next. It holds no cards. Add one the same way as any lane, from the + Add lane picker under BASIC LANES (see How to add and manage lanes), then label and style the line to suit.

Because a divider holds no cards, its lane menu is shorter than a standard lane's. The three-dot menu carries Pin lane, Edit divider, Duplicate lane below, Move lane up, Move lane down, and Delete lane, with no card or clipboard actions. Everything specific to a divider is set in the Edit divider lane modal.
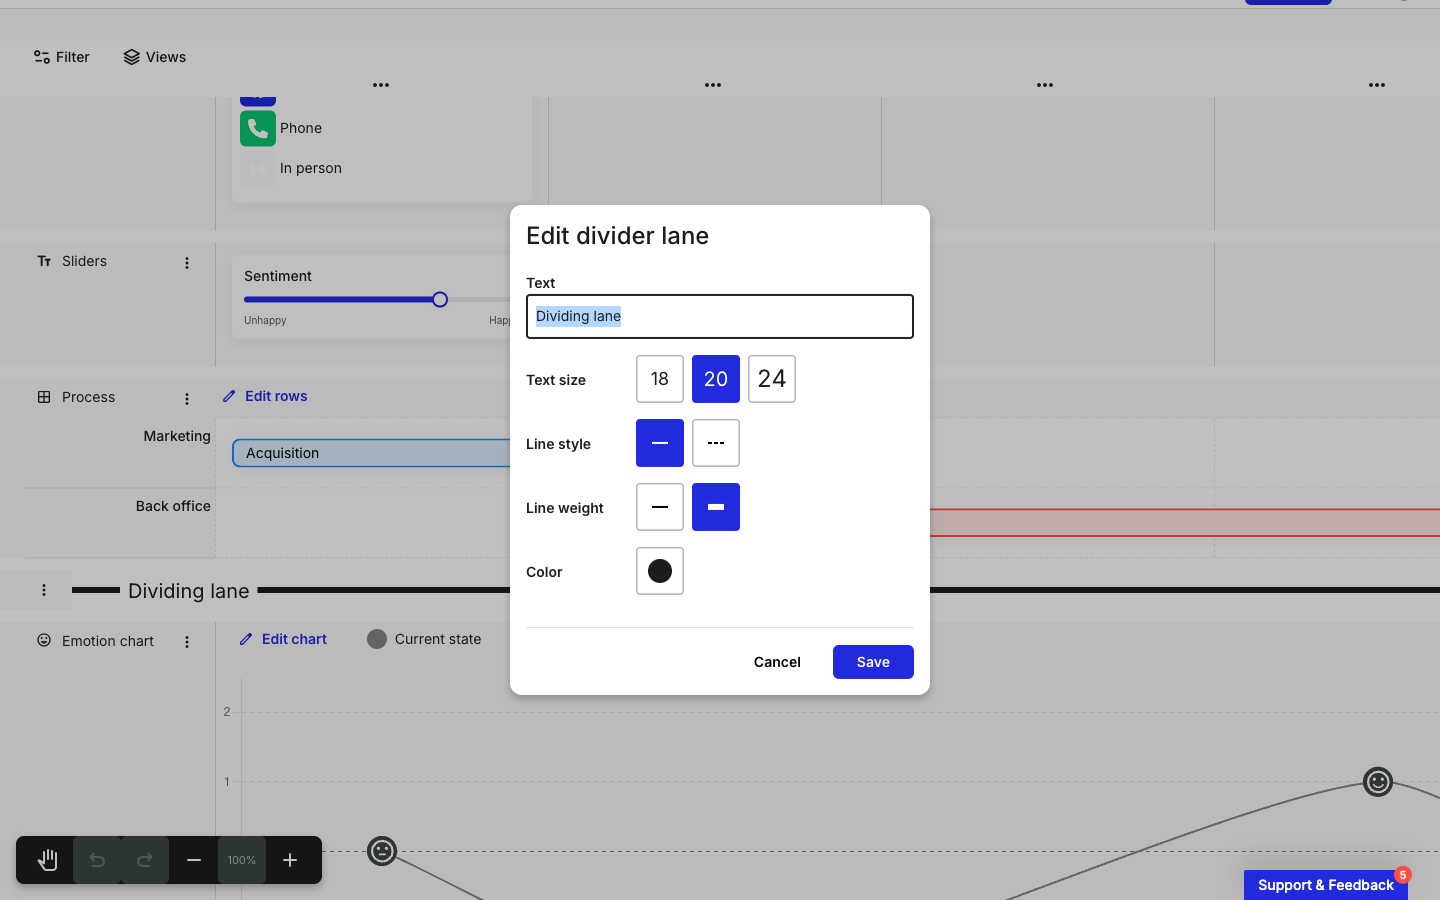
Open the divider lane's three-dot menu and click Edit divider to open the Edit divider lane modal.

The modal holds everything that defines the divider:
Text - the label shown on the line. Leave it blank for a plain line, or name the section it marks, for example a service-blueprint Line of Visibility.
Text size - 18, 20, or 24.
Line style - solid or dashed.
Line weight - thin or thick.
Color - the colour of the line and its label, set from the colour picker.
Click Save to apply your changes, or Cancel to close the modal without changing the divider.
Last updated