> For the complete documentation index, see [llms.txt](https://helpdesk.smaply.app/llms.txt). Markdown versions of documentation pages are available by appending `.md` to page URLs; this page is available as [Markdown](https://helpdesk.smaply.app/journey-maps/lanes/how-to-use-grid-lanes.md).

# How to use grid lanes

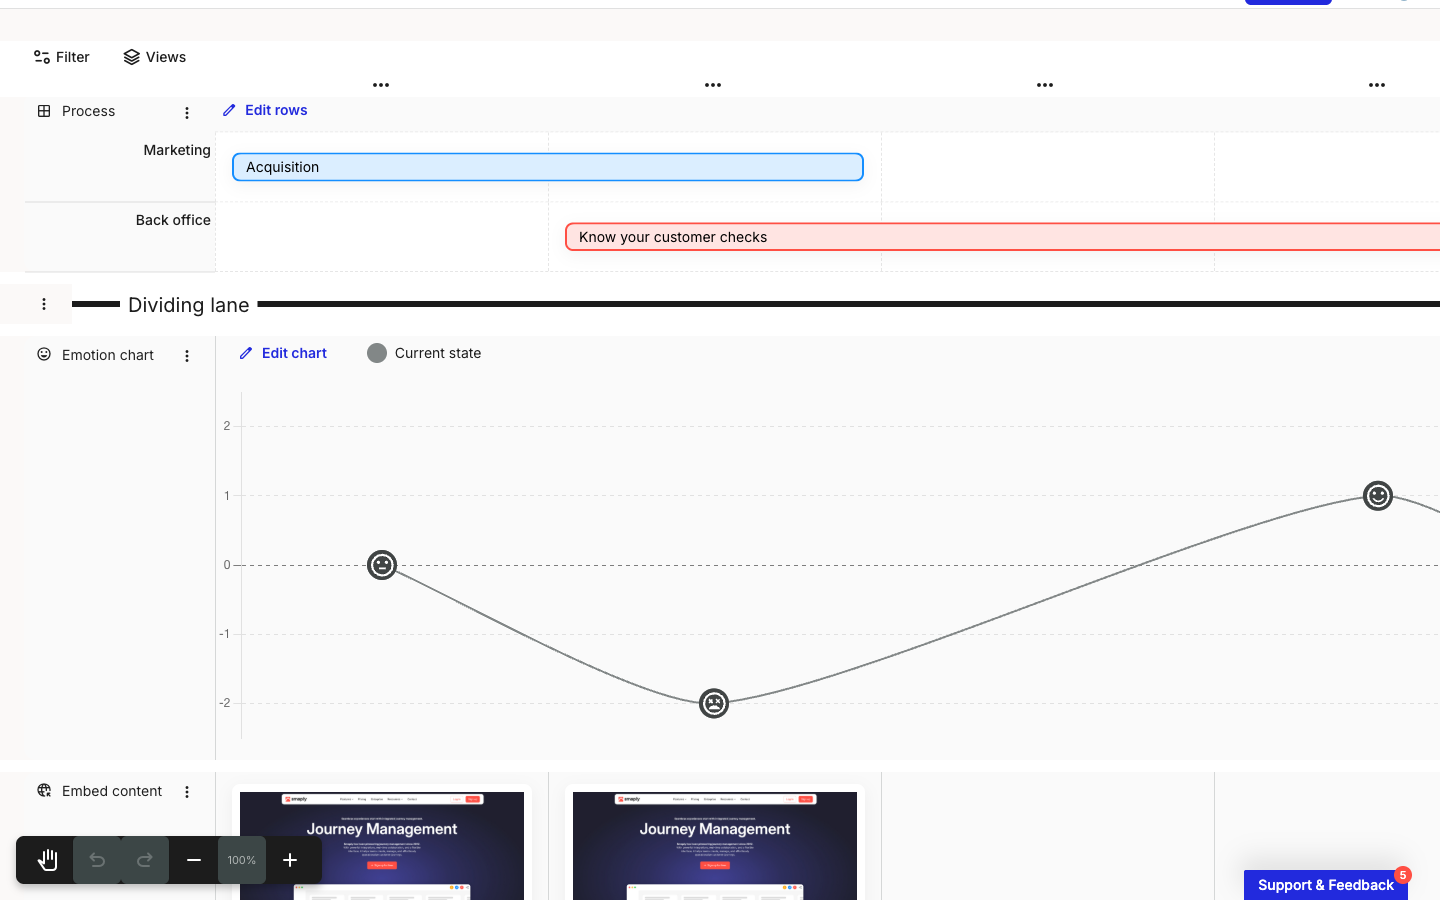
A grid lane is a single lane split into named rows (sometimes called swim lanes) that cross every column of your map, so you can lay out tables, per-channel breakdowns, or any matrix-style content in one block. Each cell sits where a row meets a column, and holds cards of any type.

<figure><img src="/files/fIU0jvHSSf9iT4EjtnnT" alt="A journey map editor showing a grid lane named Process. Two rows labelled Marketing and Back office run down the left of the lane, crossing the map&#x27;s step columns. A blue Edit rows link sits at the top-left of the lane. The Marketing row holds a blue text card reading Acquisition, and the Back office row holds a red text card reading Know your customer checks."><figcaption><p>A grid lane: named rows crossing the map's columns, each cell holding cards</p></figcaption></figure>

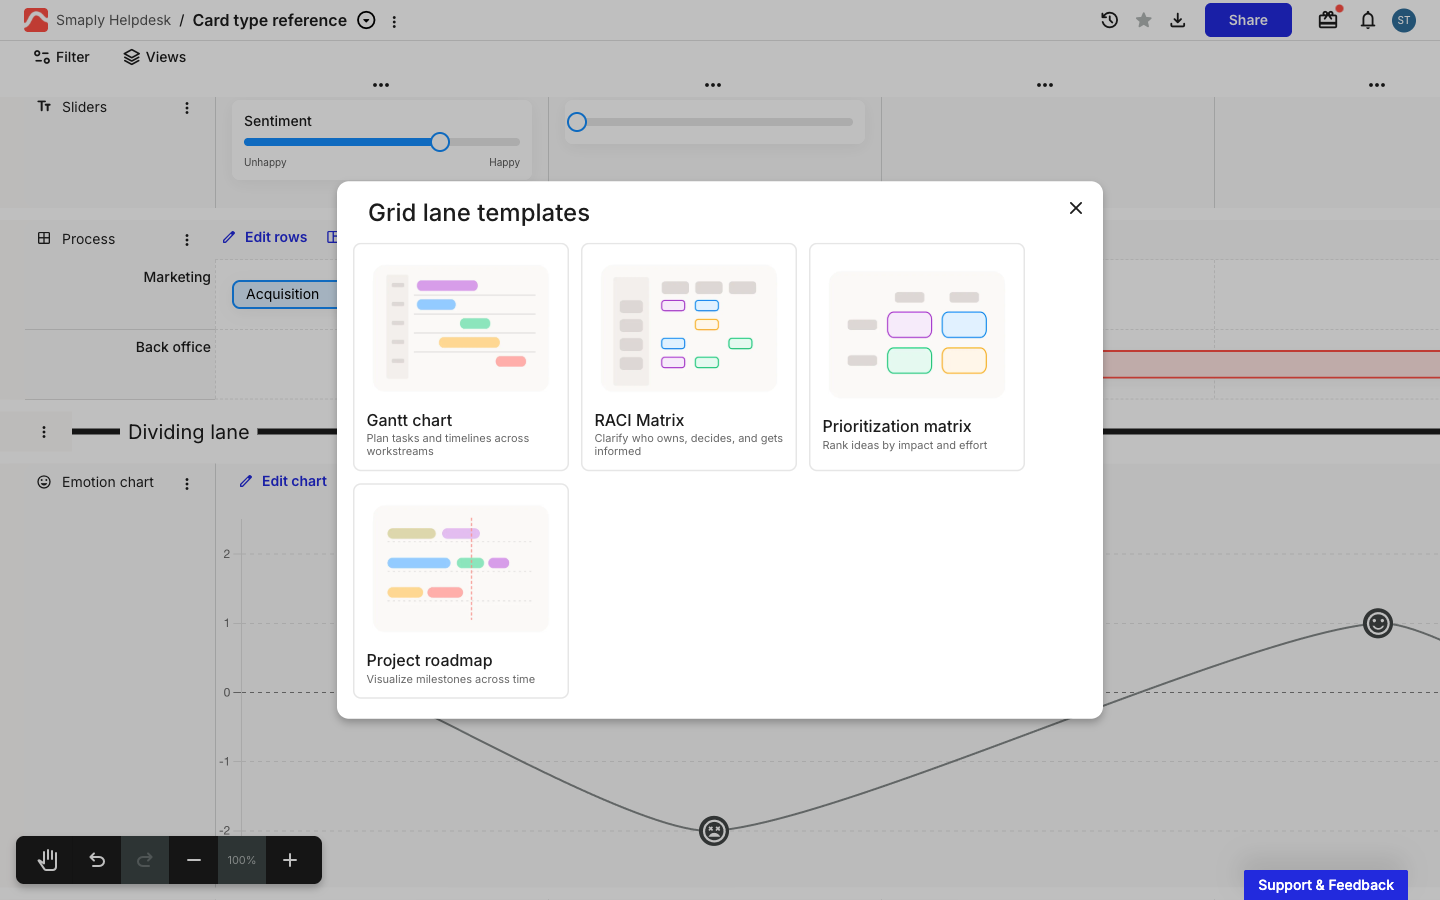
To add a grid lane, use the **+ Add lane** picker and choose **Grid** under **BASIC LANES**, the same way you add any other lane. See [How to add and manage lanes](/journey-maps/lanes/how-to-add-and-manage-lanes.md) for the full add and manage flow.

***

#### How to set up the rows

A grid lane's rows are the dimensions you're laying out down the side, like teams, channels, or systems. Define them from the **Edit rows** link at the top-left of the lane.

{% stepper %}
{% step %}
**Open Edit rows**

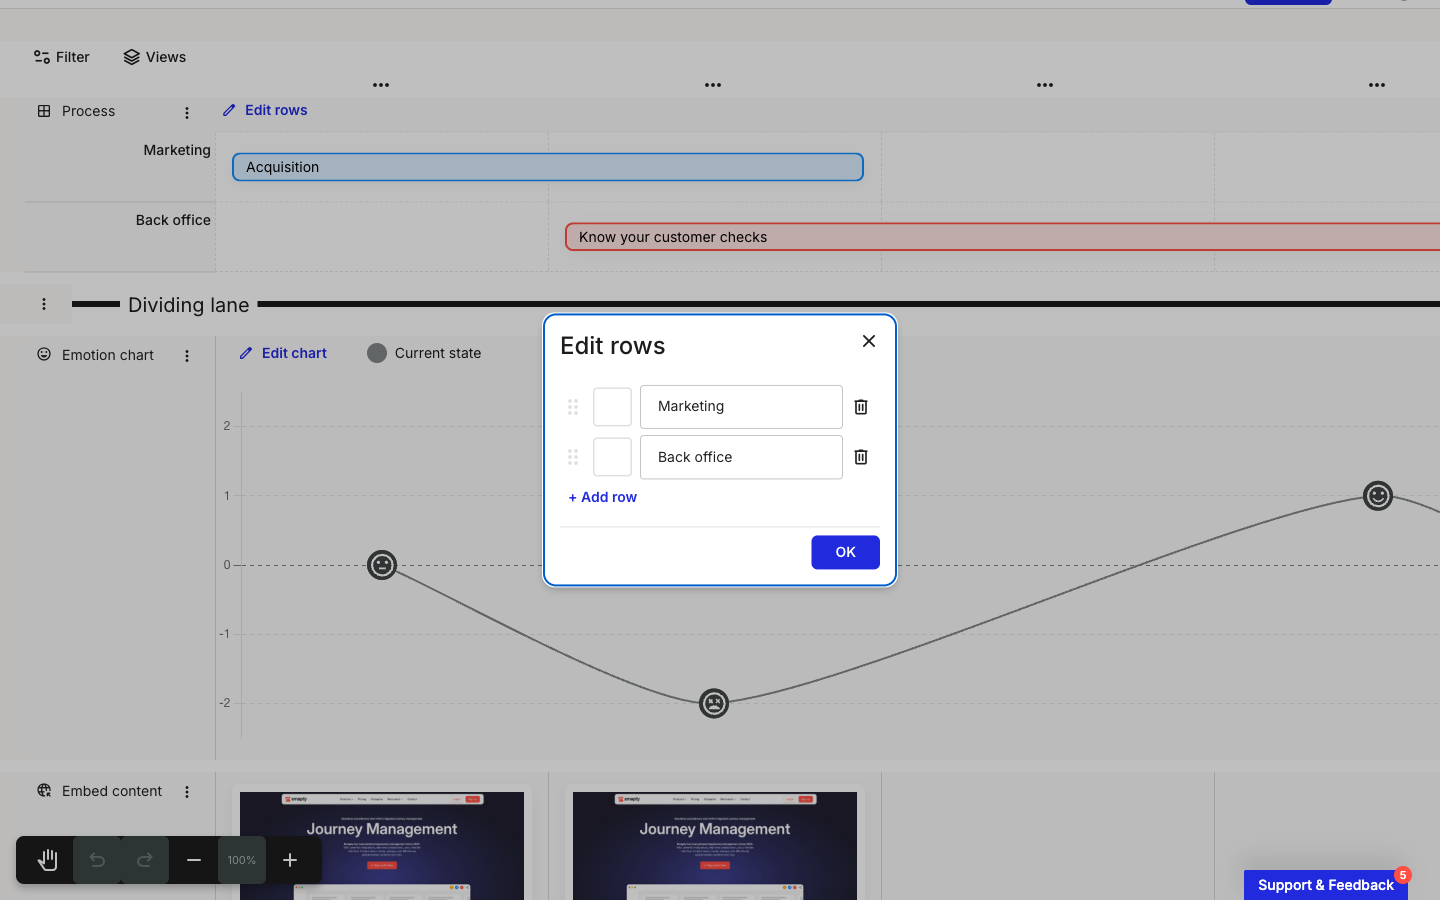
Click **Edit rows** at the top-left of the grid lane. The **Edit rows** dialog opens, listing the rows the lane currently has.
{% endstep %}

{% step %}
**Add, rename, recolour, or reorder the rows**

Click **+ Add row** to add a row, and type a name in each row's name field. The colour swatch on each row sets that row's background colour, the drag handle reorders the rows, and the trash icon deletes a row. Click **OK** to apply.
{% endstep %}
{% endstepper %}

<figure><img src="/files/IWPndN3AXMwIplRjeNsQ" alt="The Edit rows dialog open over a grid lane. It lists two rows, Marketing and Back office, each with a drag handle, a colour swatch, a name field, and a delete icon. A + Add row link sits below the rows, and an OK button is at the bottom right."><figcaption><p>Edit rows: name, recolour, reorder, or delete each row</p></figcaption></figure>

The row names then run down the left of the lane, one per row, and each row stretches across all of the map's columns.

***

#### How cards work in a grid cell

Each cell is where a row crosses a column, and it can hold cards of any type, which is what makes a grid flexible: a text card for a note, an icon card to show the channels active at that step, a metric, or anything else. Text cards are the default, so adding a card to an empty cell gives you a text card unless you pick another type, and a cell can hold more than one card, stacked vertically.

Adding and editing cards in a grid cell works the same as anywhere else on the map. See [How to add and edit cards](/journey-maps/cards/how-to-add-and-edit-cards.md) for the card add flow and shared mechanics, and [How to use text cards](/journey-maps/cards/how-to-use-text-cards.md) for the cell default.

For an applied example, here's using a grid lane to build a service-blueprint process view:

{% embed url="<https://www.loom.com/share/dec99e2a069d4324b13dbd1ee265b3aa>" %}

***

#### Related topics

<table data-column-title-hidden data-view="cards"><thead><tr><th>Title</th><th>Description</th><th data-hidden data-card-target data-type="content-ref">Target</th></tr></thead><tbody><tr><td><strong>How to add and manage lanes</strong></td><td>Add a grid lane, reorder it, recolour it, or delete it, alongside every other lane type.</td><td><a href="/pages/cEW7pumNPGKdJ65EEAz7">/pages/cEW7pumNPGKdJ65EEAz7</a></td></tr><tr><td><strong>How to add and manage columns</strong></td><td>Set up the step columns that a grid lane's rows cross.</td><td><a href="/pages/WNBA1RdaCt3rMhxOcLHD">/pages/WNBA1RdaCt3rMhxOcLHD</a></td></tr><tr><td><strong>How to add and edit cards</strong></td><td>Add cards to a grid cell and manage their tags, personas, and comments.</td><td><a href="/pages/DI00pTOdaJmOwltHKgIa">/pages/DI00pTOdaJmOwltHKgIa</a></td></tr><tr><td><strong>How to use text cards</strong></td><td>Write and format the text cards that fill grid cells by default.</td><td><a href="/pages/icqgg4Jls9Iv7VWRvRls">/pages/icqgg4Jls9Iv7VWRvRls</a></td></tr><tr><td><strong>How to use divider lanes</strong></td><td>Separate sections of a map with a labelled horizontal divider.</td><td><a href="/pages/zzJGjcbYJh57GoelmXzE">/pages/zzJGjcbYJh57GoelmXzE</a></td></tr></tbody></table>


---

# Agent Instructions
This documentation is published with GitBook. GitBook is the documentation platform designed so that both humans and AI agents can read, navigate, and reason over technical content effectively. Learn more at gitbook.com.

## Querying This Documentation
If you need additional information that is not directly available in this page, you can query the documentation dynamically by asking a question.

Perform an HTTP GET request on the current page URL with the `ask` query parameter, and the optional `goal` query parameter:

```
GET https://helpdesk.smaply.app/journey-maps/lanes/how-to-use-grid-lanes.md?ask=<question>&goal=<endgoal>
```

`ask` is the immediate question: it should be specific, self-contained, and written in natural language.
`goal` is optional and describes the broader end goal you are ultimately trying to accomplish on behalf of the user. GitBook uses it to tailor the answer towards what is most useful for that goal.

The response will contain a direct answer to the question and relevant excerpts and sources from the documentation.

Use this mechanism when the answer is not explicitly present in the current page, you need clarification or additional context, or you want to retrieve related documentation sections.