For the complete documentation index, see llms.txt. This page is also available as Markdown.

How to import from image

Turn a screenshot of a journey map from any tool into an editable Smaply journey map that AI rebuilds for you.

Have a journey map living in a screenshot, a slide, or a whiteboard frame? Upload the image and Smaply's AI rebuilds it as a new, editable journey map. To start, open Journey maps, click Import in the toolbar, choose Image or screenshot, upload your file, and click Import.

Importing journey maps is available on the Repository plan and above.

Prerequisites

How to import a journey map from an image

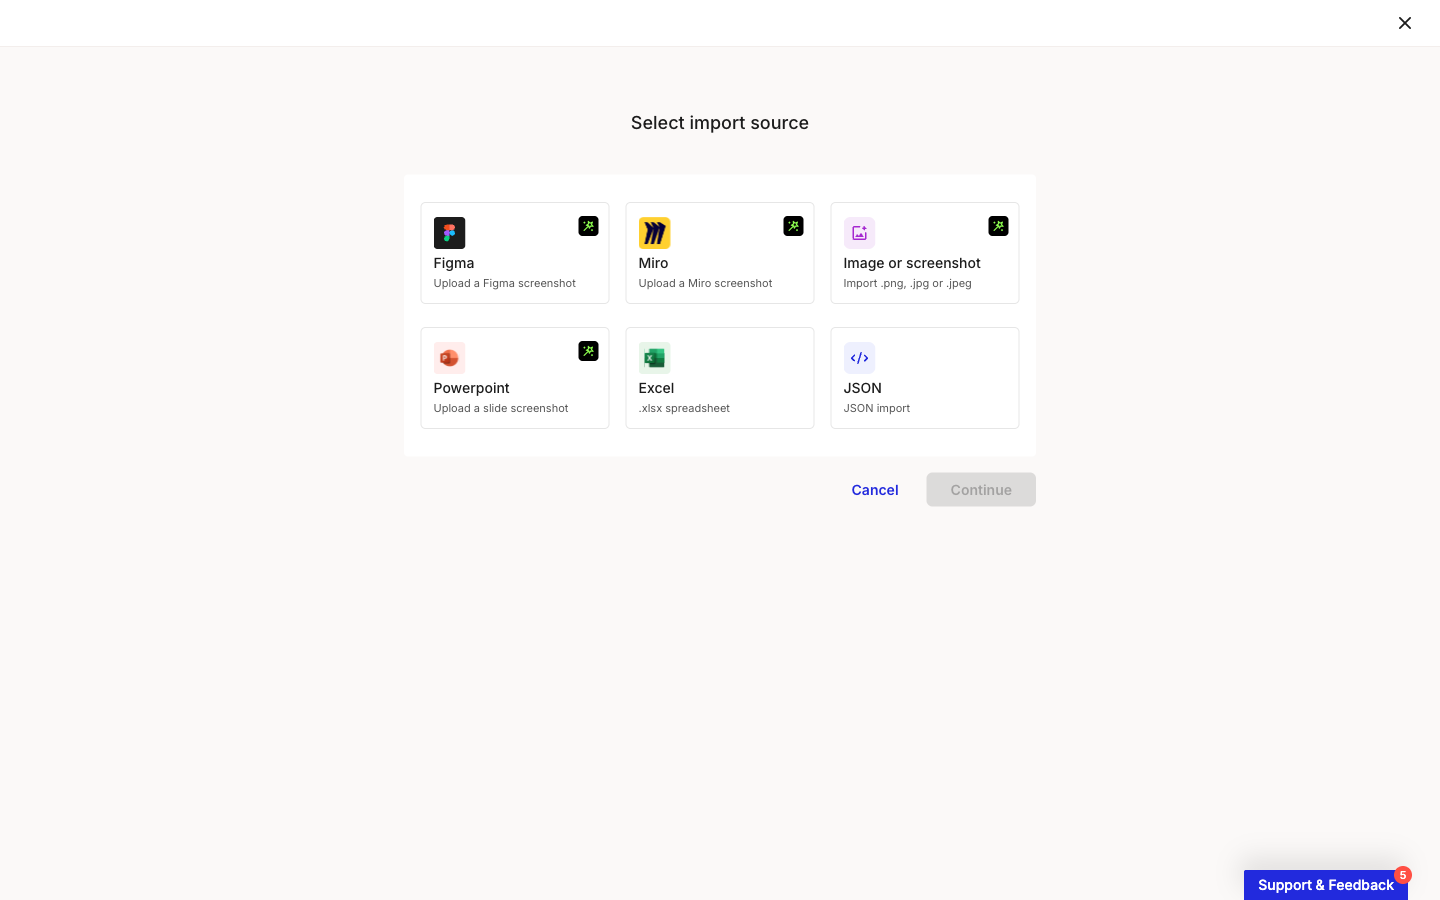
The Select import source modal offers six sources. Four are AI-powered and image-based: Figma, Miro, Image or screenshot, and Powerpoint. They all lead to the same upload step and produce the same result, so the tool-named cards are conveniences, not separate importers. Pick whichever matches where your image came from. For help getting a clean image out of a specific tool, see How to import from Miro, How to import from Figma, or How to import from PowerPoint. The other two sources, Excel and JSON, are not AI imports and have their own articles: see How to import from Excel and How to import from JSON.

1

Open the import flow

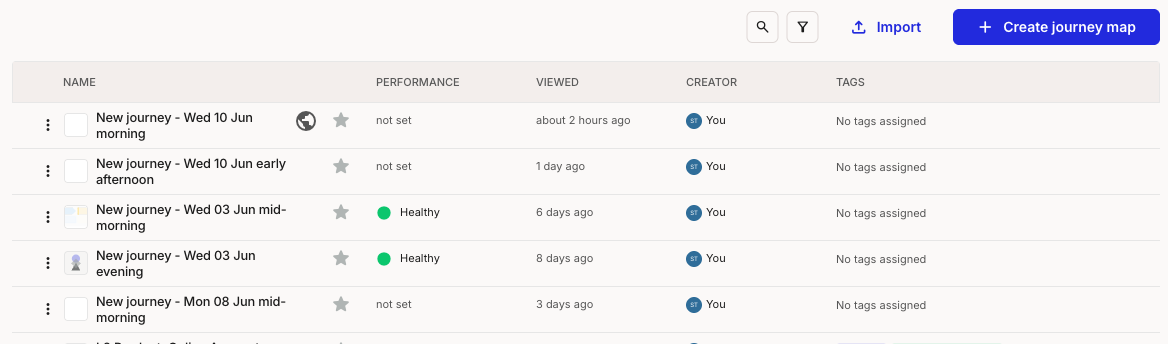
In a workspace, open Journey maps and click Import in the toolbar, next to Create journey map.

A journey maps list with a toolbar in the top right. The toolbar has search and filter icons, an Import button, and a Create journey map button.
Journey maps > Import
2

Pick a source and click Continue

Choose Image or screenshot (or the card for the tool your image came from), then click Continue. The Excel and JSON cards are separate, non-AI imports covered in their own articles.

The Select import source modal showing six cards: Figma, Miro, Image or screenshot, and Powerpoint marked with an AI icon, plus an Excel card labelled .xlsx spreadsheet and a JSON card labelled JSON import. Cancel and Continue buttons sit at the bottom.
Select import source
3

Upload or paste your image

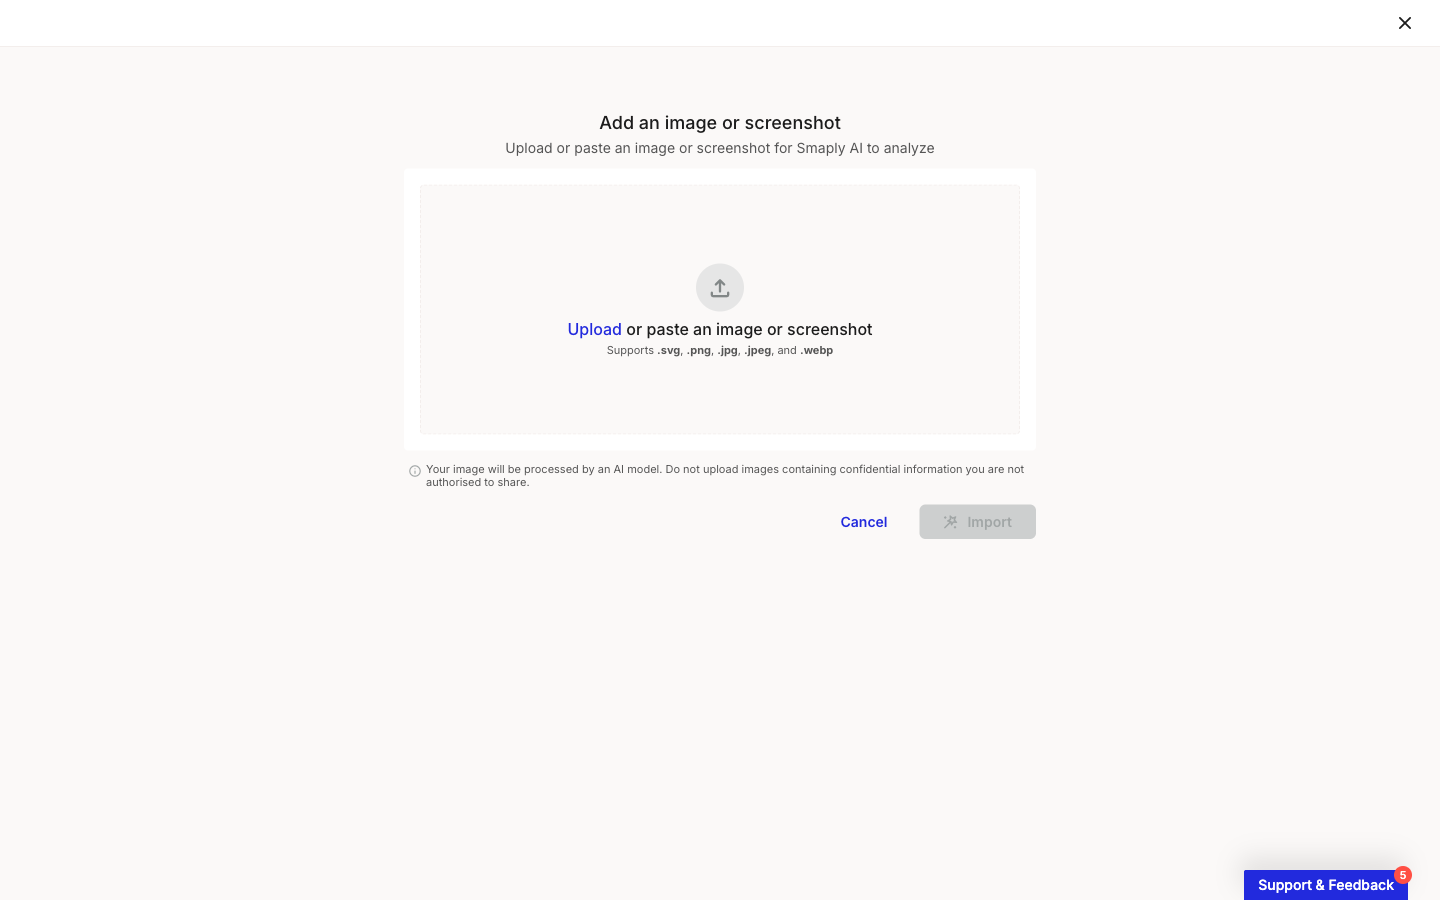
On the Add an image or screenshot step, drag a file into the dropzone, click Upload, or paste an image from your clipboard. Smaply accepts .svg, .png, .jpg, .jpeg, and .webp. Then click Import.

The Add an image or screenshot step with a large dropzone reading Upload or paste an image or screenshot, and a note listing supported formats. An Import button sits at the bottom right.
Add an image or screenshot

Important: Your image is processed by an AI model

4

Wait for the map to build

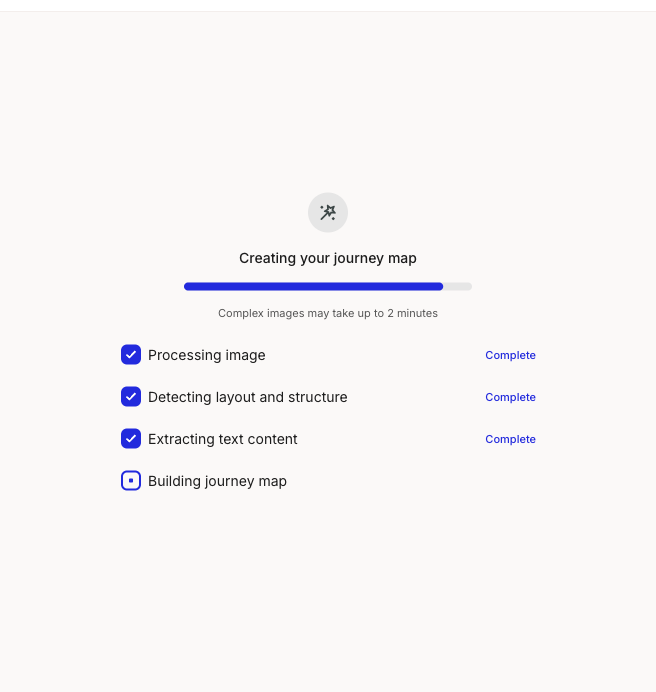
The Creating your journey map modal runs through processing the image, detecting layout and structure, extracting text, and building the map. Complex images may take up to two minutes. When it finishes, the new journey map opens in the editor.

The Creating your journey map modal with a progress bar and a checklist: Processing image, Detecting layout and structure, and Extracting text content marked complete, and Building journey map in progress.
Creating your journey map

Get a good import

The AI reads your image the way a person would, so a clear picture produces a cleaner map. To get the best result:

  • Use a high-resolution image so labels and card text stay legible.

  • Keep one journey map or frame per image. Crop out menus, toolbars, and anything that isn't the map.

  • Make sure all text is readable at full size, not blurred or cut off.

  • Save in an accepted format: .svg, .png, .jpg, .jpeg, or .webp. PDFs are not accepted, so export a slide or frame as an image rather than a PDF.

What to expect from the AI

The import reconstructs a journey map from a picture. It is a fast way to get a structured starting point into Smaply, not a lossless copy. Treat the result as a first draft: open it in the editor and check the stages, lanes, and card text against your original, then fix anything the AI read incorrectly. There is no live connection to Miro, Figma, or any other tool, and no way to paste a tool URL. The import works entirely from the image you upload.

To re-import a map you previously exported from Smaply as JSON, pick the JSON card on the Select import source step. See How to import from JSON.

Last updated