How to import from Miro
Bring a Miro board into Smaply as a journey map by exporting it as an image.
Bring a journey map you built in Miro into Smaply, where AI rebuilds it as an editable journey map.
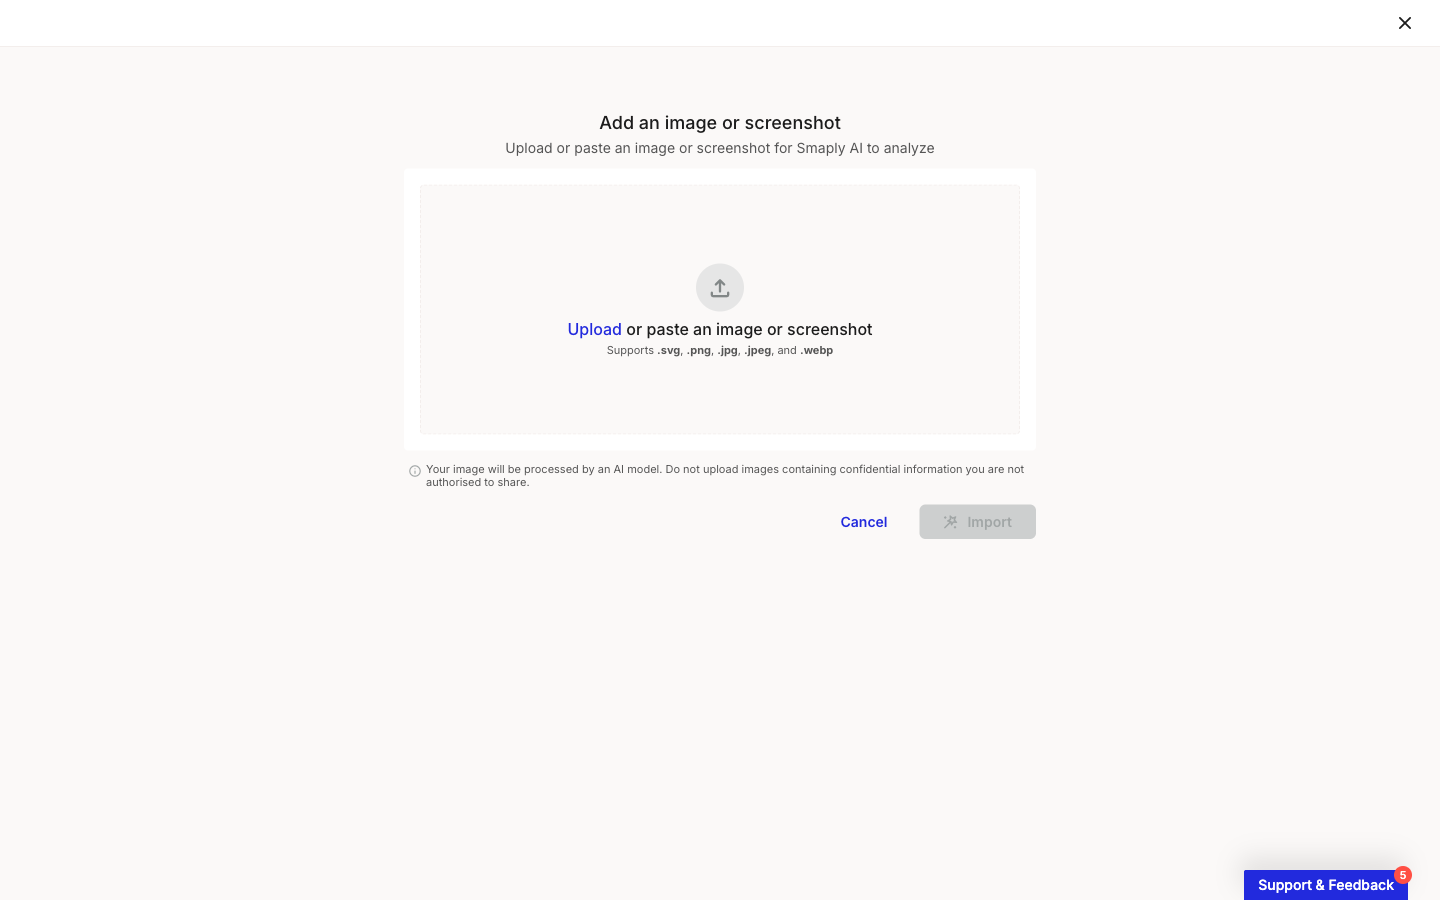
Smaply imports an image and AI turns it into a journey map, so the job is to get a clean image out of Miro first, then upload it. The import itself is the same for every source. This page covers the Miro export; How to import from image covers the upload flow and what to expect.
How to export your Miro board as an image
Export the single frame that holds your journey map, not the whole canvas. A tightly cropped frame at high resolution gives the AI the clearest text to read.
Quick route: Copy as image
Right-click the frame (or the objects you want) and choose Copy as image. Miro copies the selection to your clipboard as a PNG. Paste it into Preview, Paint, or any image editor and save it as a .png. This is the cleanest way to get one frame out, and PNG keeps text crispest for the AI.
Or save a selected area as an image
In the top-left corner, open the three-dots (...) menu, go to Board, and choose Save as image. Drag to select the area around your journey map, pick an image size, and click Export. Raster sizes (Small, Medium, Large) download as JPG; the Vector option produces SVG or PDF.
Choose a Smaply-friendly format
Smaply accepts .png, .jpg, .jpeg, .svg, and .webp, but not PDF. From the Save as image menu, choose a raster size for JPG, or pick the Vector option and choose SVG rather than PDF. JPG or PNG at the largest size is the safe default; SVG is sharpest for maps that are mostly text and shapes.
Tip: Export at the largest size your plan allows
The bigger and sharper the image, the more reliably the AI reads your card text. Free Miro plans export at Small size only, which can be too low-resolution for dense maps. If Save as image is greyed out, the board owner may have turned off exporting.
If your journey map fits on one screen at a readable zoom, an operating-system screenshot works too: zoom the frame to fit, hide side panels, and capture tightly around the map (Cmd+Shift+4 on macOS, Win+Shift+S on Windows). For maps wider than the viewport, use the real export so nothing is cut off.
Import it into Smaply
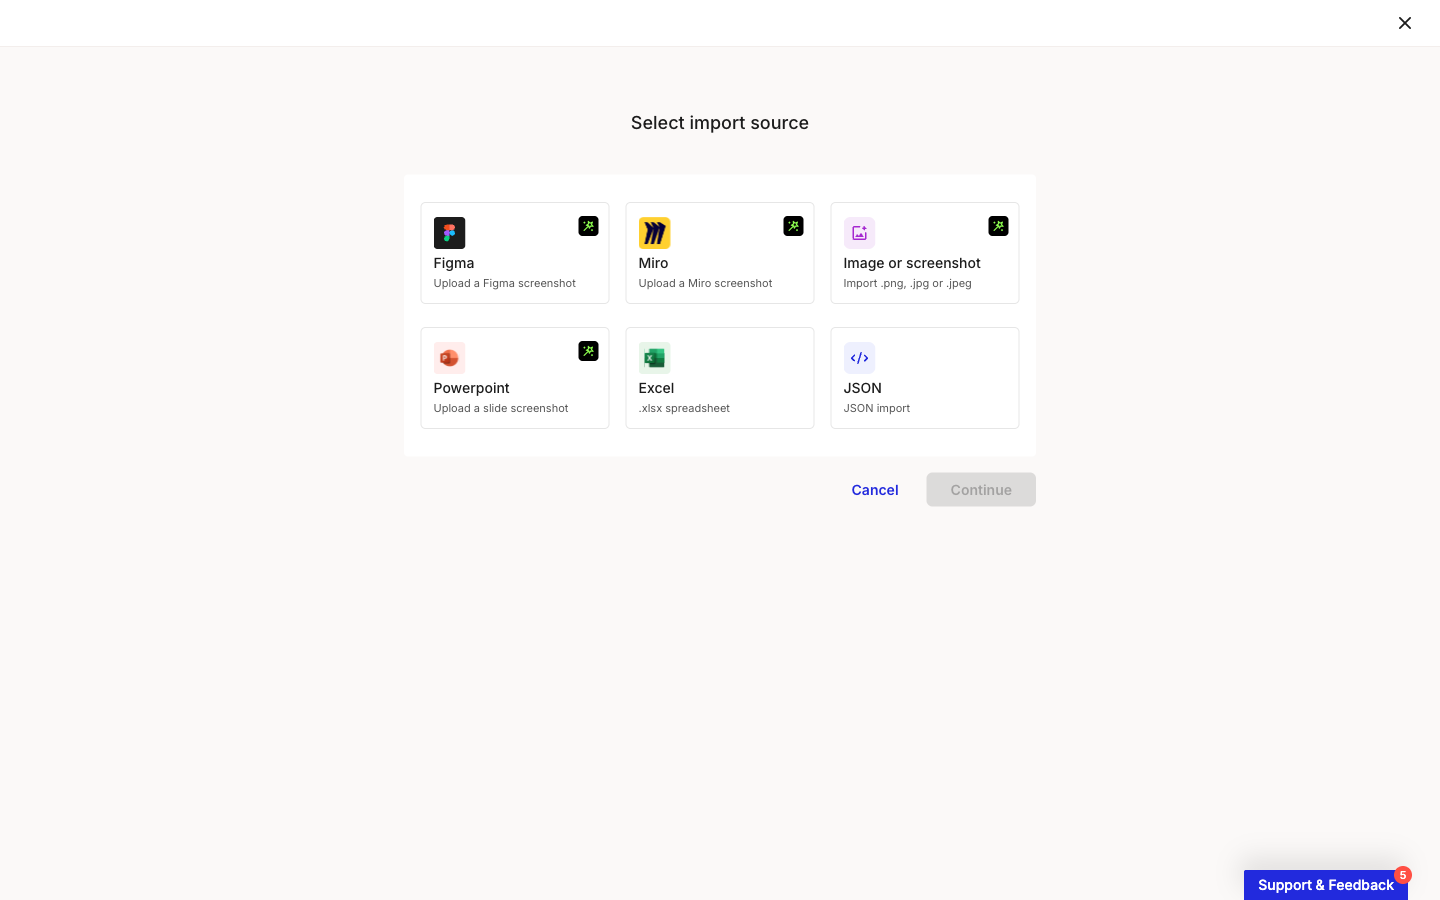
In a workspace, open Journey maps and click Import. In the Select import source modal, choose the Miro card, click Continue, then upload your exported image and click Import.


For the full flow and what to expect, see How to import from image.
The AI reconstruction is a starting point, not a structure-preserving copy. Review the generated map and adjust lanes, cards, and text before relying on it.
Related topics
Last updated