How to import from UXPressia
Export a UXPressia journey map as CSV or PNG, then pick the Smaply import source that matches the file.
Bring a journey map you built in UXPressia into Smaply as an editable journey map.
Export the map from UXPressia as a CSV, then import it in Smaply with the Excel source. A CSV keeps your lanes and steps as a grid, so Smaply reads the structure directly instead of rebuilding it from a picture. If your UXPressia plan doesn't offer CSV, export a PNG and use Image or screenshot instead.
This page covers the UXPressia export and which import source to pick. How to import from Excel and How to import from image cover the upload flow itself.
How to export your journey map from UXPressia
Open the map and click Export
Open the journey map you want to move, then click Export in the top bar above the map editor. A pop-up opens where you pick a format.
Pick CSV, or PNG if CSV isn't available
Pick CSV to keep your lanes and steps as rows and columns. Pick PNG if CSV isn't offered on your plan, or if the CSV doesn't carry something you need to keep.
Where each format lands in Smaply:
CSV
Excel
A direct parse of your rows and columns, with no AI step.
PNG
Image or screenshot
An AI reconstruction of the map from the picture.
PPTX
Powerpoint, after saving the slide as an image
An AI reconstruction of the map from the picture.
Not accepted
Nothing. Smaply's image import takes .svg, .png, .jpg, .jpeg, and .webp only, so export again as CSV or PNG.
How to import from PowerPoint covers the slide-to-image route.
Import your UXPressia file into Smaply
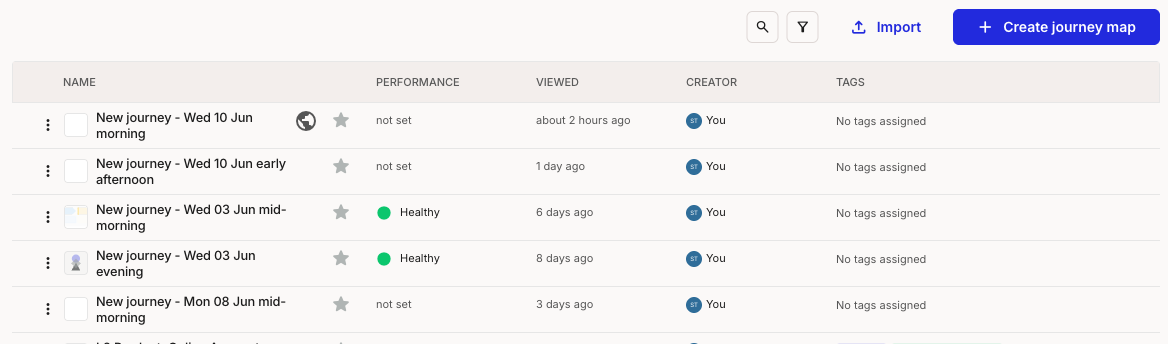
In a workspace, open Journey maps and click Import in the toolbar, next to Create journey map.

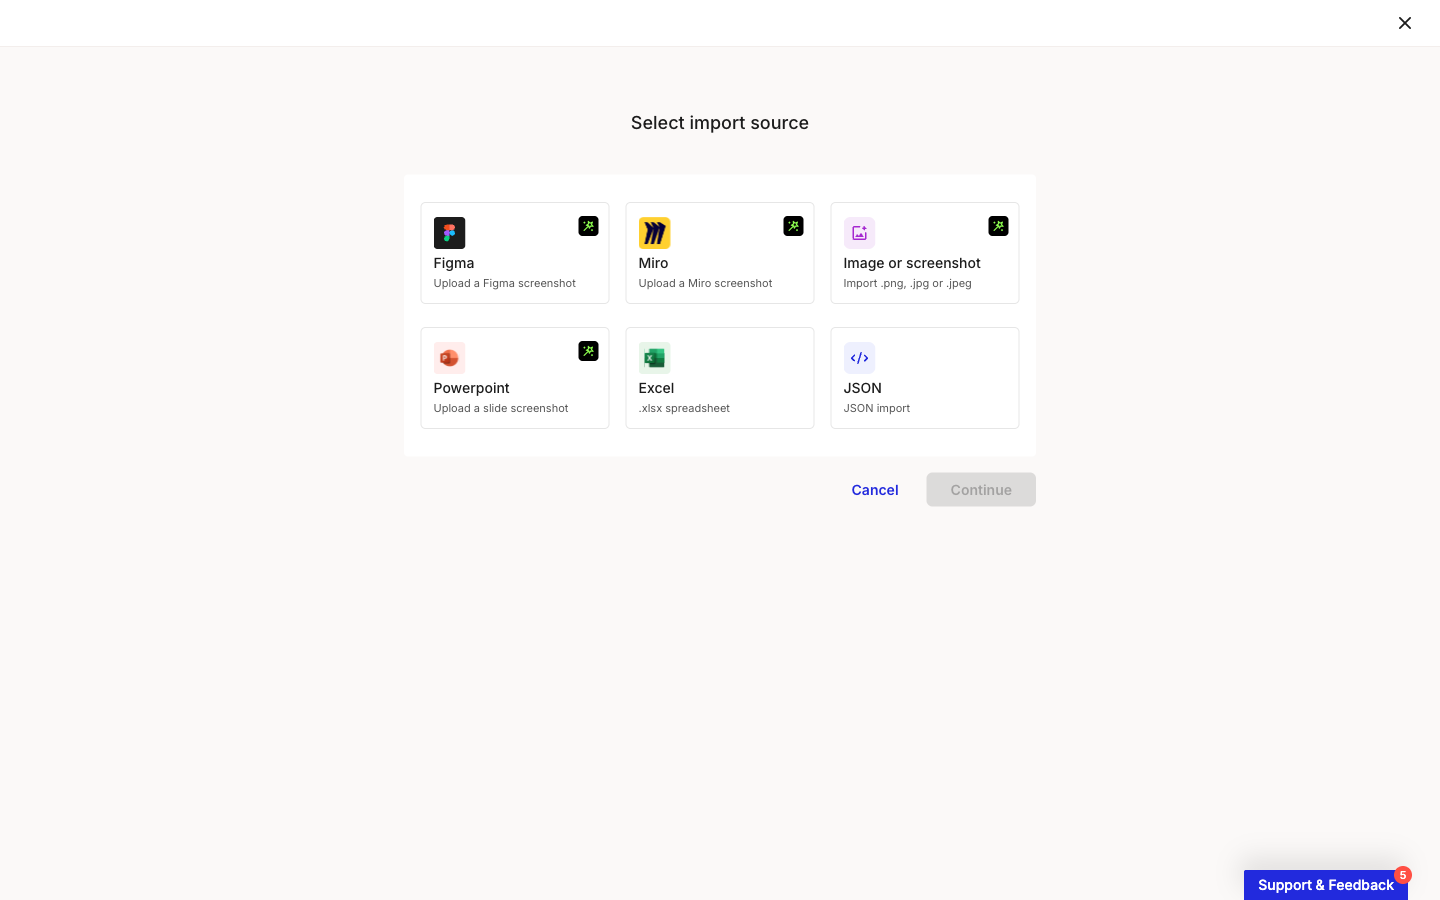
There is no UXPressia card in the Select import source modal. Pick the card that matches the file you exported, then click Continue.

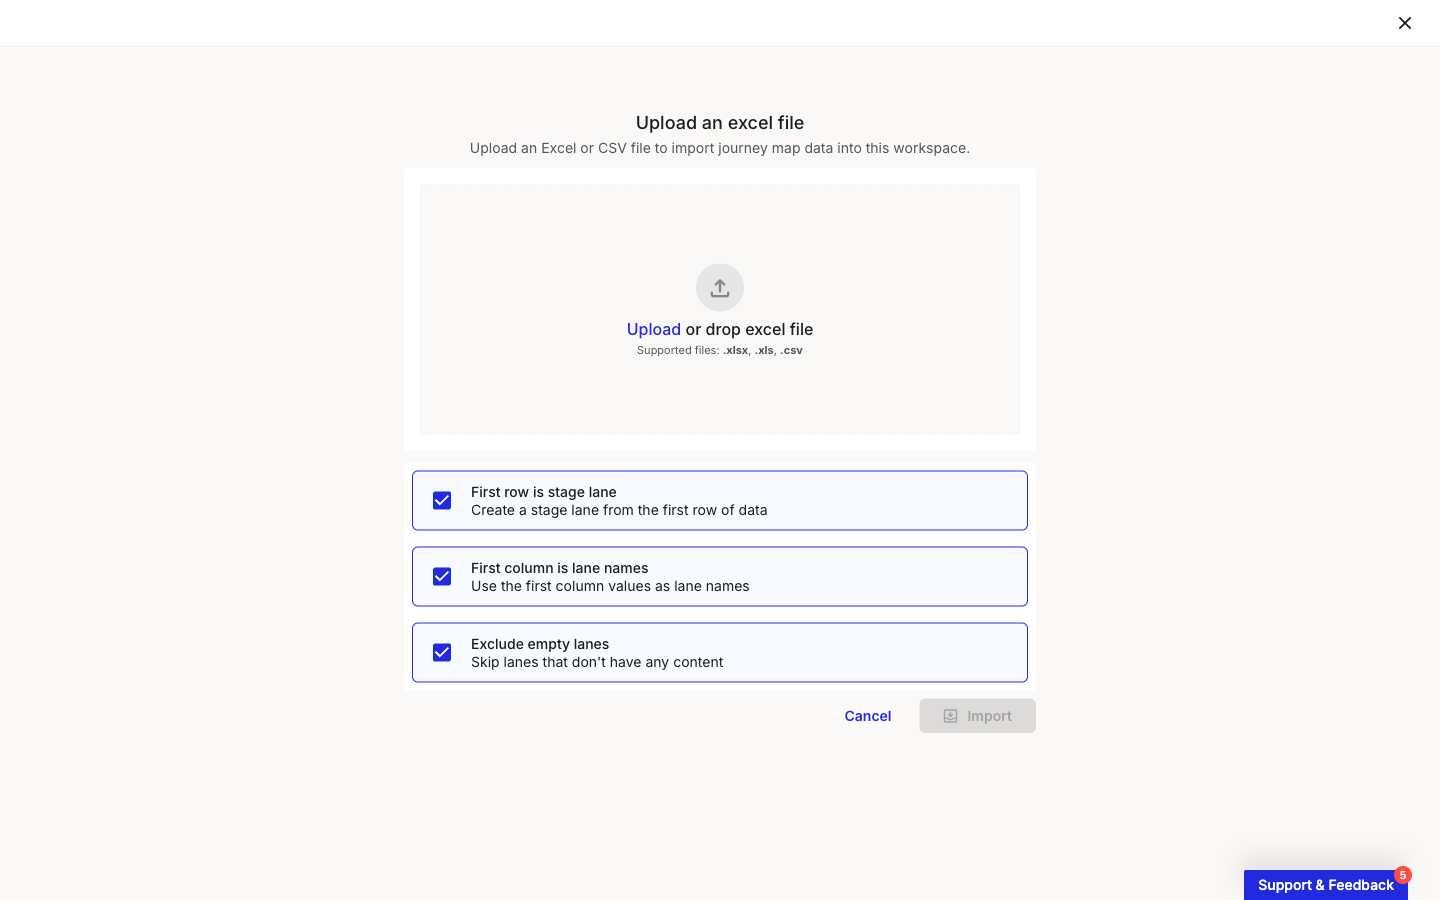
For a CSV - Choose Excel, the ".xlsx spreadsheet" card. The Upload an excel file step accepts .xlsx, .xls, and .csv, so a CSV goes in as it is. See How to import from Excel for the full flow.
For a PNG - Choose Image or screenshot, then upload the file and click Import. See How to import from image for the full flow and what to expect.
Check the mapping options against your UXPressia CSV
The Upload an excel file step has three options below the dropzone. All three are on by default:
First row is stage lane - Creates a stage lane from the first row of data.
First column is lane names - Uses the values in the first column as lane names.
Exclude empty lanes - Skips lanes that have no content.

A UXPressia CSV comes out grid-shaped, with lanes as rows and steps as columns, which is the layout these options expect. Open the file in a spreadsheet app before you upload it and check two things: whether the top row holds your stage names, and whether the left column holds your lane names. If the top row holds content instead of stage names, turn off First row is stage lane. If the left column holds content instead of lane names, turn off First column is lane names. Smaply then keeps the value as a card rather than a heading.
Related topics
Last updated