How to add portfolio items to a journey map
Add portfolio items from the Portfolio or Research Hub to a journey map in one action, with Smaply AI placing each on its step.
Add one or more portfolio items to a journey map at once, from wherever you're already working with them: the Portfolio or a Research Hub investigation. Smaply AI places each item on the step it best matches, and you confirm or adjust before anything is added.
Both starting points lead to the same flow: pick a journey map, then confirm where each item lands.
Portfolio - Select existing portfolio items directly from the Table or Board view.
Research Hub - Select insights from an investigation. Unpromoted insights are turned into portfolio items as part of the flow.
Start from the Portfolio
Select items with the row checkboxes in the Table view, or Cmd-click (Mac) / Ctrl-click (Windows) cards in the Board view. A bulk-action bar appears at the bottom with Tags, Add to account library, Add to journey map, and Delete. Click Add to journey map.

You can select items of different types together. A mix of pain points, opportunities, and solutions all go through the same flow and land together.
Start from Research Hub
Open an investigation and select insights with their row checkboxes in the Insights panel. The Bulk edit bar shows Add to portfolio, Add to journey map, and Delete. Click Add to journey map.

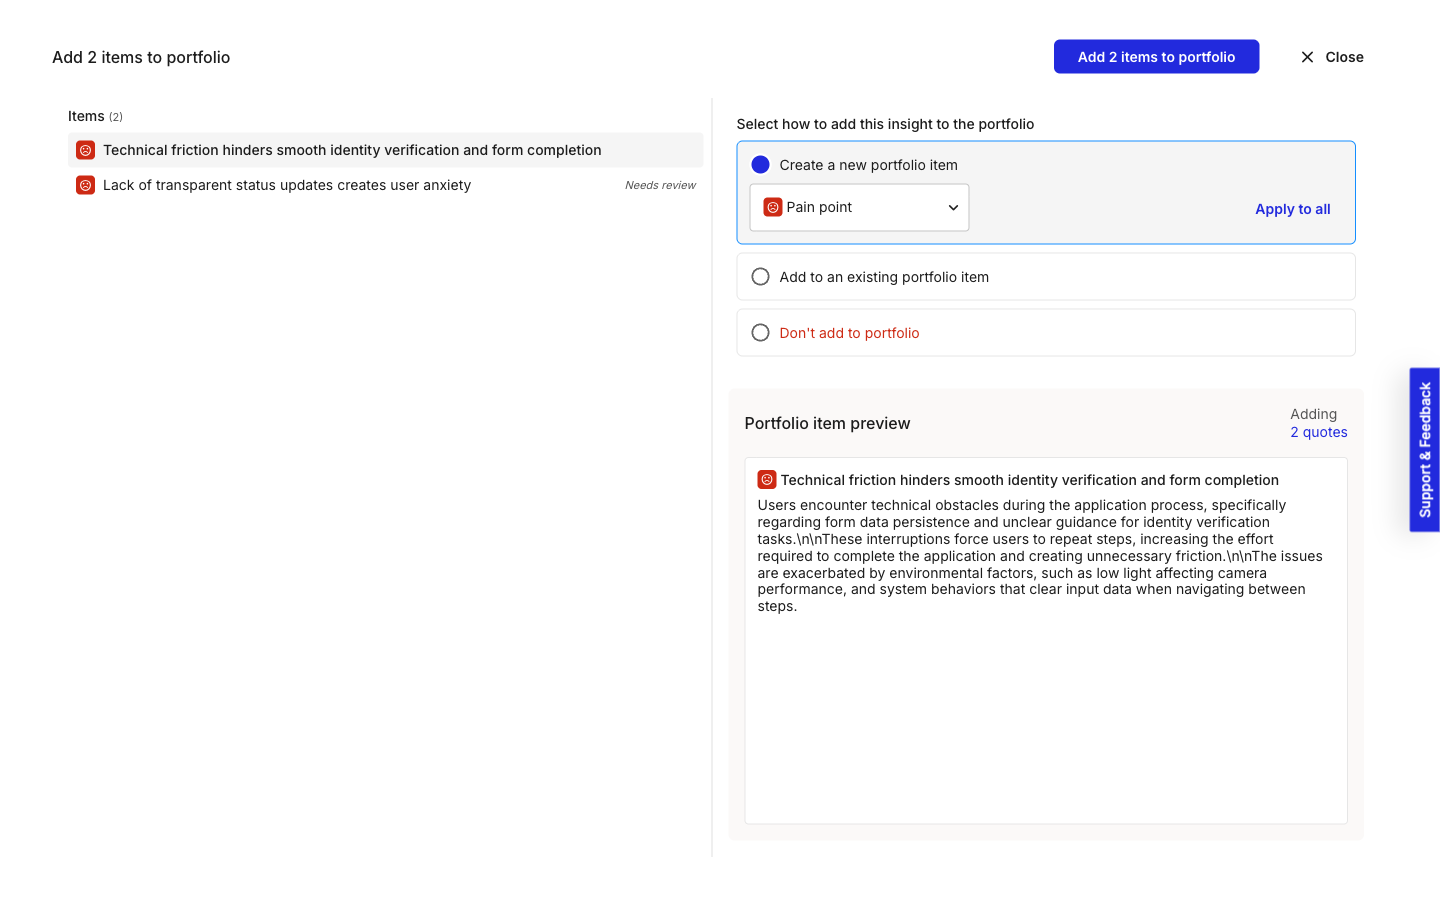
Add to journey map works whether or not the insights are already portfolio items, unlike Add to portfolio, which greys out once every selected insight has already been promoted. If any selected insight isn't a portfolio item yet, the flow first walks you through promoting it, the same guided flow as How to add findings to portfolio: pick a type, match to an existing item, or skip it, for each insight. Insights already promoted skip straight past this step.
How to pick the journey map
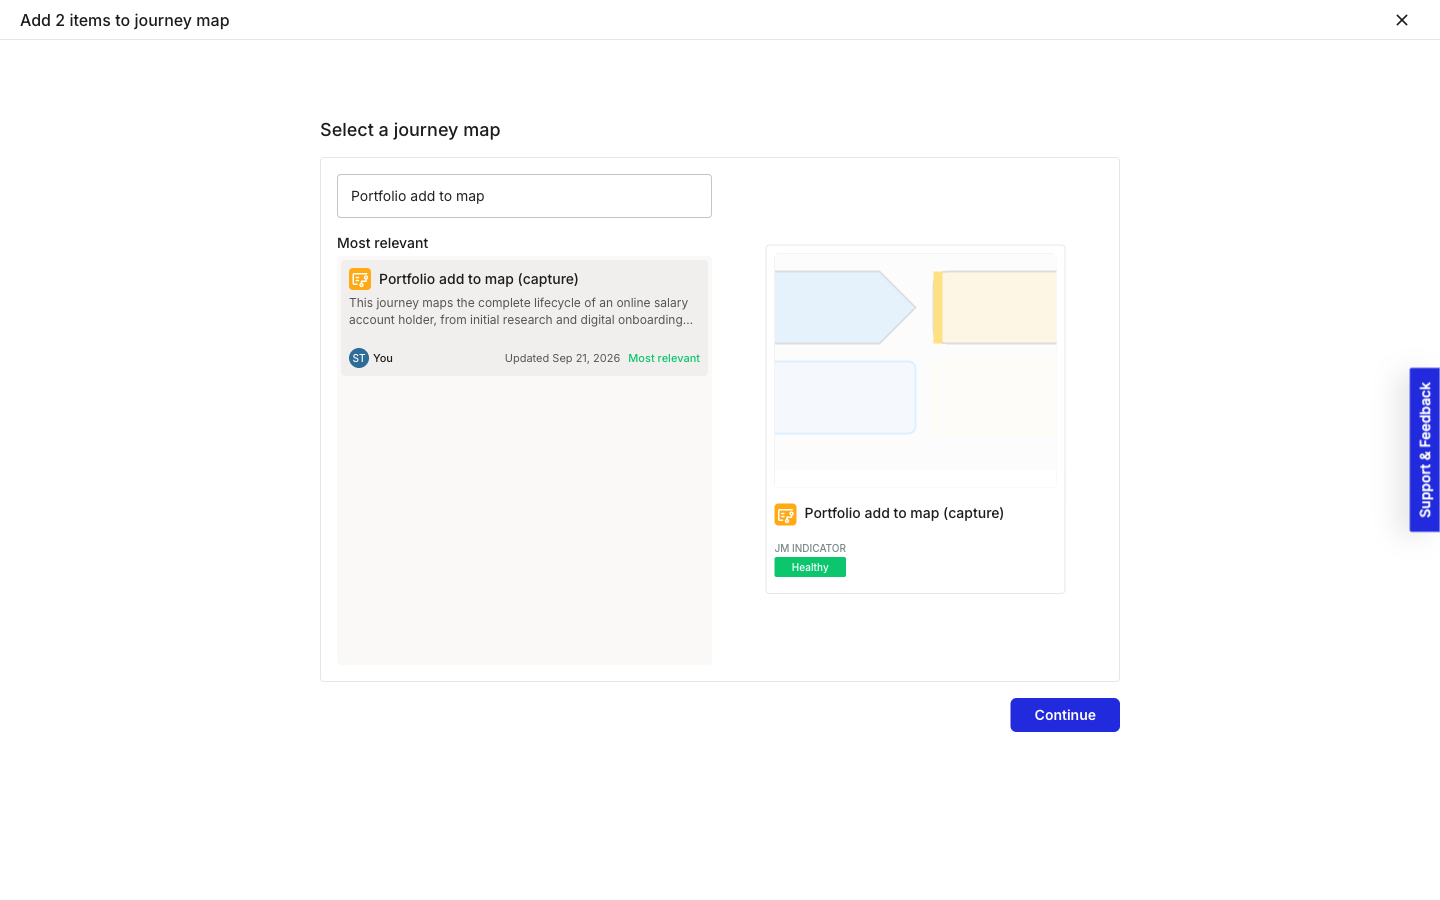
A Select a journey map screen lists your workspace's maps, with the ones most likely to be relevant grouped at the top under Most relevant and tagged accordingly. Search by name, pick a map, and click Continue.

Smaply AI then works out where each item best fits, shown as a progress screen while it processes.
How to place the items and confirm
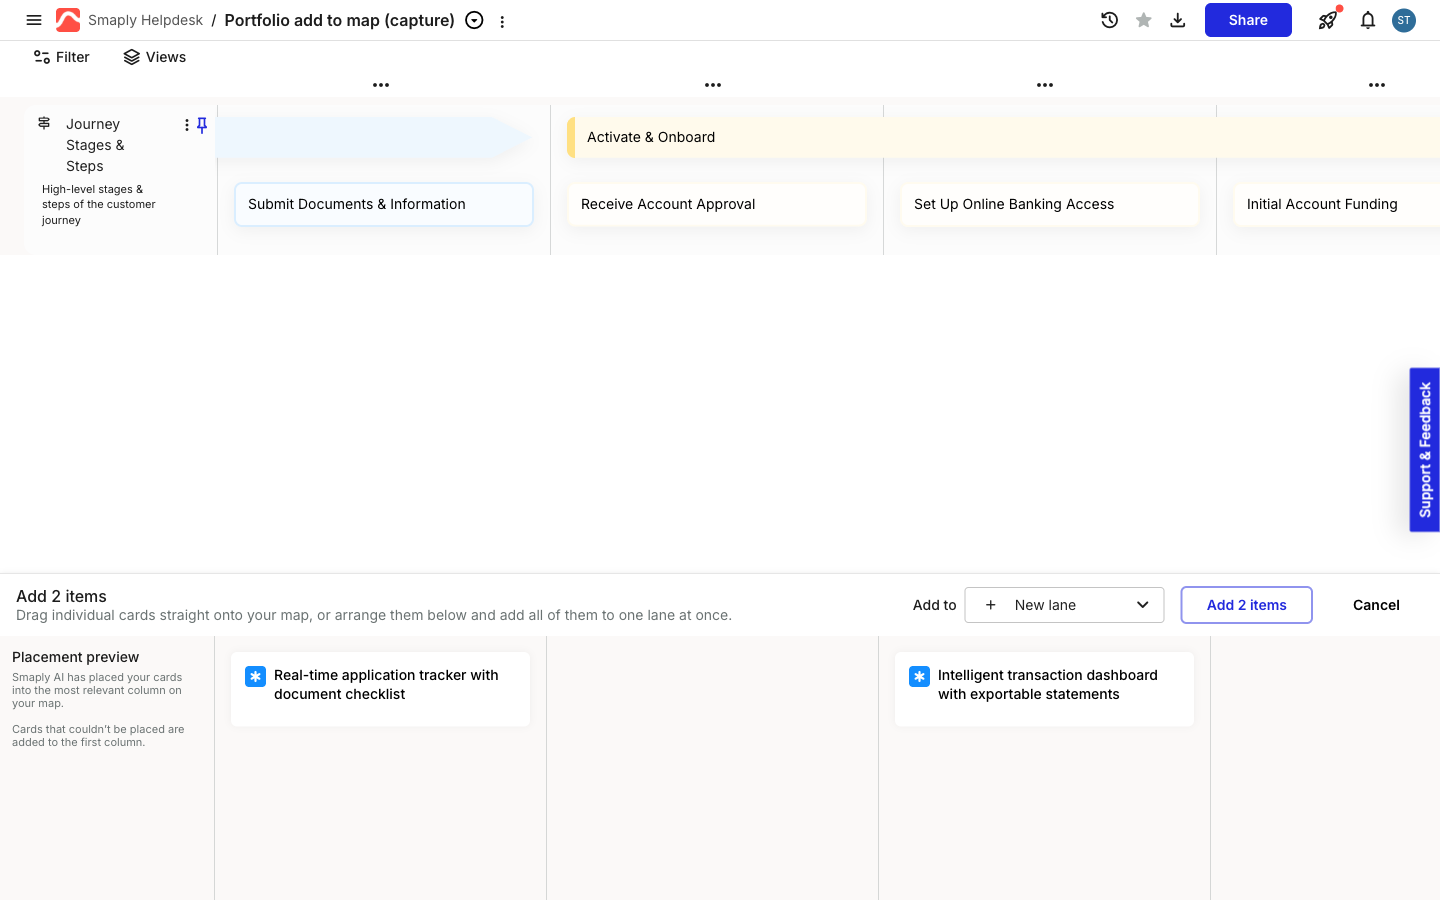
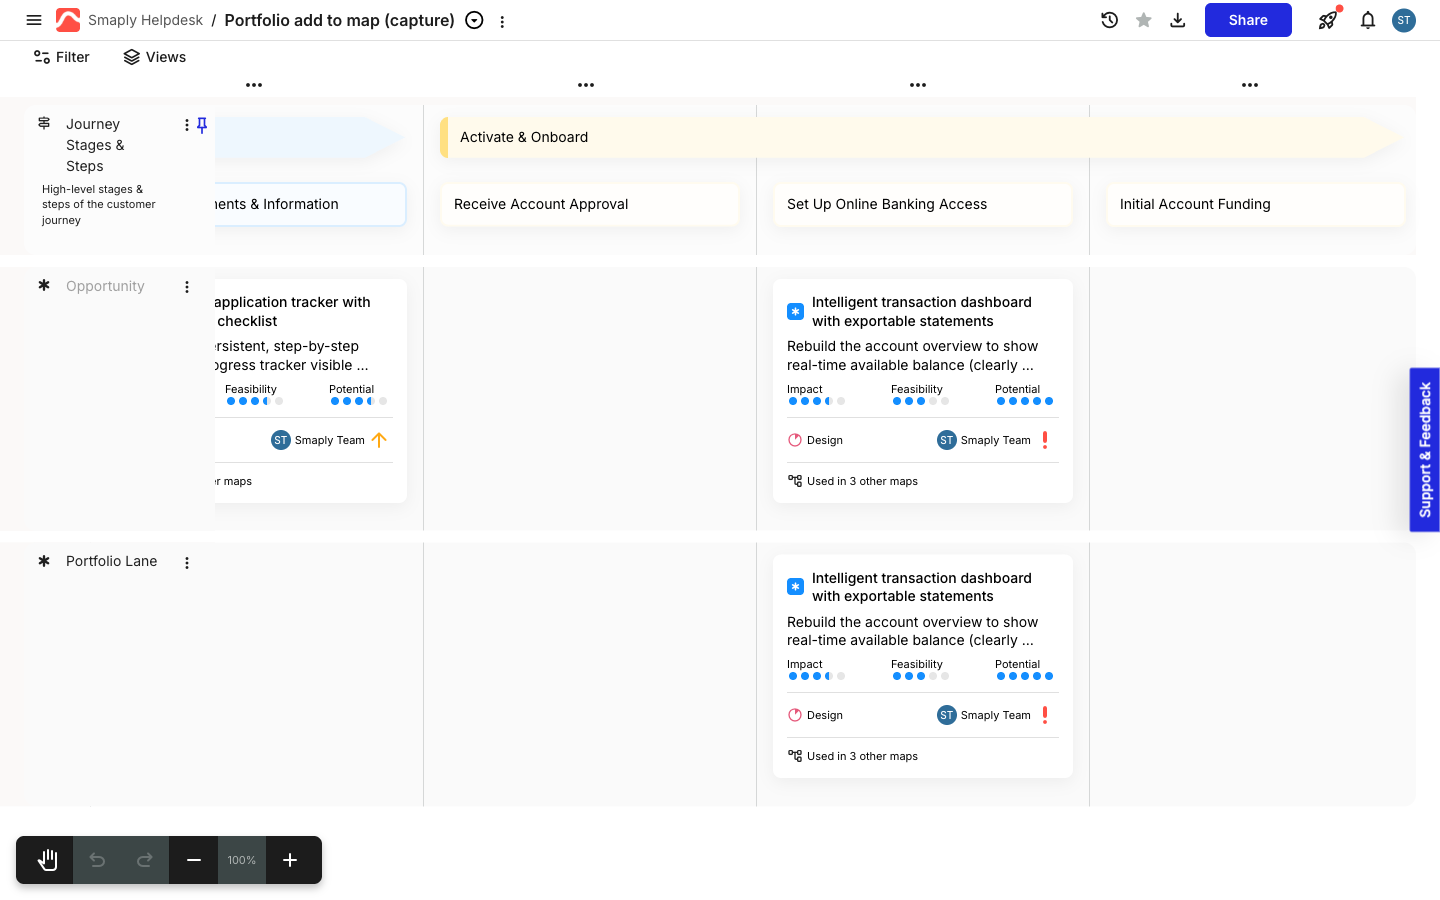
You land in the journey map editor with a staging tray docked at the bottom, holding every item you're adding, already arranged into the columns Smaply AI matched them to.

Adjust the column - drag a card within the tray, or drag it straight onto the map, to move it to a different step. A card Smaply AI couldn't confidently place lands in the first column.
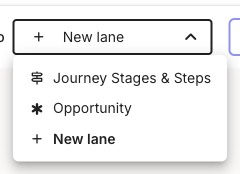
Choose the lane - the whole batch goes into one lane, picked from the Add to selector. Pick an existing lane, of any type, or leave it on + New lane to create one. A new lane for a single item type is named after that type, for example Opportunity. A new lane for a mixed selection is named Portfolio Lane.

Click Add items (labelled with your item count, for example Add 2 items) to commit, or Cancel to close the tray without adding anything.
Important: Running this again adds duplicate cards
Adding an item that's already on the target map doesn't update its existing card or warn you. It creates a second card for the same item. Check the map first if you're not sure whether an item is already there.
Related topics
Last updated