> For the complete documentation index, see [llms.txt](https://helpdesk.smaply.app/llms.txt). Markdown versions of documentation pages are available by appending `.md` to page URLs; this page is available as [Markdown](https://helpdesk.smaply.app/portfolio/how-to-create-a-portfolio-item.md).

# How to create a portfolio item

Capture a pain point, opportunity, solution, or any custom type once, then score it, prioritize it, and reuse it across every journey map in your workspace.

{% hint style="warning" icon="list-check" %}

#### Prerequisites

You need Editor or Admin access in the workspace to create portfolio items. Viewers can open the portfolio but can't add to it.
{% endhint %}

You can also create a portfolio item without opening the Portfolio area at all, directly from a card on a journey map. See [How to use portfolio item cards](/journey-maps/cards/how-to-use-portfolio-item-cards.md) for that path.

#### How to create a portfolio item

There are two places to start a new item in the Portfolio area:

* **From a type card on the Summary** - Each type has its own card on the Portfolio Summary with a **Create \[type]** link in its footer, such as **Create solution** or **Create pain point**. Use this when you already know the type.
* **From any view's toolbar** - Open the Table, Board, or Chart view and click the blue **+ Create new** button. You pick the type as part of the create flow.

Both open the same create modal. The steps below start from a type card.

{% stepper %}
{% step %}
**Open the Portfolio area**

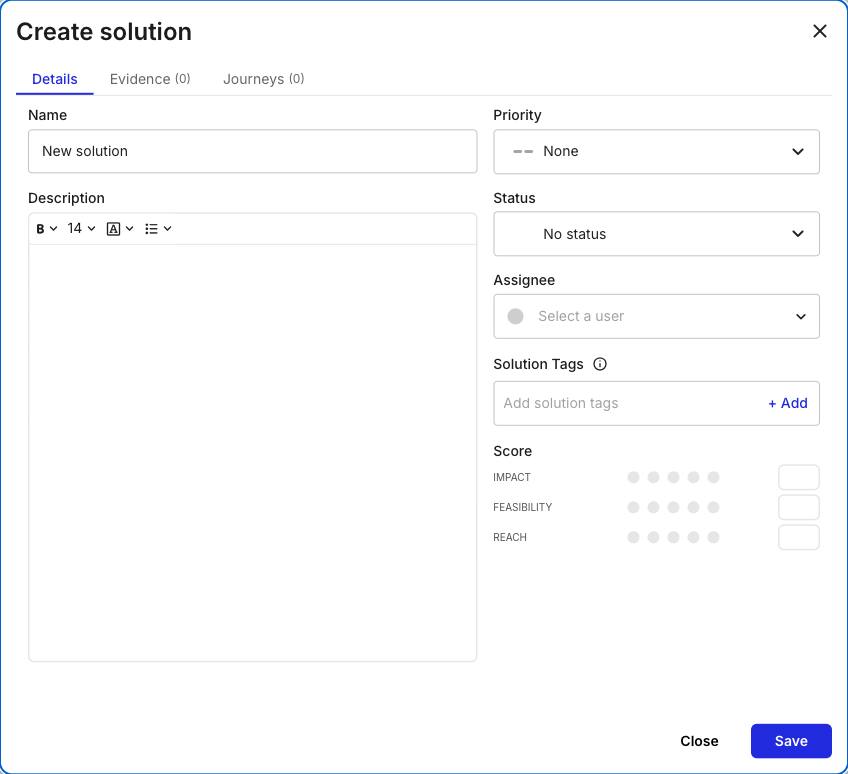
In the workspace sidebar, click **Portfolio**. It opens on the **Summary**, a dashboard with one card per item type: **Opportunity**, **Pain point**, **Solution**, and any custom type your account has added.

<figure><img src="/files/ldQOIZ0EKKZn60tARYKt" alt="The Smaply workspace sidebar with Portfolio selected, showing the Portfolio Summary dashboard. Each item type has its own card: Opportunity, Pain point, Solution, and a custom Goals type, each showing a total count, a Created sparkline, and Assignee, Status, and Priority breakdowns."><figcaption><p>Portfolio Summary, one card per item type</p></figcaption></figure>
{% endstep %}

{% step %}
**Start a new item**

On the card for the type you want, click **Create \[type]** in the footer, for example **Create solution**. The create modal opens on the **Details** tab.

<figure><img src="/files/vdicKD6XEDR24iDWRJ50" alt="The footer of a portfolio type card showing a Create solution link on the left and an Explore all link on the right."><figcaption><p>The Create link sits in each type card's footer</p></figcaption></figure>
{% endstep %}

{% step %}
**Name and describe the item**

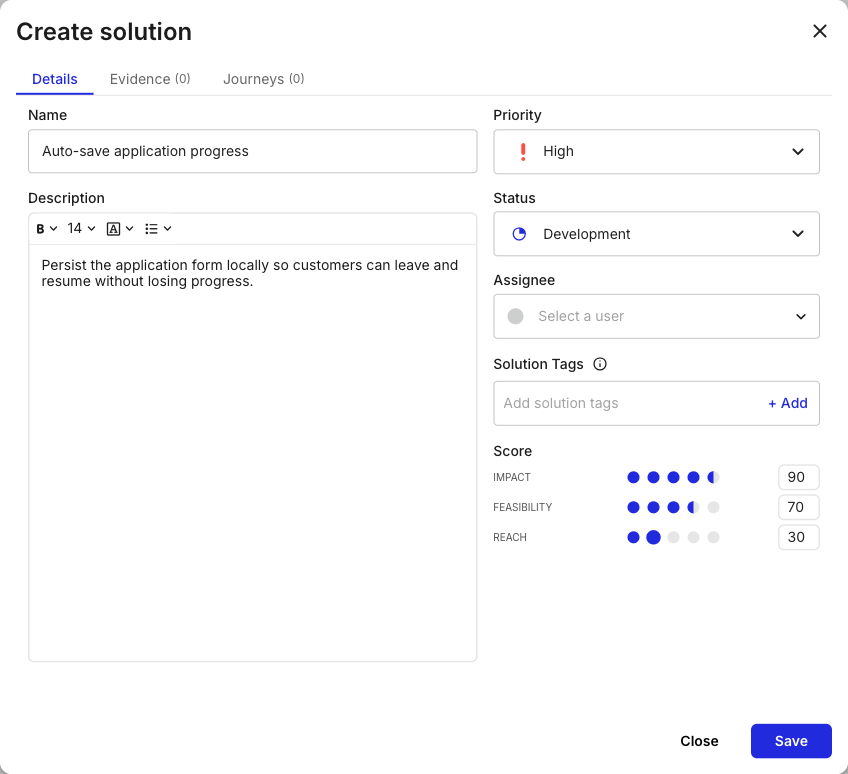
**Name** pre-fills with "New \[type]"; replace it with something specific. Add detail in the **Description** field, which supports bold, font sizes, and bulleted lists.

<figure><img src="/files/djvTZmTaJu7o0uyQRAI2" alt="The Create solution modal open on the Details tab, empty. The left column has Name (pre-filled New solution) and a rich-text Description field. The right column has Priority set to None, Status set to No status, an Assignee selector, a Solution Tags field, and a Score section with Impact, Feasibility, and Reach dot ratings."><figcaption><p>Create solution, Details tab</p></figcaption></figure>
{% endstep %}

{% step %}
**Score and classify the item**

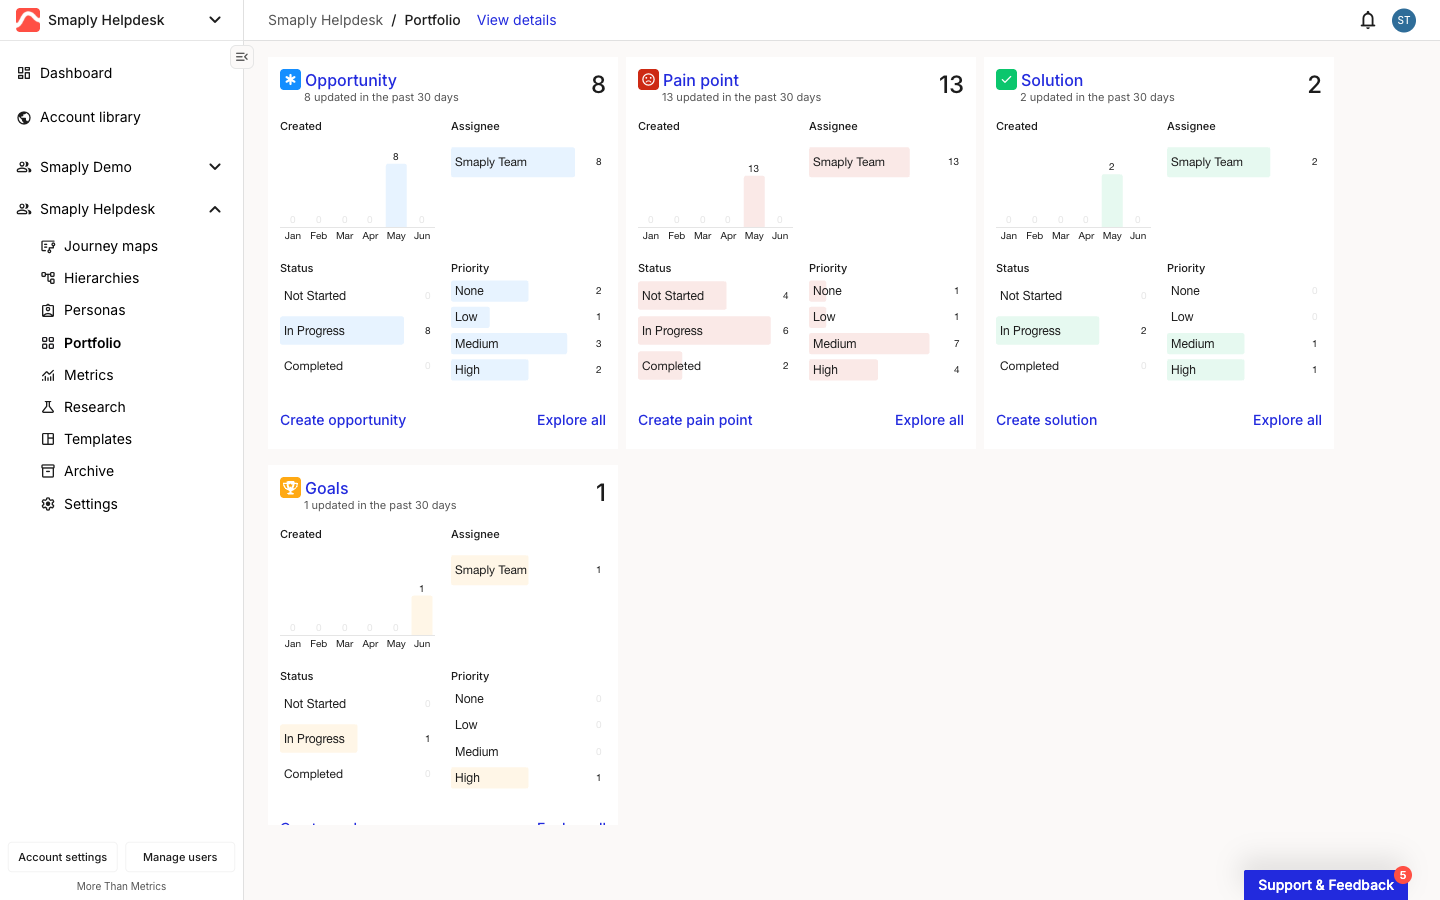
Fill in the right-hand fields to make the item findable and sortable later:

* **Priority** - **High**, **Medium**, **Low**, or **None** (the default).
* **Status** - the values depend on the type. A Solution offers **No status**, **Research**, **Discarded**, **Design**, **Development**, and **Done**.
* **Assignee** - the workspace member responsible, from **Select a user**.
* **Tags** - a type-specific field (for a solution, **Solution Tags**). Click **+ Add** to apply one.
* **Score** - rate each dimension on the five-dot scale or type a value in the box beside it. This workspace uses **Impact**, **Feasibility**, and **Reach**; an admin can rename these dimensions, so yours may differ.

<figure><img src="/files/MePNFulr3GYPD0NegzEO" alt="The Create solution modal with all Details fields filled: Name Auto-save application progress, a Description, Priority High, Status Development, and Score ratings of Impact 90, Feasibility 70, and Reach 30 shown as filled dots with matching numeric boxes."><figcaption><p>A completed item before saving</p></figcaption></figure>
{% endstep %}

{% step %}
**Save the item**

Click **Save**. The item joins its type on the Summary and appears in every view, where you can prioritize it alongside the rest of your portfolio.
{% endstep %}
{% endstepper %}

#### What happens after you save

A portfolio item is not tied to the journey map or view you created it from. The same item can sit on many maps at once, and editing it updates every instance everywhere it appears in the workspace. So a solution you create here can be dropped onto several journeys, and a later change to its status or score is reflected on all of them.

Items of a custom type are created exactly the same way: open the type's card on the Summary and click its **Create \[type]** link, or use **+ Create new** and pick the type. To define a new type with its own labels, statuses, and scoring dimensions before you can create items in it, see [How to create custom portfolio item types](/portfolio/how-to-create-custom-portfolio-item-types.md).

#### Related topics

<table data-column-title-hidden data-view="cards"><thead><tr><th>Article</th><th>What it covers</th><th data-hidden data-card-target data-type="content-ref">Target</th></tr></thead><tbody><tr><td><strong>Portfolio summary</strong></td><td>The dashboard that loads when you open Portfolio, and the way into the prioritization views.</td><td><a href="/pages/abuTV30fMWJUfseHuf1v">/pages/abuTV30fMWJUfseHuf1v</a></td></tr><tr><td><strong>Custom item types</strong></td><td>Define a new portfolio type with its own labels, statuses, and scoring dimensions.</td><td><a href="/pages/v2QYLoJduQKY2uguPORV">/pages/v2QYLoJduQKY2uguPORV</a></td></tr><tr><td><strong>Prioritize in the chart</strong></td><td>Plot items as bubbles on configurable scoring axes for workshop-style prioritization.</td><td><a href="/pages/Bvvajkxb89h2CT9fR2mF">/pages/Bvvajkxb89h2CT9fR2mF</a></td></tr><tr><td><strong>Portfolio item cards</strong></td><td>Add an existing portfolio item as a card on a journey map.</td><td><a href="/pages/7otLTFAejxDBK1QT5H5e">/pages/7otLTFAejxDBK1QT5H5e</a></td></tr><tr><td><strong>Add evidence</strong></td><td>Back an item with quotes and research from the Evidence tab.</td><td><a href="/pages/M7pLmvLqe5OLNTD1V9B1">/pages/M7pLmvLqe5OLNTD1V9B1</a></td></tr></tbody></table>


---

# Agent Instructions
This documentation is published with GitBook. GitBook is the documentation platform designed so that both humans and AI agents can read, navigate, and reason over technical content effectively. Learn more at gitbook.com.

## Querying This Documentation
If you need additional information that is not directly available in this page, you can query the documentation dynamically by asking a question.

Perform an HTTP GET request on the current page URL with the `ask` query parameter, and the optional `goal` query parameter:

```
GET https://helpdesk.smaply.app/portfolio/how-to-create-a-portfolio-item.md?ask=<question>&goal=<endgoal>
```

`ask` is the immediate question: it should be specific, self-contained, and written in natural language.
`goal` is optional and describes the broader end goal you are ultimately trying to accomplish on behalf of the user. GitBook uses it to tailor the answer towards what is most useful for that goal.

The response will contain a direct answer to the question and relevant excerpts and sources from the documentation.

Use this mechanism when the answer is not explicitly present in the current page, you need clarification or additional context, or you want to retrieve related documentation sections.