> For the complete documentation index, see [llms.txt](https://helpdesk.smaply.app/llms.txt). Markdown versions of documentation pages are available by appending `.md` to page URLs; this page is available as [Markdown](https://helpdesk.smaply.app/research-hub/how-to-create-an-investigation.md).

# How to create an investigation

An investigation is a research session that groups your source files and the insights Smaply draws from them, keeping the evidence behind each finding linked to the journeys it affects.

{% hint style="info" icon="tag" %}

#### Plan availability

Creating an investigation runs AI analysis, which is available on the **Repository** plan and above. Your account also needs Research Hub AI switched on. See [How to configure AI features](/account-and-team/how-to-configure-ai-features.md).
{% endhint %}

{% hint style="warning" icon="list-check" %}

#### Prerequisites

Editor or Admin role at the workspace level. Viewers can't create investigations.
{% endhint %}

{% hint style="info" icon="clipboard-list" %}

#### In this guide

1. [Create the investigation](#create-the-investigation)
2. [What the AI does automatically](#what-the-ai-does-automatically)
3. [Explore your findings](#explore-your-findings)
4. [Manage investigations from the list](#manage-investigations-from-the-list)
   {% endhint %}

#### Create the investigation

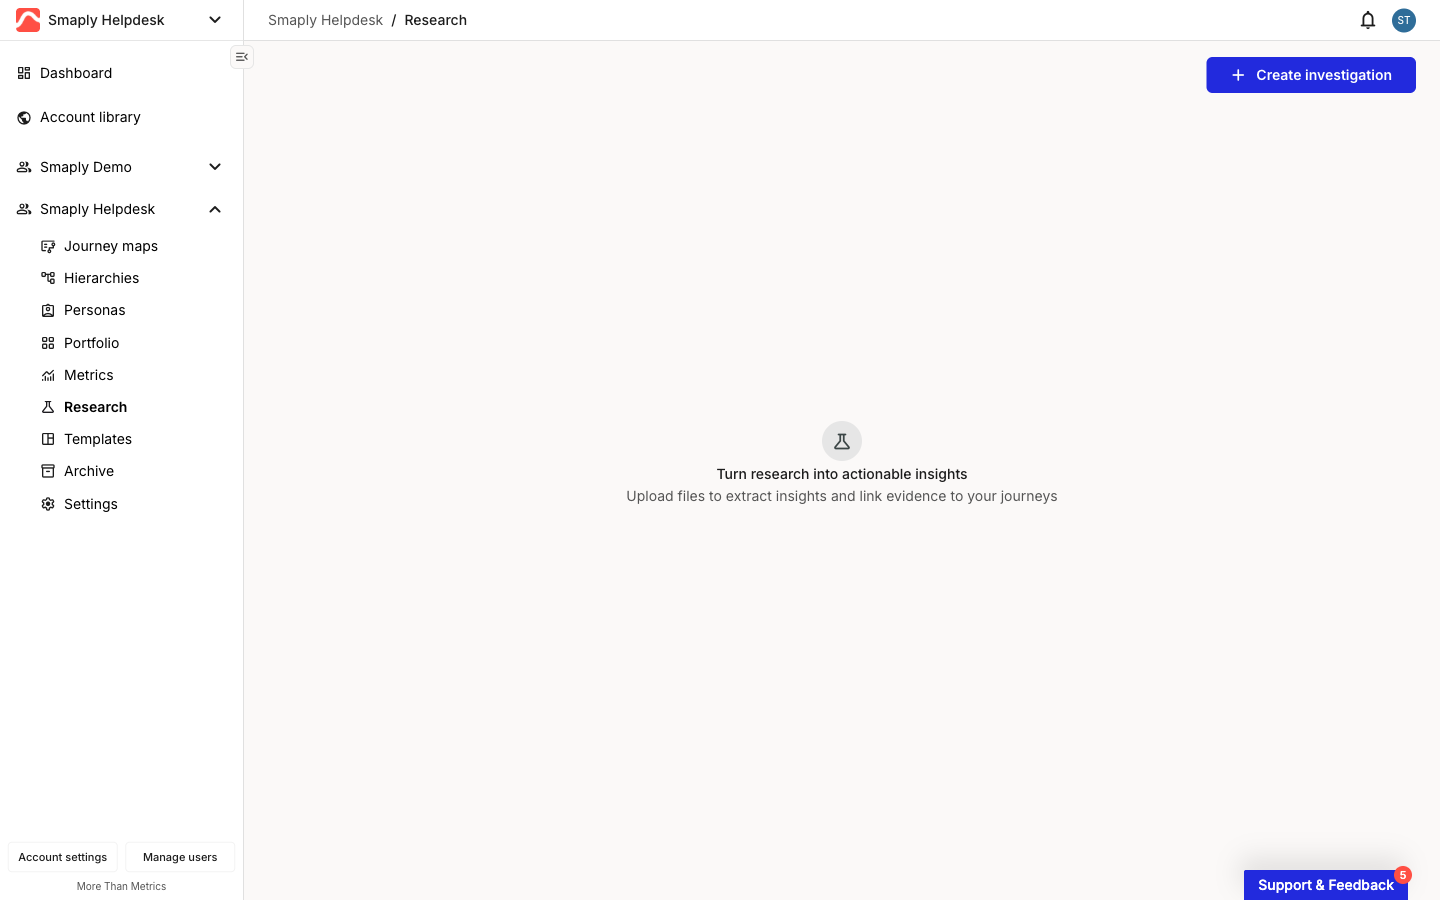
Start from the **Research** item in the workspace sidebar. The investigation list opens with **+ Create investigation** in the top-right corner.

<figure><img src="/files/T8SAFHMnQdSPZPdWgaJt" alt="The Research landing in an empty state. A flask icon sits above the heading &#x27;Turn research into actionable insights&#x27; with the line &#x27;Upload files to extract insights and link evidence to your journeys&#x27;. A blue Create investigation button is in the top-right corner."><figcaption><p>Research, empty state</p></figcaption></figure>

{% stepper %}
{% step %}
**Open the create flow**

Click **+ Create investigation**. The upload screen opens. There's no name field yet; you'll name the session after the files are scanned.
{% endstep %}

{% step %}
**Add your transcript files**

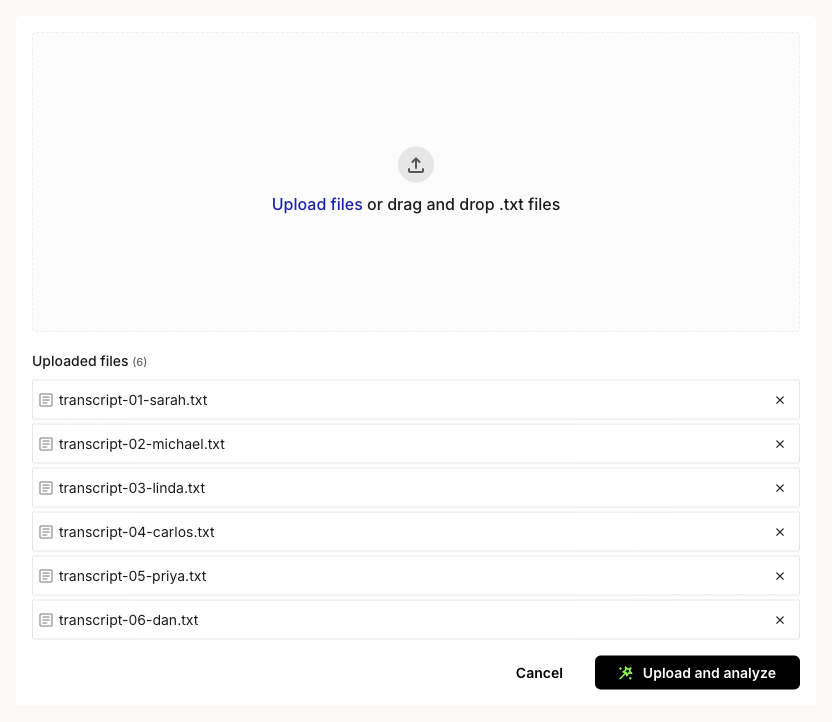
Click **Upload files** or drag your files onto the drop zone. Each file appears under **Uploaded files** with a remove control, and you can add more than one. Use the X next to a file to drop it before analyzing.

<figure><img src="/files/HFo5ghThEznDclMiaAPS" alt="The upload screen with six transcripts queued under the heading &#x27;Uploaded files (6)&#x27;, each row showing a document icon, the .txt filename, and an X remove control. The Upload and analyze button is active at the bottom right next to Cancel."><figcaption><p>Six transcripts queued for analysis</p></figcaption></figure>

{% hint style="warning" %}

#### **Important: Only .txt files are supported today**

The drop zone accepts plain-text transcripts (`.txt`) only. Convert interviews from other formats to `.txt` before uploading. Support for more file types is planned.
{% endhint %}
{% endstep %}

{% step %}
**Click Upload and analyze**

Once at least one file is queued, **Upload and analyze** turns active. Click it to start. Smaply runs a security check on your files first, shown as **Scanning your files**, before analysis begins.
{% endstep %}

{% step %}
**Name the research session**

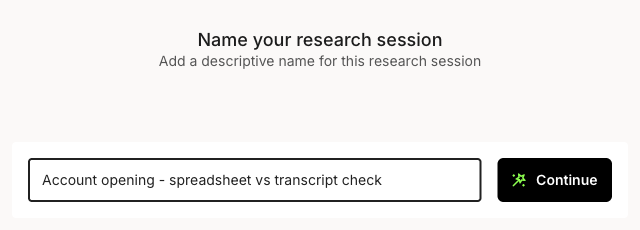
When the scan finishes, the **Name your research session** dialog appears. Type a descriptive name and click **Continue**.

<figure><img src="/files/Em6rvZ7GC0UA4NoaSPoA" alt="The &#x27;Name your research session&#x27; dialog with the subtitle &#x27;Add a descriptive name for this research session&#x27;. A text field reads &#x27;Online account opening - customer interviews&#x27; with an active Continue button beside it."><figcaption><p>Name your research session</p></figcaption></figure>
{% endstep %}

{% step %}
**Wait for analysis to finish**

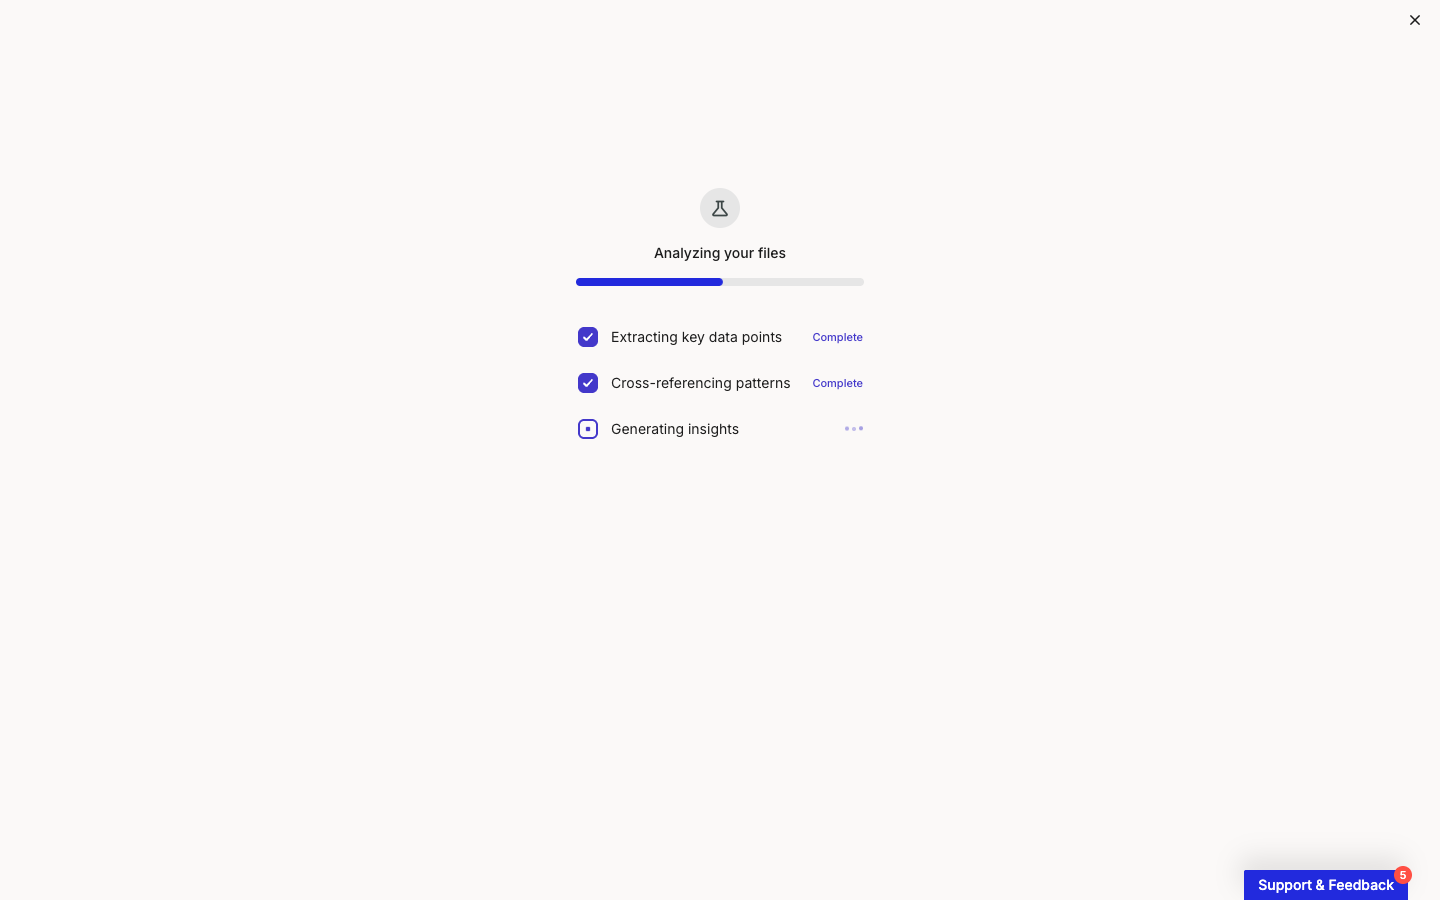
The **Analyzing your files** checklist tracks progress through **Extracting key data points**, **Cross-referencing patterns**, and **Generating insights**. Keep the tab open until it completes.

<figure><img src="/files/fXzki5IJ1gbD5FOf7rUq" alt="The &#x27;Analyzing your files&#x27; screen with a progress bar and a three-item checklist: Extracting key data points (Complete), Cross-referencing patterns (Complete), and Generating insights (in progress)."><figcaption><p>Analyzing your files</p></figcaption></figure>
{% endstep %}
{% endstepper %}

{% hint style="success" icon="lightbulb" %}

#### **Tip: Get your sources right before you analyze**

You can't add files to an investigation after it's created, and the AI analysis can't be re-run on it. To analyze a different set of sources, create a new investigation. To work with more transcripts, gather them all before you click **Upload and analyze**.
{% endhint %}

***

#### What the AI does automatically

Once you start the analysis, Smaply works through your transcripts without any further input. It extracts direct quotes, detects the sentiment behind each one (positive, neutral, or negative), cross-references recurring patterns across files, and groups them into insights.

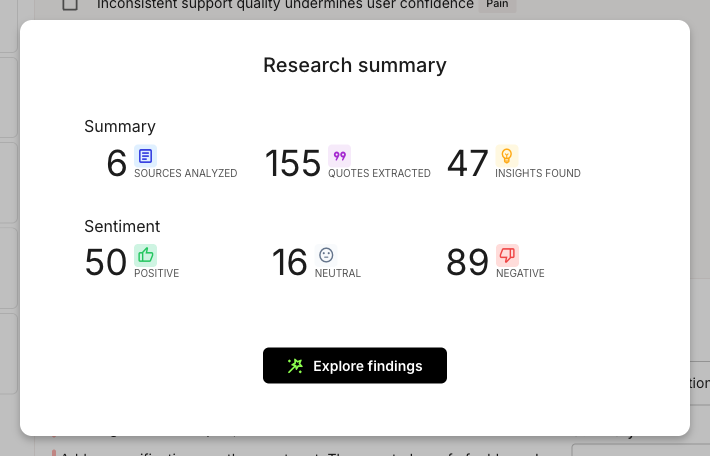
When it finishes, the **Research summary** shows what came out of your sources: how many were analyzed, how many quotes were extracted, how many insights were found, and the sentiment breakdown across all quotes.

<figure><img src="/files/OXdyoBEmYg5lYeEk5CDQ" alt="The Research summary dialog. A Summary row shows 6 Sources analyzed, 155 Quotes extracted, and 47 Insights found. A Sentiment row shows 50 Positive, 16 Neutral, and 89 Negative. An Explore findings button sits below."><figcaption><p>Research summary</p></figcaption></figure>

Every quote, sentiment value, and insight is a starting point you can edit, so the summary is where AI hands the work back to you.

***

#### Explore your findings

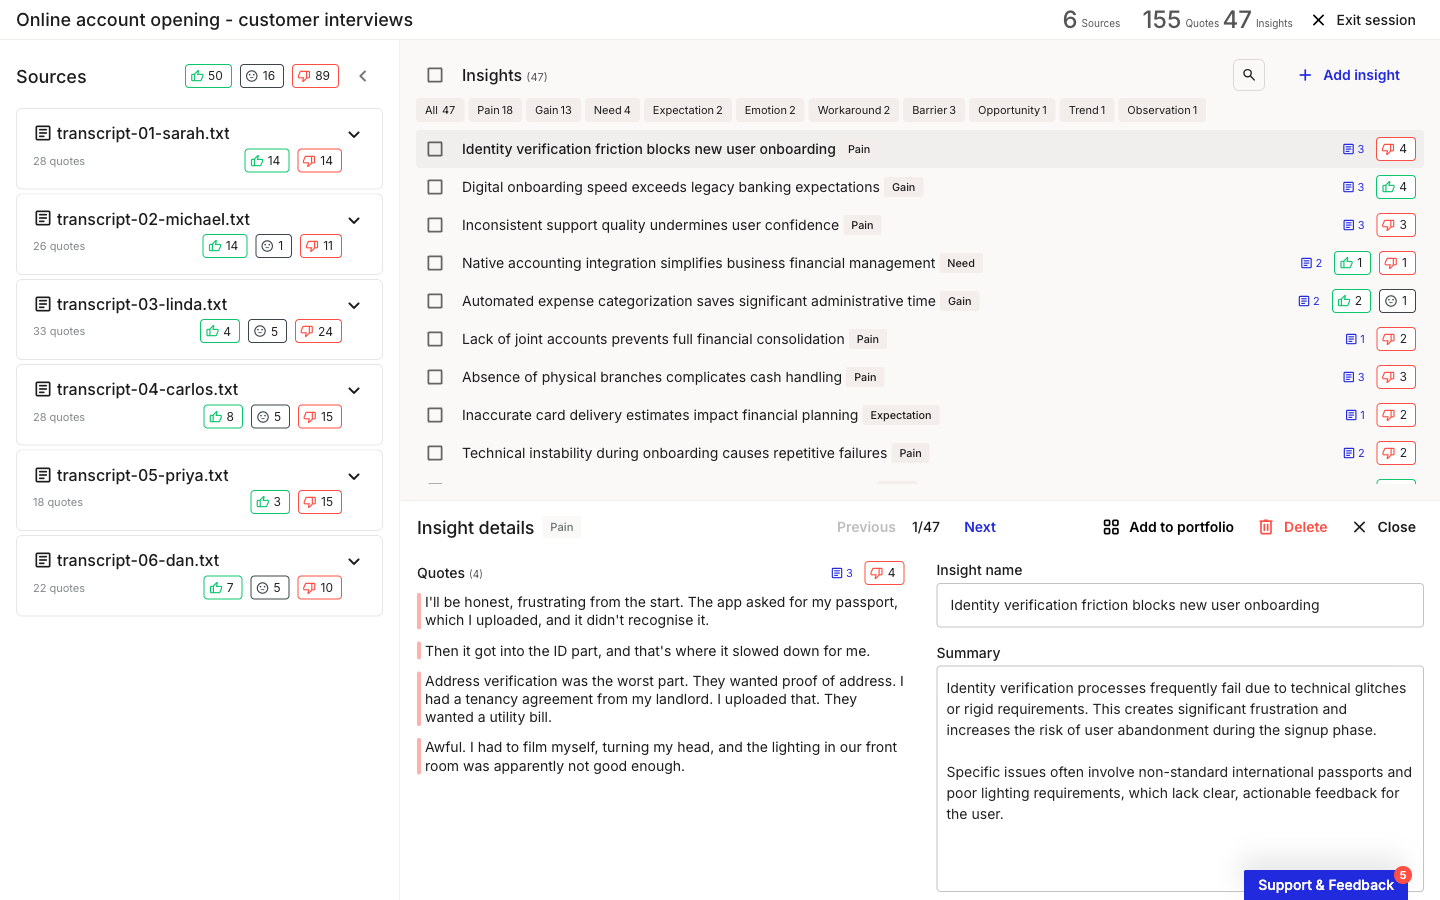
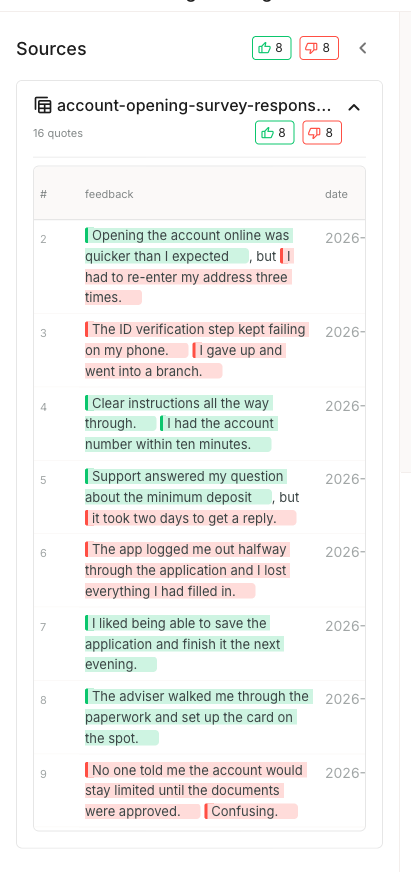
Click **Explore findings** on the summary to open the session view. This is where you read, refine, and curate everything the analysis produced: a **Sources** panel with your transcripts and their quotes on the left, and an **Insights** list in the center.

<figure><img src="/files/XGdFJSRCAbMPQ9C9VBBW" alt="The investigation session view. The left Sources panel lists the six transcripts; the center Insights panel lists generated insights with category labels and sentiment counts; a detail panel on the right shows a selected insight&#x27;s quotes and summary."><figcaption><p>Investigation session view</p></figcaption></figure>

From here, your next steps are reviewing the findings and promoting the strongest ones into your portfolio.

<table data-column-title-hidden data-view="cards"><thead><tr><th>Title</th><th>Description</th><th data-hidden data-card-target data-type="content-ref">Target</th></tr></thead><tbody><tr><td><strong>Review insights and quotes</strong></td><td>Edit insights, refine sentiment, add or remove quotes, and work with your sources.</td><td><a href="/pages/YT2UFNzR9ohQUKQsKECn">/pages/YT2UFNzR9ohQUKQsKECn</a></td></tr><tr><td><strong>Add findings to portfolio</strong></td><td>Promote selected insights and their quotes into portfolio items as evidence.</td><td><a href="/pages/rMOU7uLeTQCUU7SflZu0">/pages/rMOU7uLeTQCUU7SflZu0</a></td></tr></tbody></table>

***

#### Manage investigations from the list

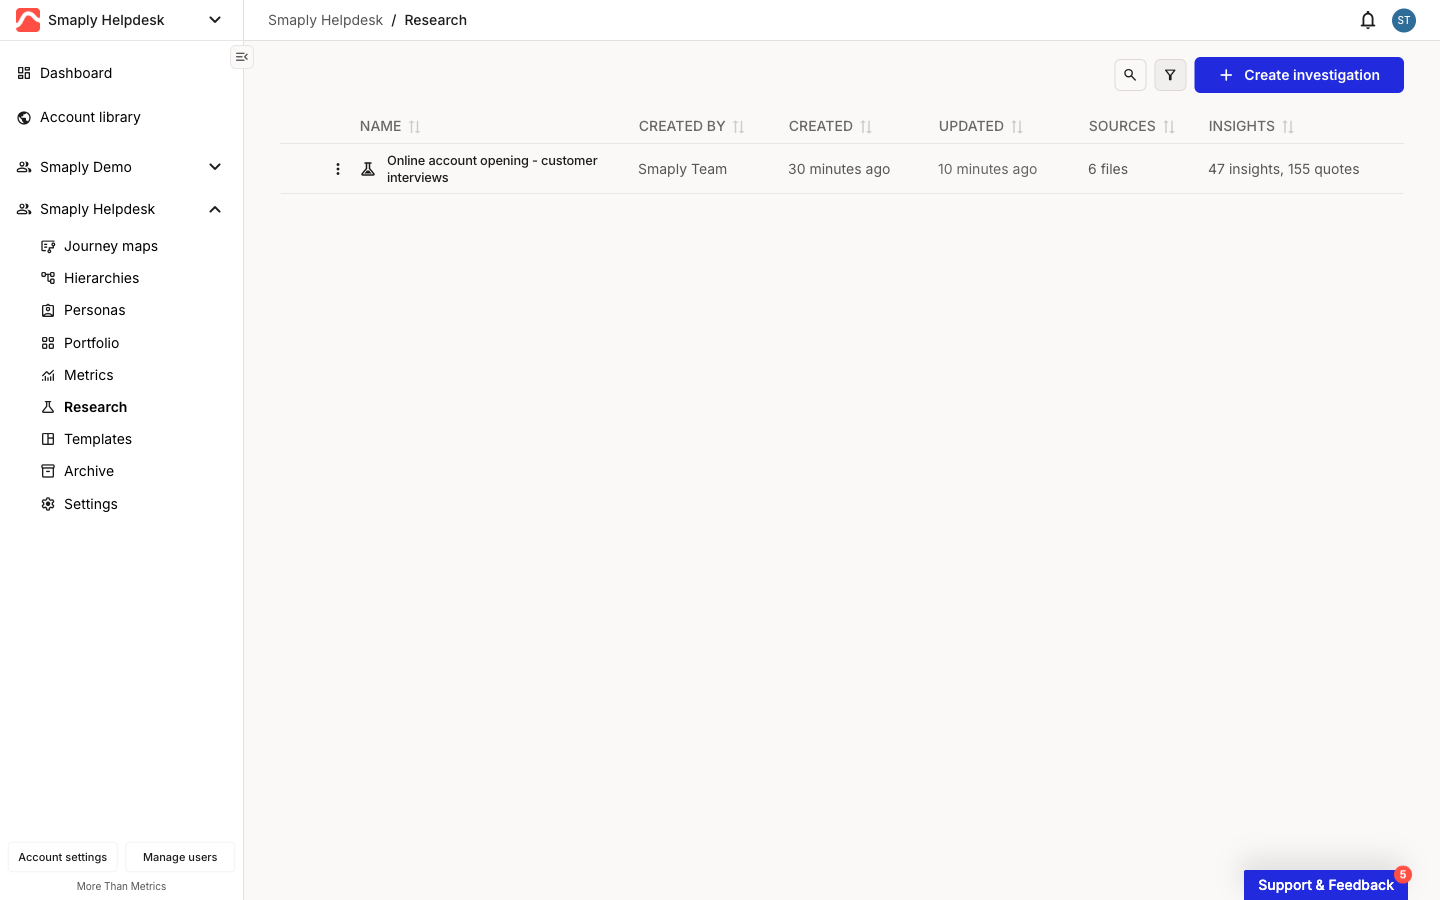
Every investigation you create appears in the **Research** list, with columns for **Name**, **Created By**, **Created**, **Updated**, **Sources** (file count), and **Insights** (insight and quote counts). Click any column header to sort.

<figure><img src="/files/RsdjcO2o7Hq1vHgX5e61" alt="The Research list with one investigation row showing it was created by the workspace team, with 6 files under Sources and &#x27;47 insights, 155 quotes&#x27; under Insights. Search, filter, and Create investigation controls sit in the top-right."><figcaption><p>Research list with one investigation</p></figcaption></figure>

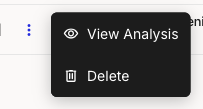
To reopen the session view for an existing investigation, click the three-dot menu on its row and select **View Analysis**. The same menu has **Delete**, which removes the whole investigation.

<figure><img src="/files/0dX8o4UGj3GA8GQExmGz" alt="A row&#x27;s three-dot menu open on the Research list, showing two items: View Analysis and Delete."><figcaption><p>Research list, row menu</p></figcaption></figure>

Use the search and filter icons next to **+ Create investigation** to narrow a long list. The filter groups results by **File Type**, **File Count**, **Created By**, **Status**, and **Created**, with **Clear all** to reset.

***

#### Related topics

<table data-column-title-hidden data-view="cards"><thead><tr><th>Title</th><th>Description</th><th data-hidden data-card-target data-type="content-ref">Target</th></tr></thead><tbody><tr><td><strong>Review insights and quotes</strong></td><td>Work through the session view: edit insights, refine sentiment, and manage your sources.</td><td><a href="/pages/YT2UFNzR9ohQUKQsKECn">/pages/YT2UFNzR9ohQUKQsKECn</a></td></tr><tr><td><strong>Add findings to portfolio</strong></td><td>Turn research insights into portfolio items, with quotes carried over as evidence.</td><td><a href="/pages/rMOU7uLeTQCUU7SflZu0">/pages/rMOU7uLeTQCUU7SflZu0</a></td></tr><tr><td><strong>Configure AI features</strong></td><td>Switch Research Hub AI and other AI features on or off at the account level.</td><td><a href="/pages/DiKcSh4fYbbEx5TUJBBU">/pages/DiKcSh4fYbbEx5TUJBBU</a></td></tr></tbody></table>


---

# Agent Instructions
This documentation is published with GitBook. GitBook is the documentation platform designed so that both humans and AI agents can read, navigate, and reason over technical content effectively. Learn more at gitbook.com.

## Querying This Documentation
If you need additional information that is not directly available in this page, you can query the documentation dynamically by asking a question.

Perform an HTTP GET request on the current page URL with the `ask` query parameter, and the optional `goal` query parameter:

```
GET https://helpdesk.smaply.app/research-hub/how-to-create-an-investigation.md?ask=<question>&goal=<endgoal>
```

`ask` is the immediate question: it should be specific, self-contained, and written in natural language.
`goal` is optional and describes the broader end goal you are ultimately trying to accomplish on behalf of the user. GitBook uses it to tailor the answer towards what is most useful for that goal.

The response will contain a direct answer to the question and relevant excerpts and sources from the documentation.

Use this mechanism when the answer is not explicitly present in the current page, you need clarification or additional context, or you want to retrieve related documentation sections.